EasyManuals Logo

ProForm PRO 2000 User Manual

ProForm PRO 2000
44 pages
To Next Page IconTo Next Page
To Previous Page IconTo Previous Page
Page #10 background imageLoading...
Page #10 background image
10
6
7
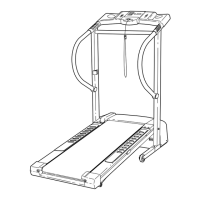
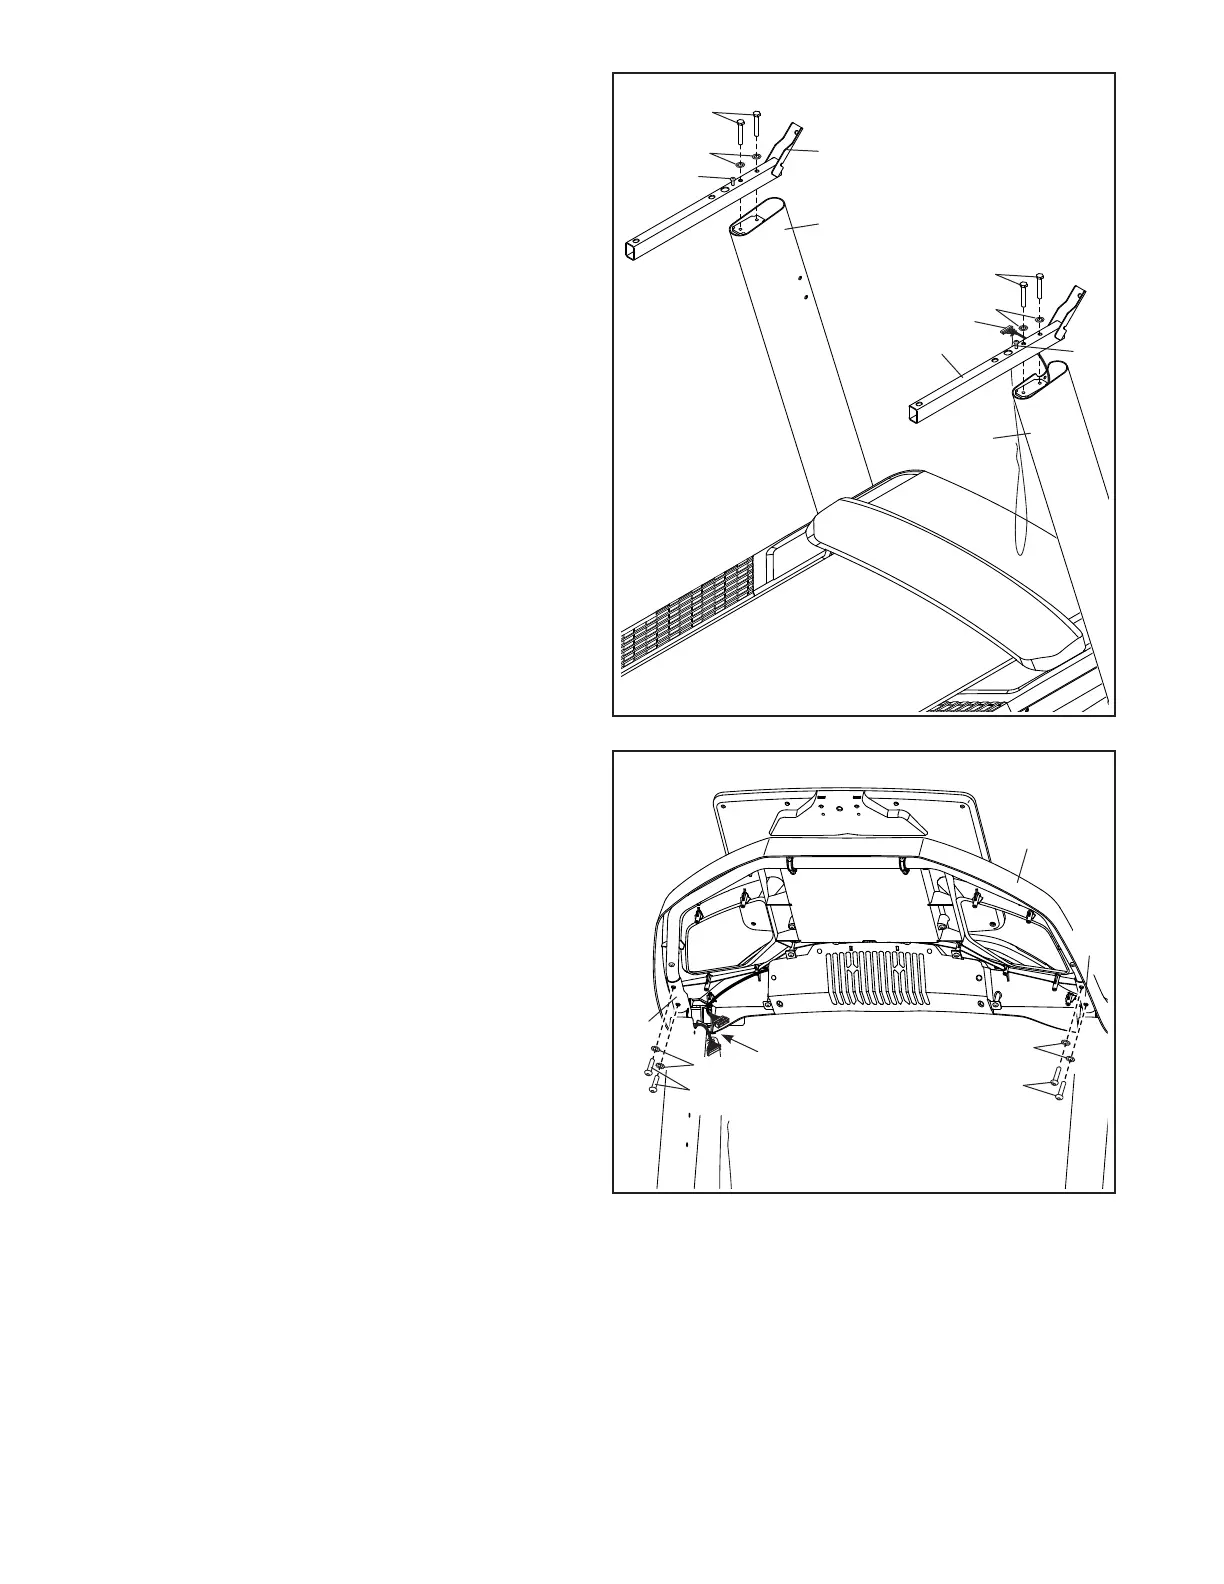
6. Attach the two Handrails (74) to the Right and
Left Uprights (84, 91) with the four 5/16" x 2"
Screws (2) that you removed in step 5 and four
5/16" Star Washers (8); start all four Screws,
and then tighten them. Be careful not to
pinch the Upright Wire (83) on the right side.
Then, remove and discard the two indicated
screws (F).
F
F
91
84
83
74
74
8
2
8
2
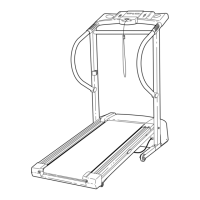
7. With the help of a second person, set the con-
sole assembly (G) on the Handrails (74). Be
careful not to pinch the wires (H).
Attach the console assembly (G) with four
5/16" x 1 1/4" Screws (29) and four 5/16" Star
Washers (8); do not fully tighten the Screws
yet.
29
8
H
74
G
74
8
29

Questions and Answers:

Question and Answer IconNeed help?

Do you have a question about the ProForm PRO 2000 and is the answer not in the manual?

ProForm PRO 2000 Specifications

General IconGeneral
Speed Range0-12 MPH
Running Surface20" x 60"
Weight Capacity300 lbs
Display7" Backlit LCD
FoldingYes
Heart Rate MonitoringEKG Grip Pulse
BluetoothYes
Cooling FanCoolAire Fan
AudioDual 2" Speakers
Incline Range-3% Decline to 12% Incline Digital Control

Related product manuals