9
4
20
93
84
23
23
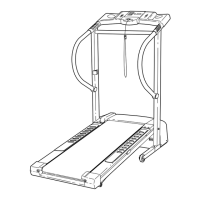
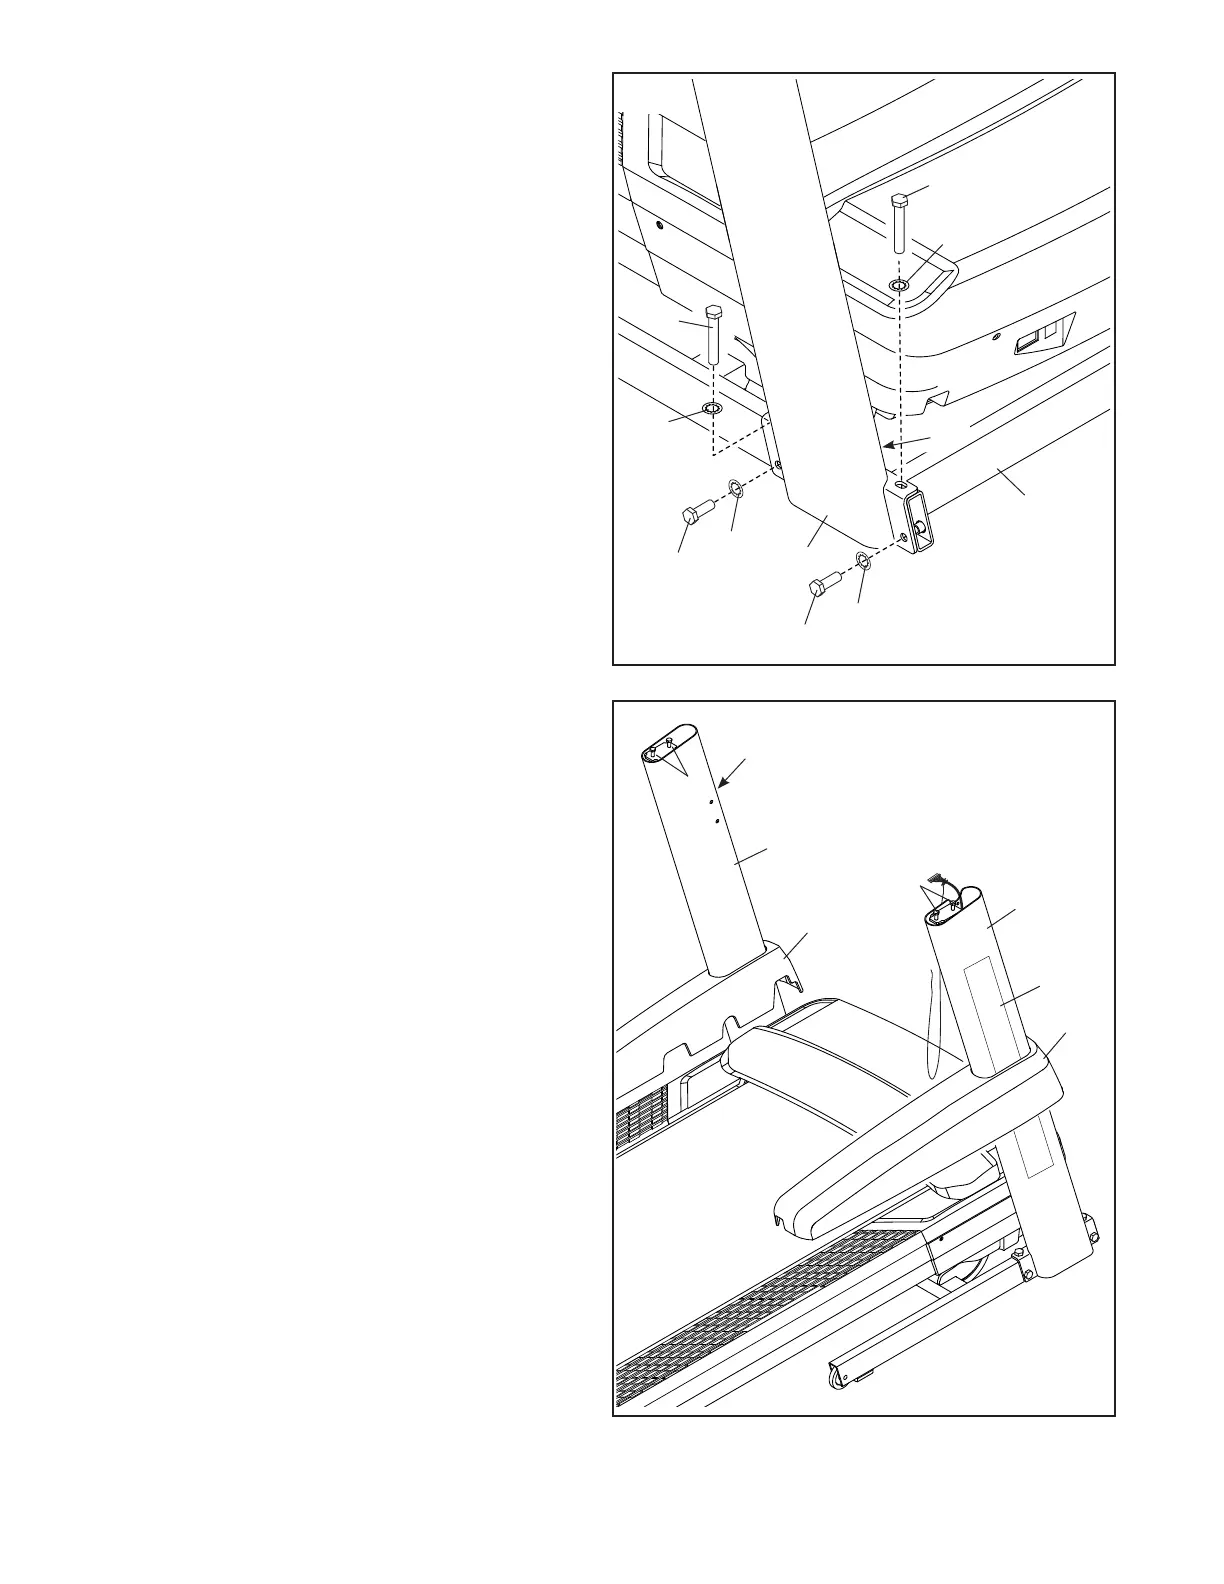
4. Hold the Right Upright (84) against the Base
(93). Make sure not to pinch the Upright
Wire (83).
Attach the Right Upright (84) with two
3/8" x 2 3/4" Screws (23), two 3/8" x 1 1/4"
Screws (20), and four 3/8" Star Washers (25) as
shown; do not fully tighten the Screws yet.
Attach the Left Upright (not shown) in the
same way. Note: There are no wires on the left
side.
25
25
25
83
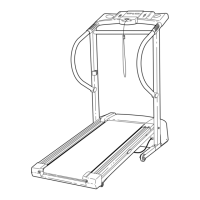
5. Identify the Left and Right Upright Covers
(89, 90).
Slide the Left Upright Cover (89) onto the
Left Upright (91), and slide the Right Upright
Cover (90) onto the Right Upright (84). Press
the Upright Covers downward; do not snap the
Upright Covers into place yet.
Then, remove and save the four indicated
5/16" x 2" Screws (2).
If there is a film (E) covering the decal on
each Upright (84, 91), carefully remove the
film.
89
90
84
E
E
5
2
2
91
20
25