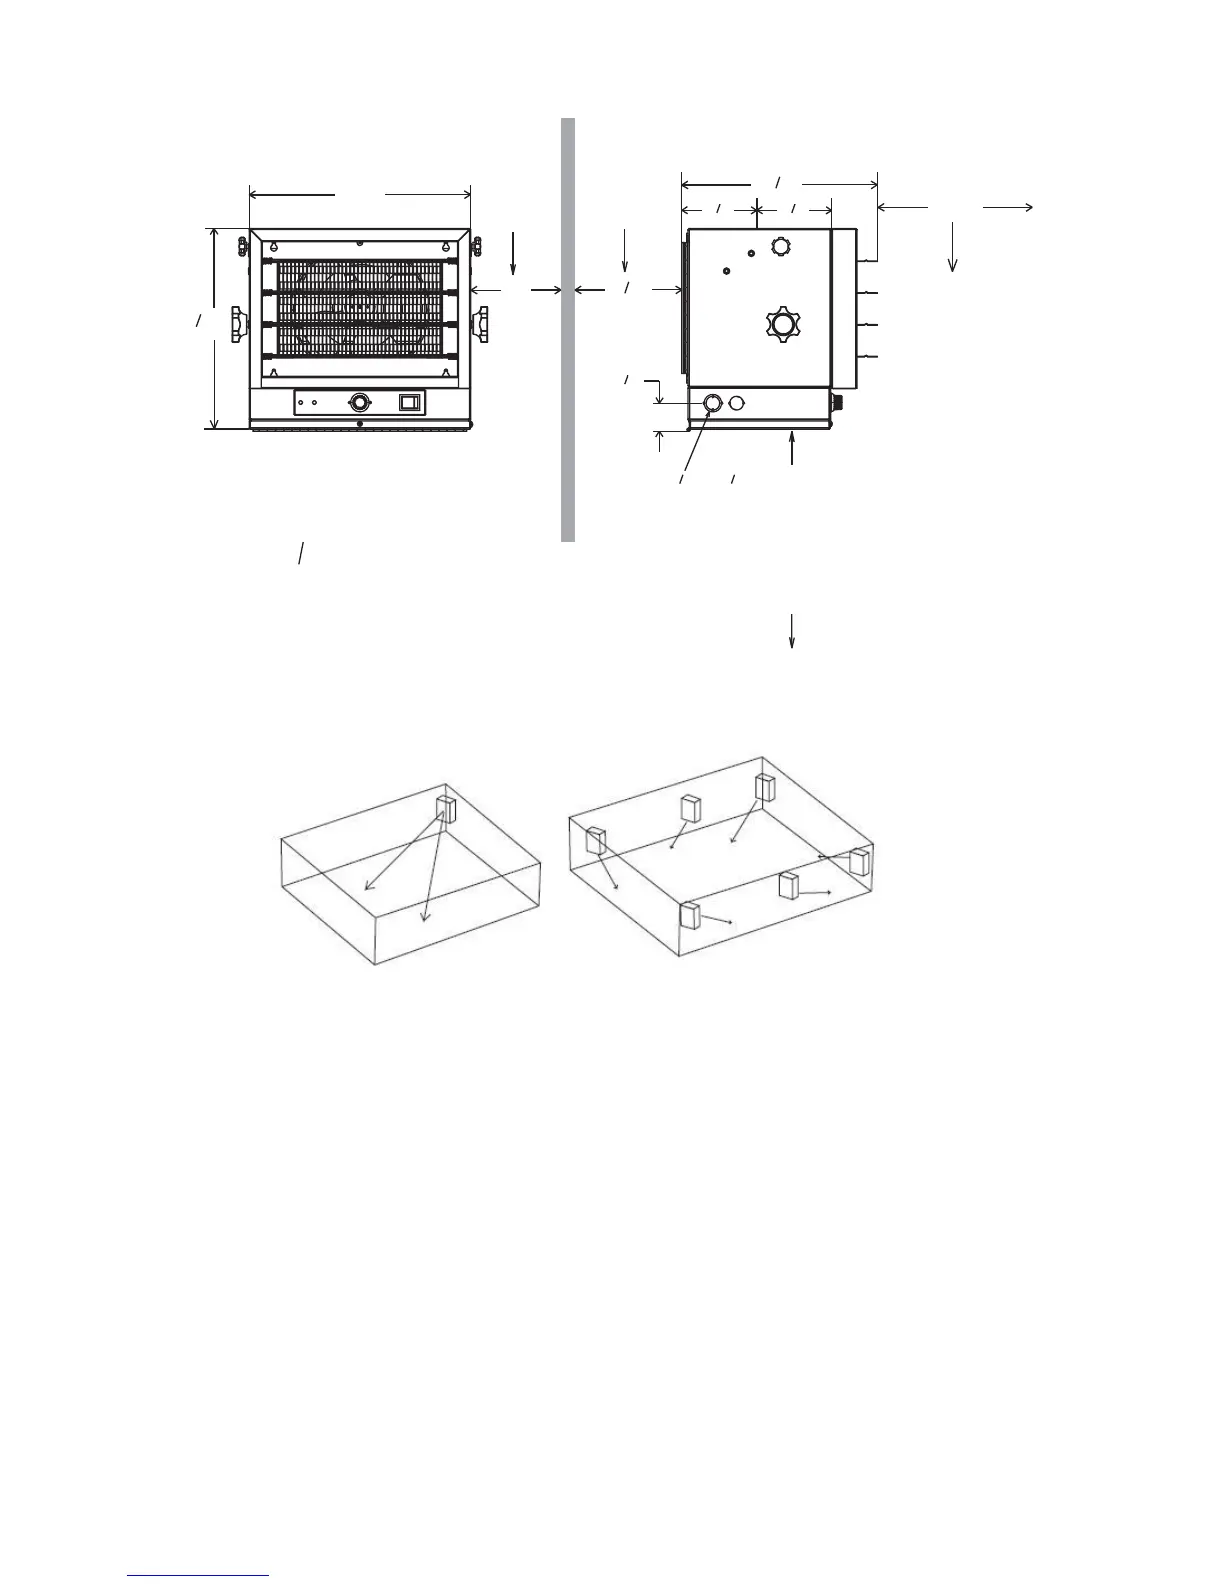
MOUNTING THE BRACKET
Ceiling mounting
Refer to Figures 4a and 4b.
1. Locate a wood stud in the wood ceiling joist. If you cannot locate a wood stud, you have
to install a wood piece on the ceiling as this heater must be securely fastened.
2. Remove the mounting bracket from the heating unit by loosening bracket screws with a
wrench and slipping the handle off over the screw heads.
5
FRONT VIEW
Note: Min.clearance to ceiling
when note using mounting brackets
is 1 in.
5
8
MINIMUM
DISTANCE
TO WALL
MINIMUM
DISTANCE
TO WALL
13in.
7 in.
3
8
MINIMUM
DISTANCE
TO FLOOR
8 ft.
SIDE VIEW
MAXIMIUM MOUNTING HEIGHT FRO:
Vertical air de;ivery unit = 11 ft.
Horizontal air delivery unit =8 ft.
MINIMUM
DISTANCE
FROM
DISCHARGE
TO ANY
OBJECT
14in.
12 in.
1
2
10 in.
3
5
4 in.
1
2
4 in.
1
2
24 in.
1 in.
3
4
in. .,
1
2
in.
3
4