14
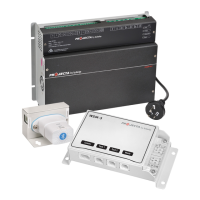
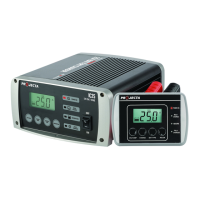
STEP 3 – REMOTE CONTROL* & TEMPERATURE SENSOR* (OPTIONAL)
If you require the temperature sensor and remote control, install before connecting the
charger to 240V mains power. These accessories are optional; the charger will operate
normally with or without accessories being fitted.
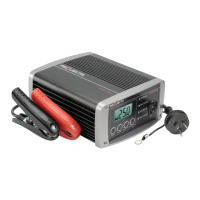
To install the remote control, insert the data plug into the data socket at the rear of the
battery charger.
Cable length: 4.5 metres.
Warning: Ensure the cable is secured safely away from moving parts.
Installing Temperature Sensor
To install the temperature sensor, insert the plug into the temperature sensor socket at
the rear of the battery charger. Install the ring terminal to the negative battery terminal.
Cable length: 1.8 metres
Warning: Ensure the cable is secured safely away from moving parts.
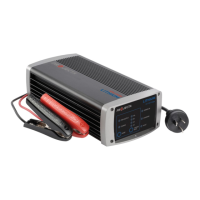
STEP 4 – CONNECT TO 240V MAINS POWER
Connect the battery charger to the 240V mains powered socket and turn on the mains
power. Turn battery charger On/Off switch to on.
*Not included with IC25W
 Loading...