STEP 4. ATTACHING GAS SOURCE
A. Make sure that then knob on the front of the ON/OFF airport is in the OFF
position, do this by turning the knob clockwise or down. Now screw in your air
system to the ON/OFF airport and turn the knob of the airport counter clockwise
all the way to the locked position, to turn the gas supply on.
STEP 5. TURNING ON THE RAIL™ AND CHECKING THE VELOCITY
Turning on the REFLEX RAIL™ and checking the velocity
A. Make sure you and everybody around you is wearing ASTM / CE approved
paintball masks.
B. Press and hold the top button located behind the grip frame until the REFLEX
RAIL™ turns on. WARNING, THE REFLEX RAIL™ WILL NOW BE LIVE. MAKE
SURE BARREL SOCK IS IN PLACE AND DO NOT POINT THE REFLEX RAIL™ AT
ANYTHING YOU DON’T INTEND TO SHOOT.
C. Fill up the loader with .68 caliber paintballs.
D. Shoot the REFLEX RAIL™ over a chronograph to check the velocity. If
adjustment is needed, adjust the velocity by turning the Hyper3™ velocity
adjustment screw with a 3/16” Allen key. In (clockwise) will reduce the velocity and
out (counter clockwise) will increase the velocity. After each adjustment it takes
a few shots before the change can be seen on the chronograph. Never adjust the
REFLEX RAIL™ to shoot above 300fps or what the fi eld rules / local laws permit.
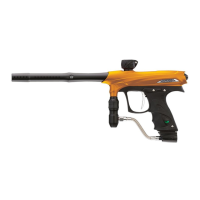
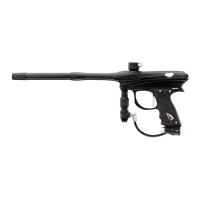
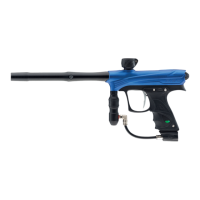
QUICK REFERENCE
USING YOUR MARKER
W W W . P R O T O P A I N T B A L L . C O M
5