Powering on and Image Setting
☐
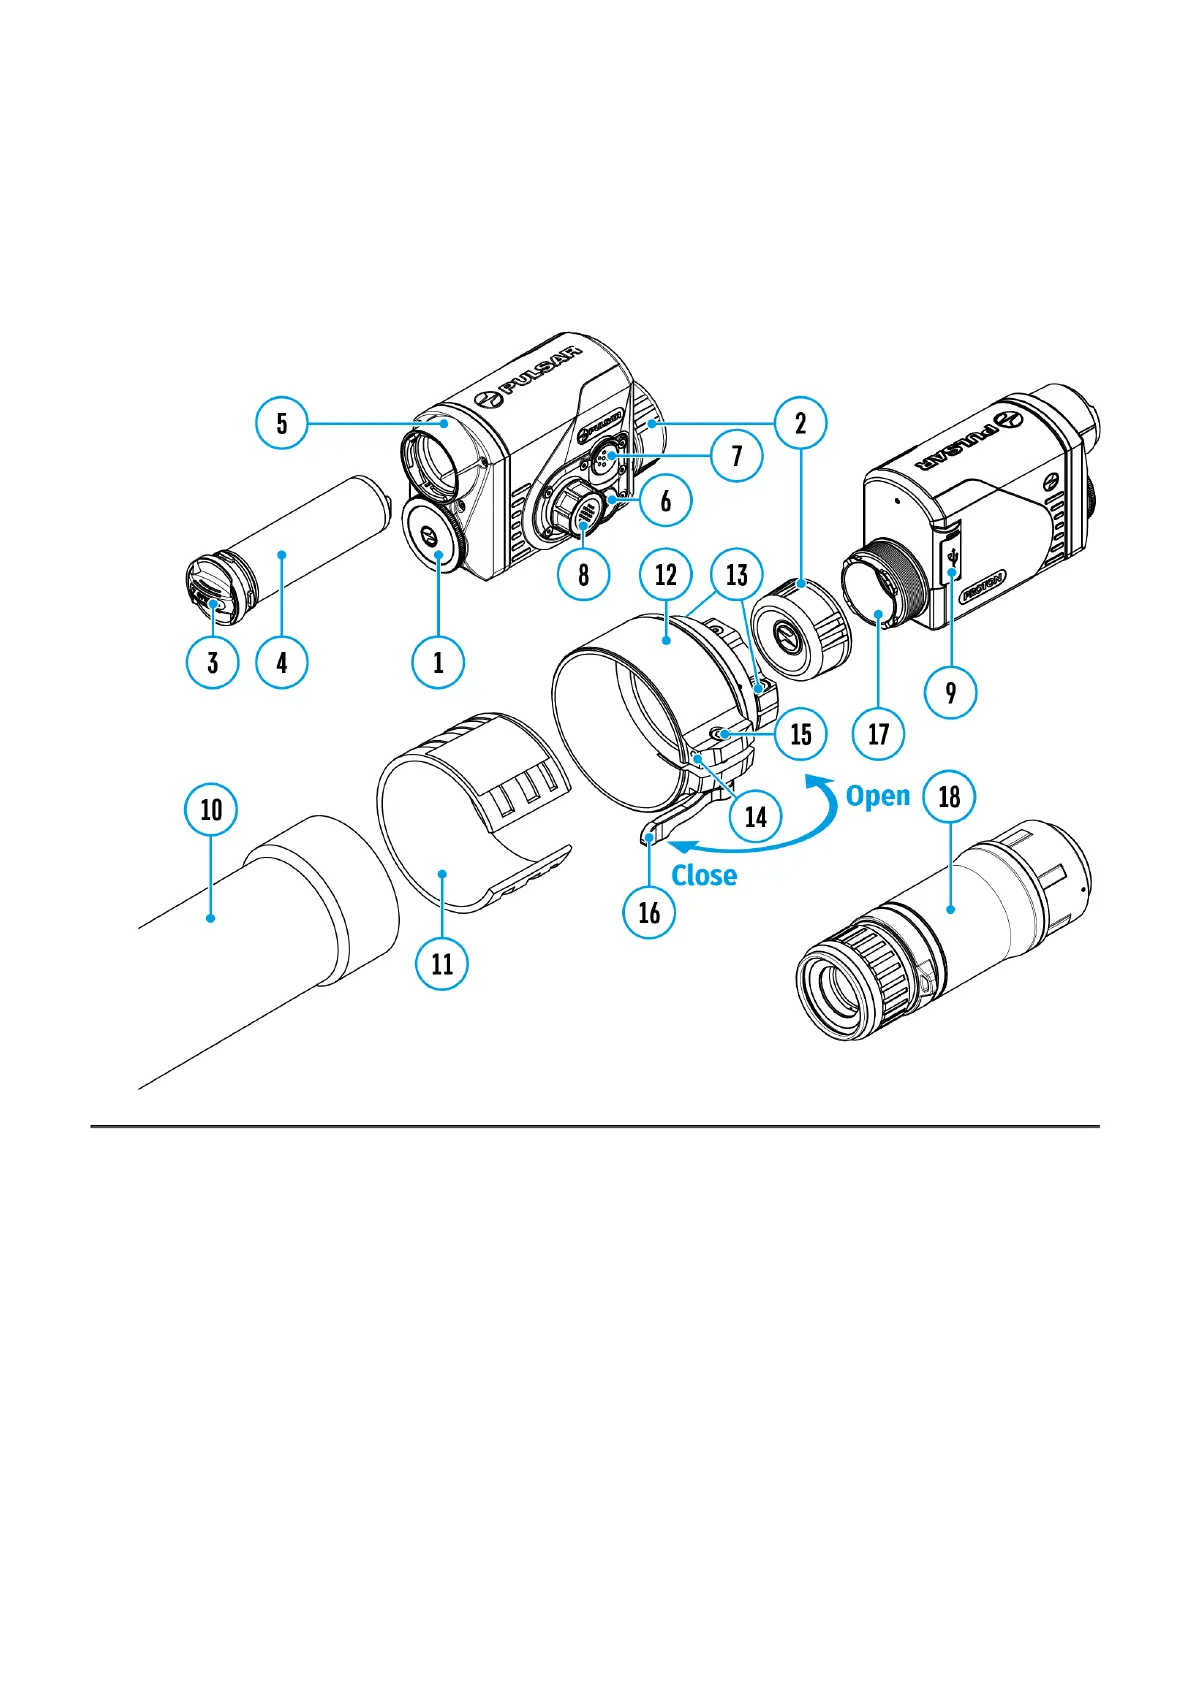
Show device diagram
1.
Remove the lens cover (1).
2.
Press the ON/OFF(6) button to turn on the thermal imager.
3.
Adjust the eyepiece diopter ring of your daylight optical device until the symbols in the
display are sharp. In future, it will not be necessary to adjust the eyepiece diopter,
regardless of the distance and other conditions.
4.
Enter the main menu with a long press of the controller button (8) and select the desired
calibration mode: manual (M), semi-automatic (SA) or automatic (A).
5.
Calibrate the image by briefly pressing the ON/OFF (6) button. Close the lens cover
before manual calibration.
6.
Select the desired observation mode (Forest, Rocks, Identification or User) in the
main menu. User mode allows you to configure and save custom brightness and
contrast settings, as well as one of three modes as a base.
7.
Enter the main menu with a long press of the controller button (8) and select the desired
color palette (see the Color Modes section).
 Loading...