PRO-VISION® Video Systems
35 provisionusa.com
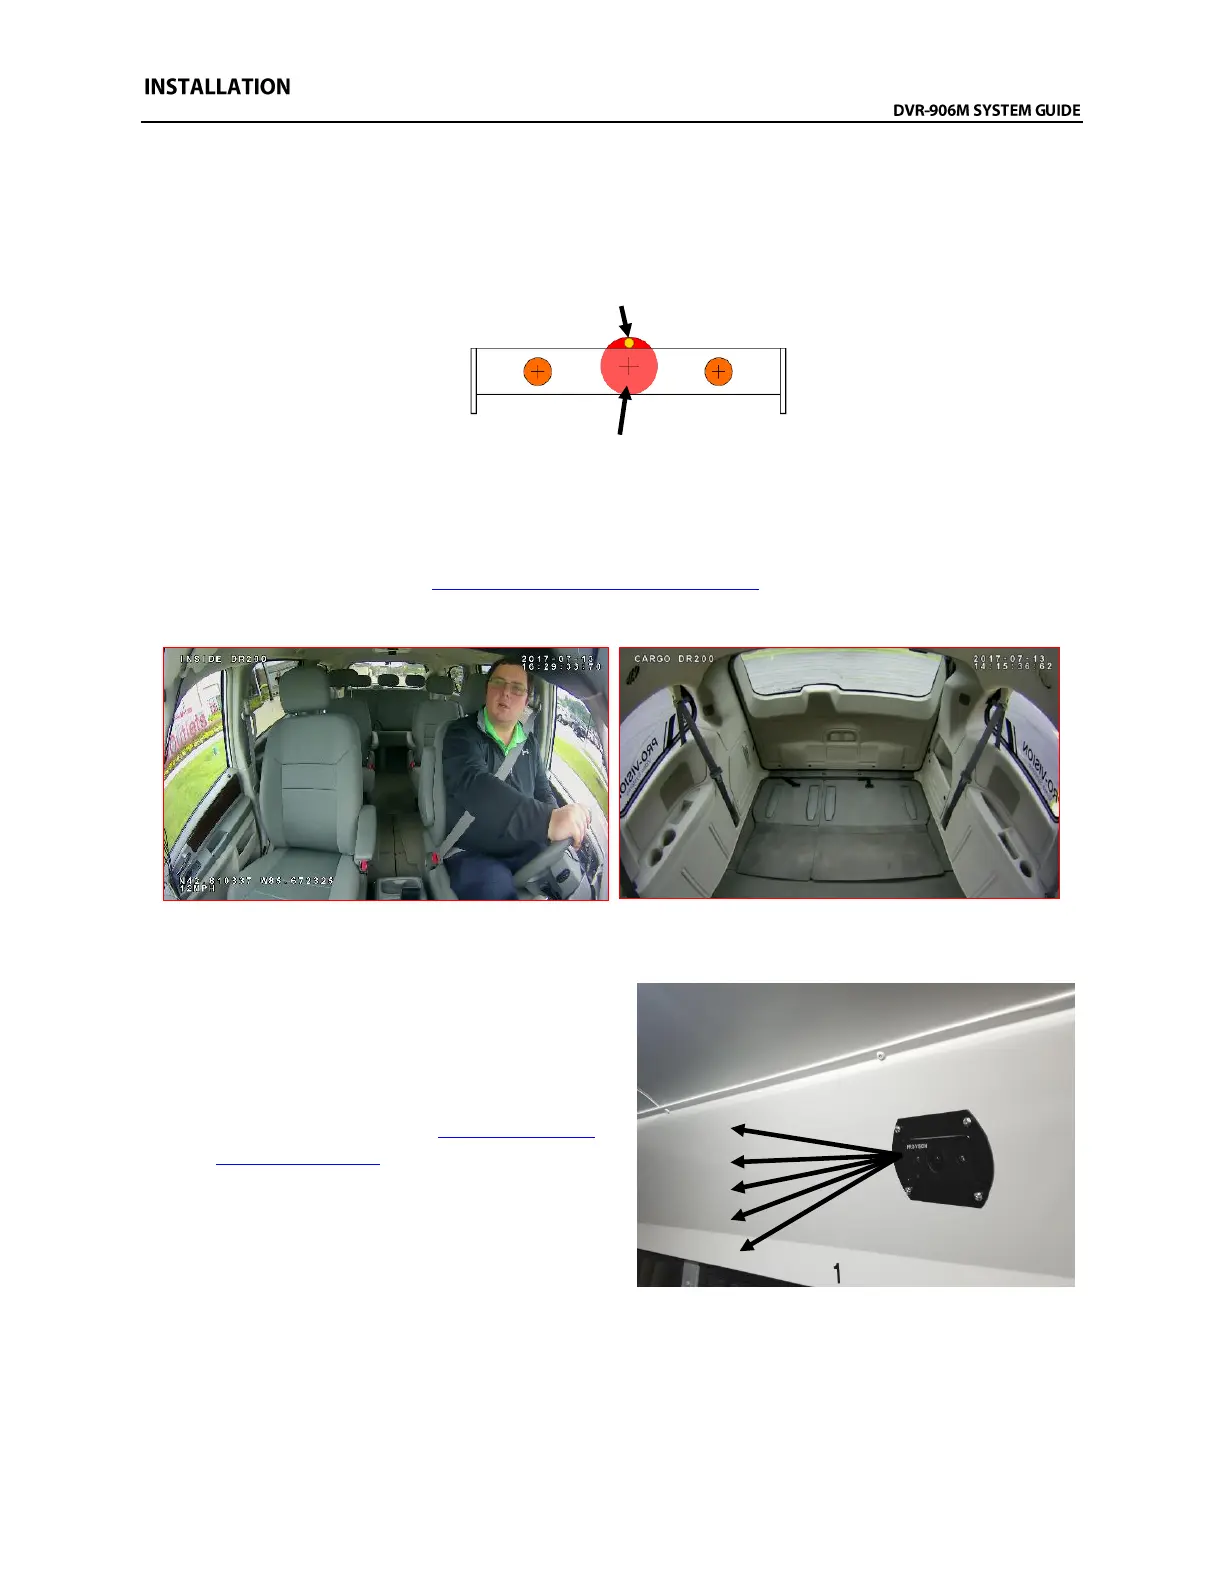
7. If mounting directly to headliner, where the camera cable must go through headliner, remove one
mounting screw, temporarily remove bracket, then drill a 5/8” hole (Shown in RED below)
between the mounting holes. Feed the camera cable (Shown in YELLOW below) through it, then
reinstall the bracket leaving the cable to the front or rear of the bracket. This method uses the
bracket to cover the hole that the cable was routed through.
8. Install the camera into the bracket using the four (4) camera side attachment screws; leave the
screws slightly loose until the camera is aimed.
9. Power on the DVR unit and connect to the Wi-Fi to view the live camera image to properly aim it
on the view page. (See Viewing Cameras on a Smart Device for connection details)
10. After the camera is aimed, tighten the four (4) mounting screws on the sides of the camera.
Example views showing inside of front and cargo area of van
Alternate Flush Mount Bracket Installation:
1. Determine the approximate mounting angle
of the camera by holding the camera flat
against the surface of the panel to be flush
mounted. Connect it to the DVR, and then
power on the DVR. (See Viewing Cameras
on a Smart Device for connection details)
Observe the camera view and determine if it
will need to be aimed upward or downward
and approximately to what degree angle. The
bracket has five (5) mounting positions:
-20° -10° 0° +10° +20°.