9 pulsar 3
20:20 – clock settings
2011-05-14 – date settings
Before plugging the power supply to Pulsar 3, it is important to make sure if the memory card and the BT antenna
(optional) are in the charger. After pressing the dial on the “SD, BT, RTC” line in the program window (we go to
the program window by holding the dial from any memory window) we are redirected to the „SD, BT, RTC”
settings.
Setting the BT name is important as it will let us recognize our device easier among other devices in close
proximity. Setting the date and time are vital for recording data on the memory card. File identification is easier
thanks to this.
WARNING: as long as Pulsar 3 is connected through an USB cable wireless transmission is disabled.
The window will be exited by pressing -exit- or automatically after 10 seconds from the last dial movement.
Personalizing through an SD memory card
In the folder located on the card: PULSAR3/Setup there is a file named title.txt. The text written there is displayed
in the main menu under the Pulsar 3 logo right after the chargers startup. A simple text editing program (e.g.
Notepad) may be used to edit his text. The text may not surpass 26 characters from the English alphabet ( { ` }
inserts a narrow space). If the file isn’t to be found on the memory card, the sign „Pulse charger” will be
displayed.
Additional information concerning the SD memory card
Cards formatted in a PC (FAT16 to 2GB or FAT32 with a 4GB capacity) should be specifically used in Pulsar 3.
After turning on the charger with an empty SD card (without a folder structure) – necessary folders will be created
automatically: (PULSAR3 as well as BACKUP, DATA and SETUP). Such a card is ready to be used immediately.
The card should be inserted and removed only when the charger is not plugged into a power supply!
Basic setup settings
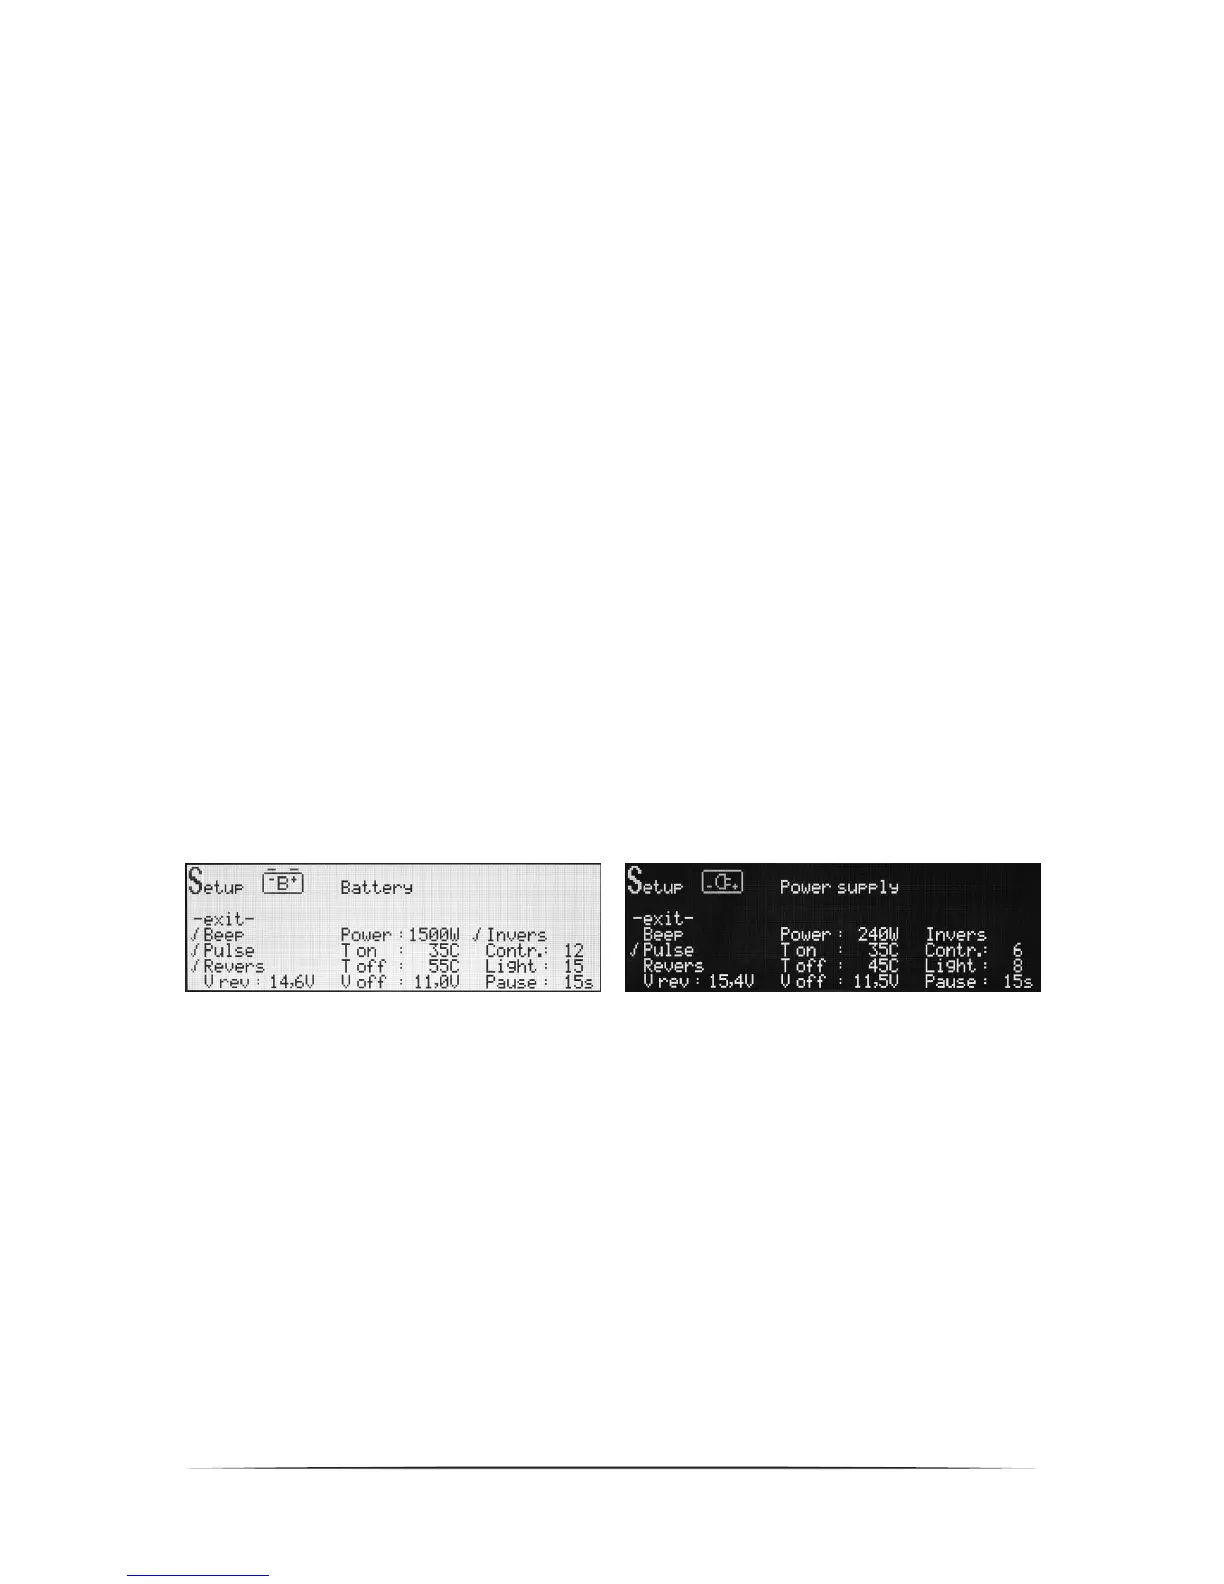
Pulsar 3 has two equivalent device memory settings – Setup. One of them is marked with a battery symbol and
the other with a power supply symbol. As both of them are identical they can be used freely. When for example
we operate the charger only with a power supply (or only with a battery) they can be both used with different
setup memory settings (depending on the need) with the same type of supply.
Through pressing the dial for on the “Setup” line we enter the settings from the program window (we enter the
program window by holding the dial from any memory window)
Setup windows (shown in positive and negative)
Window description
-exit- – return to memory window.
Beep – enable/disable acoustic signaling.
Pulse – enable/disable impulse work.
Revers – enable/disable discharging with an energy return do the supplying battery (Revers, must be turned
off when operating with a power supply, or it may result in damaging the supply) if it is not marked, operating
with an energy return is blocked for all memories (in a memory where the energy return was enabled, a ‘-‘
symbol is displayed before Revers)
V rev – max. battery voltage settings, after exceeding which the charge reduction will commence (Revers –
enabled), this protects the supplying battery from overloading during the energy return, especially when a
LiIo, LiPo or LiFe batteries are used (e.g. when supplying with 3 LiIo cells the voltage should be set to 12,4
V, which is about 3*4,1V – see the Charging voltage table on page 7, 15V for PB).
Power – setting the power input: 50-1800W, in 10W intervals. This can protect weaker power sources and
batteries from overcharging.
T on – setting the temperature from which the process is enabled: 25-55°C (‘-C’ disabling the function).
T off – setting the temperature from which the process is stopped: 38-60°C (‘-C’ disabling the function, the
temperature set in T off must be at least 5°C higher than T on).
V off – min. supply battery voltage below which the process will be stopped (his protects the battery from
deep discharge): 9-12V for 12V batteries and 18-24V and 36-48V for 24V and 48V batteries.