www.PyleUSA.com 15
Mounting and Installation
Mounting
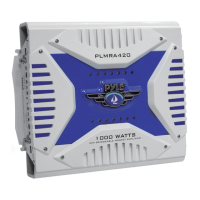
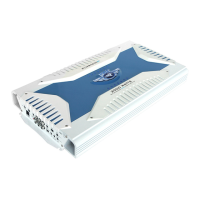
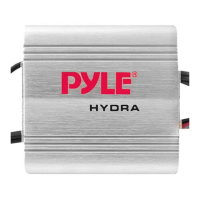
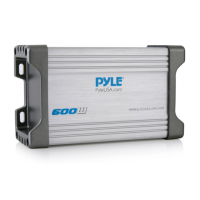
Your new Pyle Marine Series amplier comes with all necessary mounting
hardware. When choosing a location in your vehicle, keep in mind that the
amplier is a high-power electronic device that generates signicant heat.
Key Considerations for Mounting
• Choose a location with low vibration, adequate ventilation, minimal dust, and
no moisture.
• Ensure there is sucient airow around the cooling ns.
Steps for Mounting
1. Position the Amplier: Place the amplier where you want to install it.
2. Mark Screw Holes: Use a scribe or one of the mounting screws to mark the
mounting surface through the screw holes. If the surface is carpeted,
measure the hole centers and mark them with a felt-tip pen.
3. Check for Obstructions: Before drilling, check for any wires, lines, or other
components behind the mounting surface.
4. Drill Pilot Holes: Drill the pilot holes in the marked locations.
5. Secure the Amplier: Insert and tighten the mounting screws securely.
Wiring Tips
When connecting your amplier, follow these guidelines:
• Power and Ground Connections: Use at least 8 gauge wire.
• Direct Connection: Wire the amplier directly to the car battery.
• Grounding: Use the shortest possible wire to connect to a good chassis
ground point.
• Remote Connection: Wire the Remote connection to the auto start lead of
your head unit, equalizer, or power antenna.
About Power Fuses
Pyle Marine Series ampliers have a built-in fuse system to protect both the
amplier and your vehicle's electrical system from faults.
Fuse Replacement: If you need to replace a fuse, use one with the exact same
type and rating. Using a dierent type or rating could cause damage or a re.