www.PyleUSA.com16 www.PyleUSA.com 17
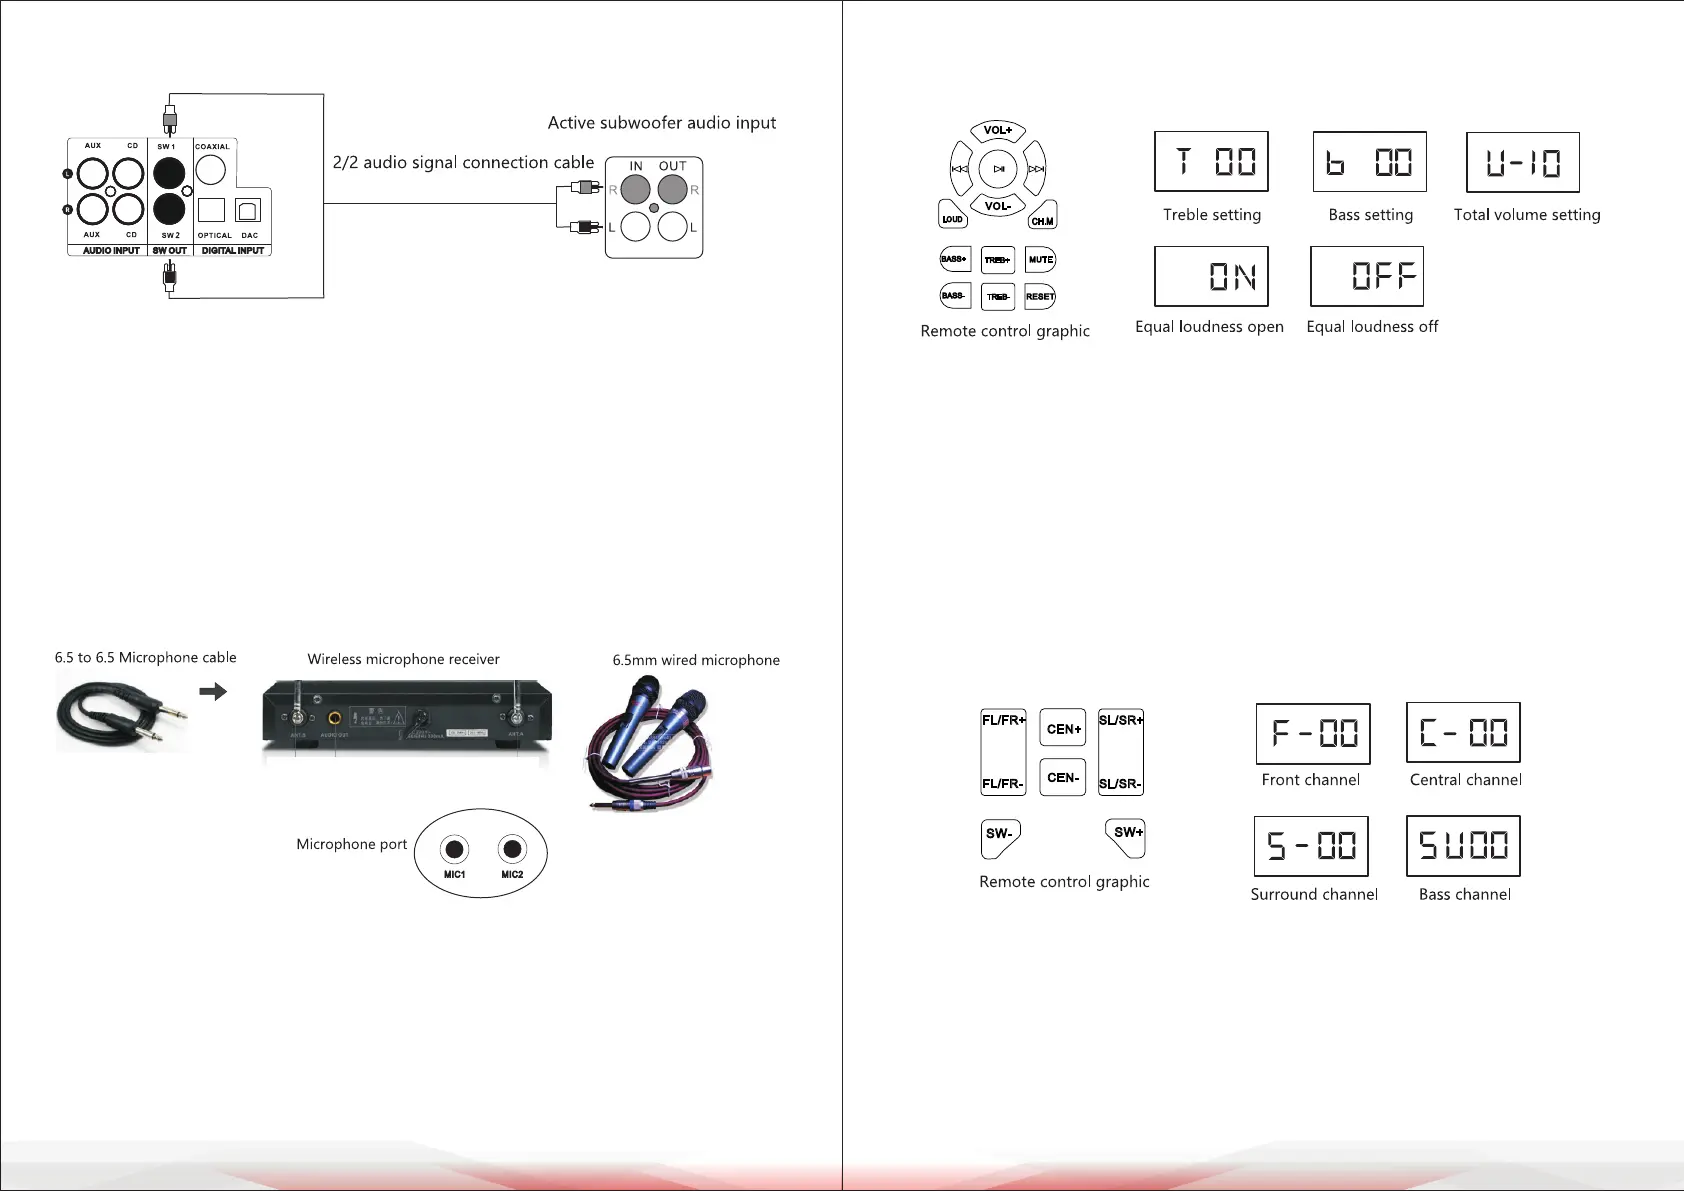
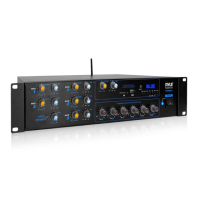
Sound Setting Instructions
A. Treble, Bass, and Overall Volume Settings
1. Adjust the Treble using the TREB+ or TREB- buttons on the remote control.
2. Adjust the Bass using the BASS+ or BASS- buttons on the remote control.
3. The system’s gain is preset to +9.
4. Adjust the Master Volume using VOL+ or VOL- on the remote control
(default: 10, max: 32).
5. Activate Loudness Mode by pressing the LOUD button to boost low
frequencies by 3dB.
B. Channel Volume Setting
Each channel’s volume ranges from 0 to 10 (default: 10 on startup).
• Independently adjust each channel’s volume using the remote control:
• FR (Front Right), FL (Front Left), CEN (Center), SW (Subwoofer),
SL (Surround Left), SR (Surround Right).
• If center and surround channels are not adjustable, press the CH.M button to
toggle between 2.1 and 5.1 channel modes. In 2.1 mode, center and surround
channels are disabled.
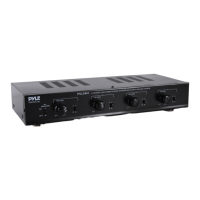
Auxiliary Subwoofer Signal Connection
1. This interface enhances bass output for users with high bass demands.
2. Select the appropriate audio cable for the SW OUT port and connect the
subwoofer to the amplier as shown in the gure.
3. The external subwoofer must be active, preferably with an 8-inch bass driver
and a rated power exceeding 100W.
4. If the subwoofer produces no sound, increase the volume on the subwoofer
and press the BASS+ button on the remote control.
Microphone Connection
1. The system supports both wired and wireless microphone connections.
Insert a 6.5mm audio cable into the microphone input port.
2. The microphone’s sound quality depends on volume settings, microphone
quality, and the surrounding environment. Refer to the manual for detailed
microphone volume settings.