August 3, 2018 7080-163D 23
MT. VERNON E2-C
Figure 23.2 - Example of a dirty heat exchanger
Figure 23.3
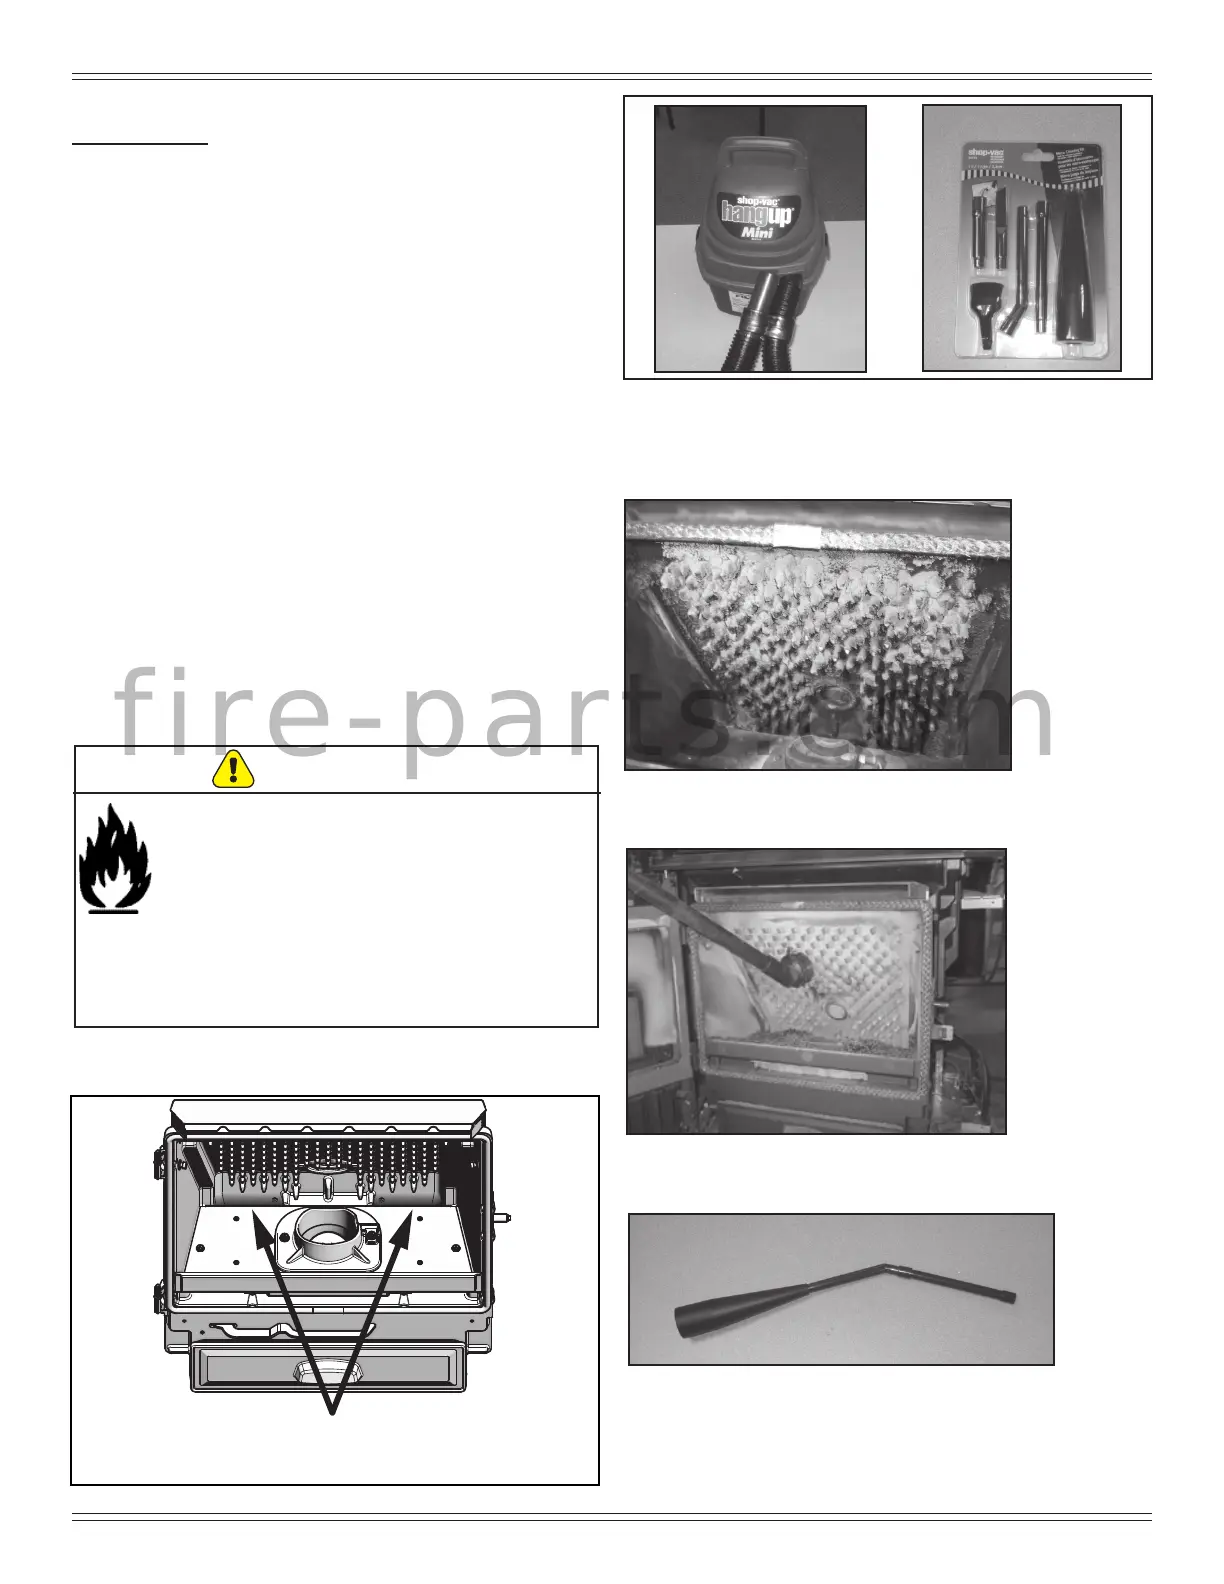
Shop Vacuum and Micro Cleaning Kit examples - items that
can be purchased at local hardware stores.
Figure 23.4
Figure 23.1
Exhaust exits must be thoroughly cleaned.
Each exit is approximately 4 inches wide, 1
inch across, and 3 inches deep
* Can be purchased at your local hardware store.
Cleaning Heat Exchanger & Drop Tube (cont.)
Tools Needed: A Shop Vacuum and generic micro cleaning
kit; at head screwdriver; bottle brush, ½” ID hose.
a. It is necessary to remove the bafe to gain access to
the heat exchanger (Figure 23.2). Follow instructions
for bafe removal on page 26, gure 26.2.
b. Vacuum the ash from the heat exchanger with an
upholstery brush to remove the majority of the ash. Be
sure to vacuum the back of the bafe also. Inspect the
drop tube and remove any residue build-up in the drop
tube (Figure 23.3).
c. Assemble the crevice tool from the micro cleaning kit to
attach to a Shop Vac (Figure 23.4).
d. Use the crevice tool to nish cleaning the heat
exchanger ns. It is critical that the 2 exhaust exits
at the back of the rebox oor (left and right) be
thoroughly cleaned (Figure 23.2). There are several
ways this can be done:
1. Use the crevice tool.
2. Attach a hose 1/2 inch (12.7mm) inside diameter
and approximately 2 feet (607mm) in length to your
vacuum hose.
3. Use a bottle brush and push the ash down to the
bottom. Remove the combustion (exhaust) blower
and then vacuum out the ash.
Hopper Fire Risk!
For trouble free use of your pellet appliance
you must perform cleaning as called for in
these instructions. Not doing so will result in:
• Poor operating performance
• Smoke spillage into the home
• Overheating of components
Not properly cleaning your appliance on a
regular basis will void your warranty.
WARNING
f i r e - p a r t s . c o m