Installing Components in the Node
Quantum DXi4700 Capacity Upgrade Guide 18
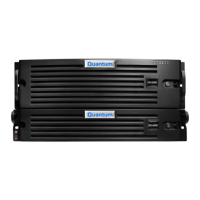
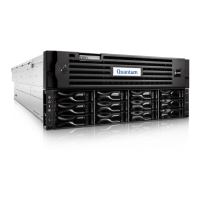
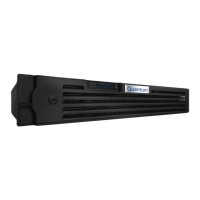
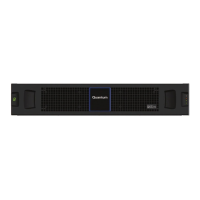
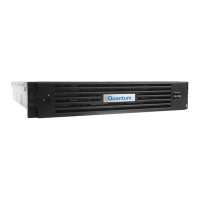
New DXi Bezel
A new DXi bezel is available. Please contact your account sales manager to purchase additional new
bezels.
1. If installed, remove the front bezel by lifting the latch on the left side of the bezel. (If necessary, unlock
the bezel first.)
2. Disconnect all power, SAS, Ethernet, and Fibre Channel cables from the rear of the Node. Make sure
to label the cables so they can be easily identified when they are re-connected to the Node after the
upgrade procedure is complete.
3. Press the locking tab on either side of the Node, and pull the Node out from the rack until the inner rails
lock.
Note: If necessary, remove the optional screws securing the Node to the front of the rack (behind
the locking tab).
4. Locate the lock levers on the sides of the inner rails (see Figure 11 on the next page). Unlock each lever
by rotating it up to its release position.
 Loading...
