Initial Configuration 25
DXi6701/DXi6702
Initial Configuration
Before the DXi6701/DXi6702 is operational, you must configure the system through the
remote management setup pages. You must also configure your backup software.
Configuring the DXi6701/DXi6702 consists of four major steps. See the following
subsections for detailed instructions for completing each step:
1 Accessing the DXi6701/DXi6702 Remote Management Interface on page 25
2 Completing the Getting Started Wizard on page 28
3 Connecting the Ethernet Cables on page 36
4 Creating a Typical Backup Configuration on page 38
Note: You will need a computer and an Ethernet cable to complete the initial setup.
Note: If you attempt to install multiple DXi6701/DXi6702 systems at the same time,
an IP address conflict can occur because each system is configured with the
same default IP address (10.1.1.1). To avoid this problem, install one system
and configure it to use a different IP address before you connect another
system to the network.
Accessing the DXi6701/
DXi6702 Remote
Management Interface
To access the DXi6701/DXi6702 remote management interface:
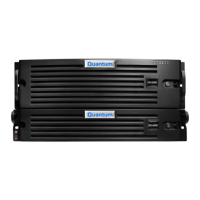
1 Turn on the DXi6701/DXi6702 system by pressing the power buttons located on the
front of each chassis (see
Figure 16) in the following order:
a Turn on the expansion module(s).
Caution: Wait 20 seconds for each expansion module to power on
completely.
b Turn on the DXi6701/DXi6702 node.
Note: Wait for the system to boot before continuing with the procedure. This can
take up to 30 minutes.
 Loading...
