26 Initial Configuration
DXi6701/DXi6702 Installation and Configuration Guide
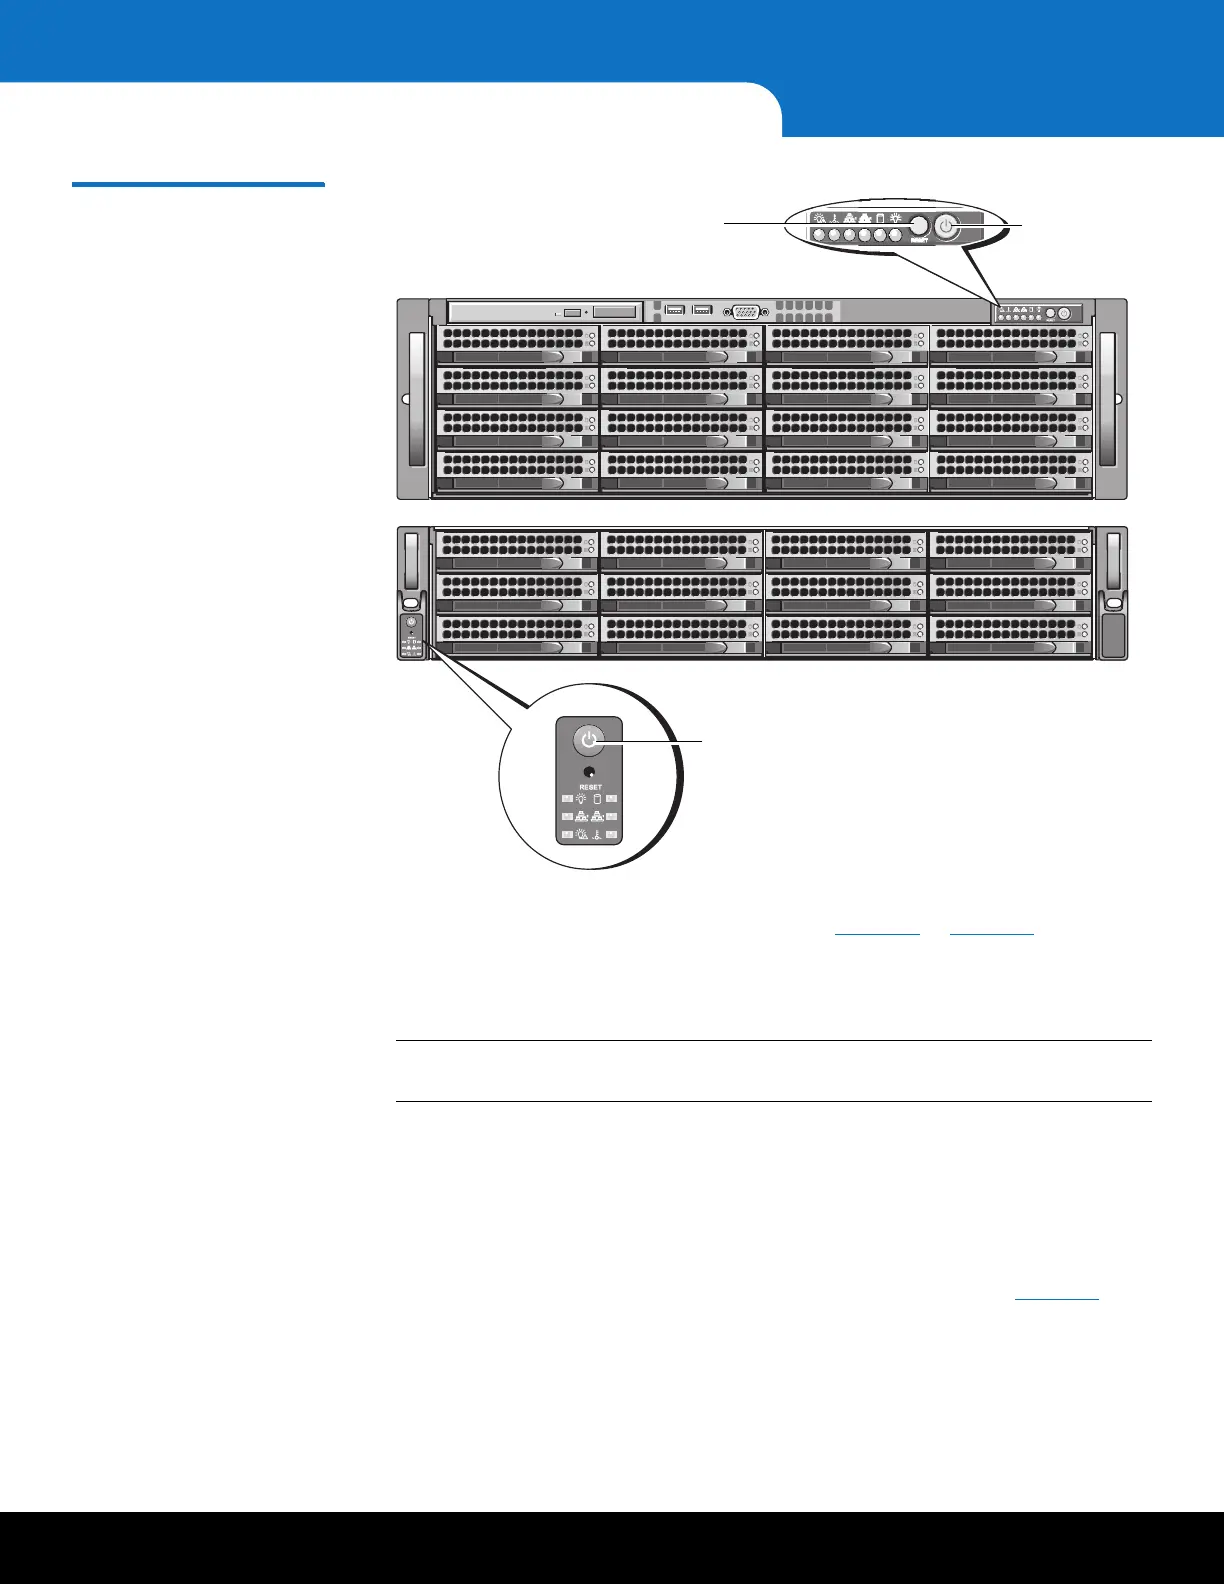
Figure 16 Power Buttons
2 Using an Ethernet cable, connect the Ethernet port on the computer to Ethernet
port 0 on the back of the DXi6701/DXi6702 (see
Figure 13 or Figure 14). Ethernet
port 0 is in the upper, right-hand portion of the motherboard as you face the back
of the system.
3 Configure the network settings on the computer:
Note: This procedure assumes you are running Windows XP on the computer. The
steps might be different if you are using another operating system.
a On the Windows Start menu, click Connect To > Show all connections.
b Right-click the network connection that corresponds to the Ethernet port on the
computer (for example, Local Area Connection), and click Properties.
c Select Internet Protocol (TCP/IP) in the list of connections, and then click
Properties.
The Internet Protocol (TCP/IP) Properties window displays (see Figure 17).
Power button
Power button
The Reset button is recessed to
prevent it from being pressed
accidently