19
1145094-W2-D
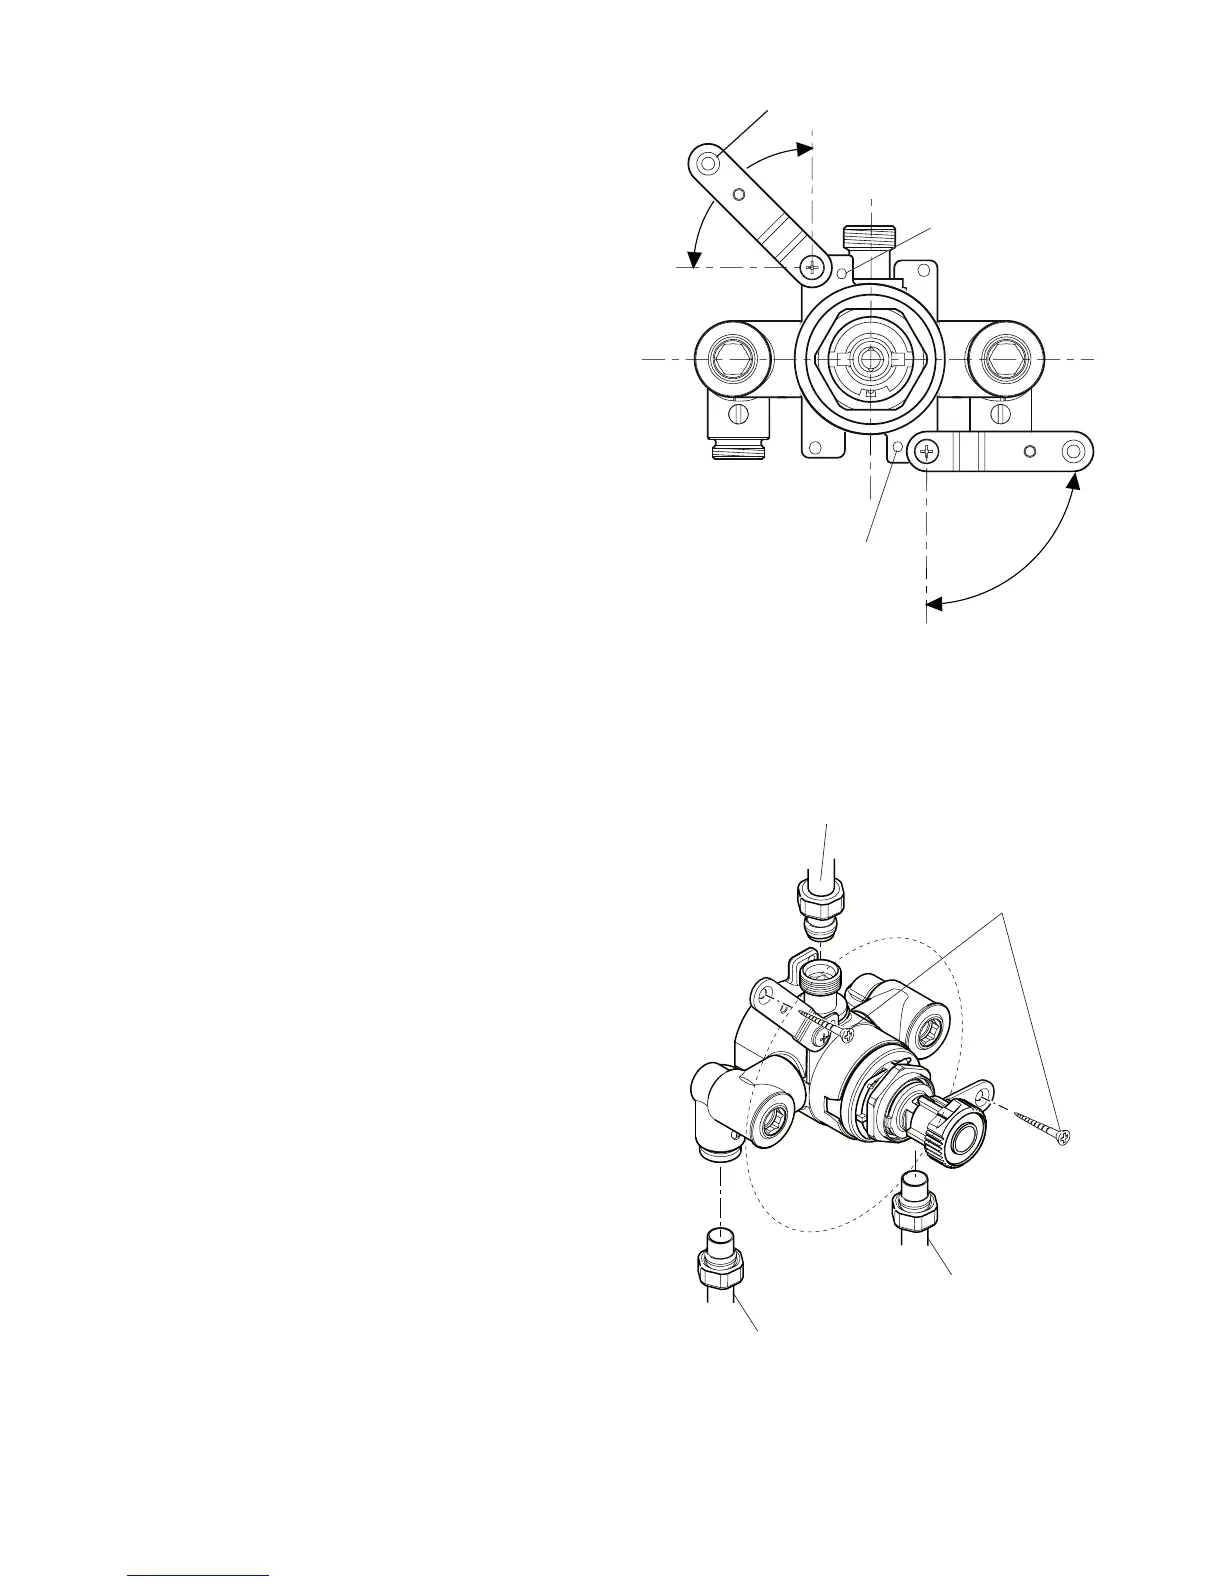
Rotate for Suitable
Fixing Point
Chrome Trim
Securing Hole
Chrome Trim
Securing Hole
Countersunk Fixing Hole
Screws
Outlet Pipe to Fittings
Hot Supply
Cold Supply
7. Fit the securing brackets to the mixer
with the bracket securing screws.
Important! Make sure that the
correct holes are used, otherwise the
chrome trim cannot be tted.
Note! The securing brackets can be
rotated for suitable xing points.
8. Make sure that the mixer is level
and mark the positions for the
countersunk xing holes on the wall.
9. For solid walls drill two 6 mm holes
for the wall plugs.
Caution! Do not drill into pipes in the
wall.
10. Fit the wall plugs (supplied) and x
the mixer to the wall with the screws
provided.
Note! For stud partition installations
alternative xings may be required
(not supplied).
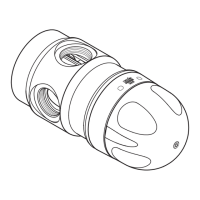
11. Connect the hot and cold supply
pipes and tighten the compression
nuts.
Caution! Make sure that the olives
are tted and all pipework is ushed
through before connecting to the
mixer.
12. Connect the outlet pipework, leaving
enough pipe through the wall to
temporarily cap off.
13. Turn on the water supplies and check
for leaks.
Note! Fully open the integral isolating
valves on the inlet elbows.
Note! Securing Brackets shown
in preferred position to allow the
Compression Nuts to be tightened.