24
1145094-W2-D
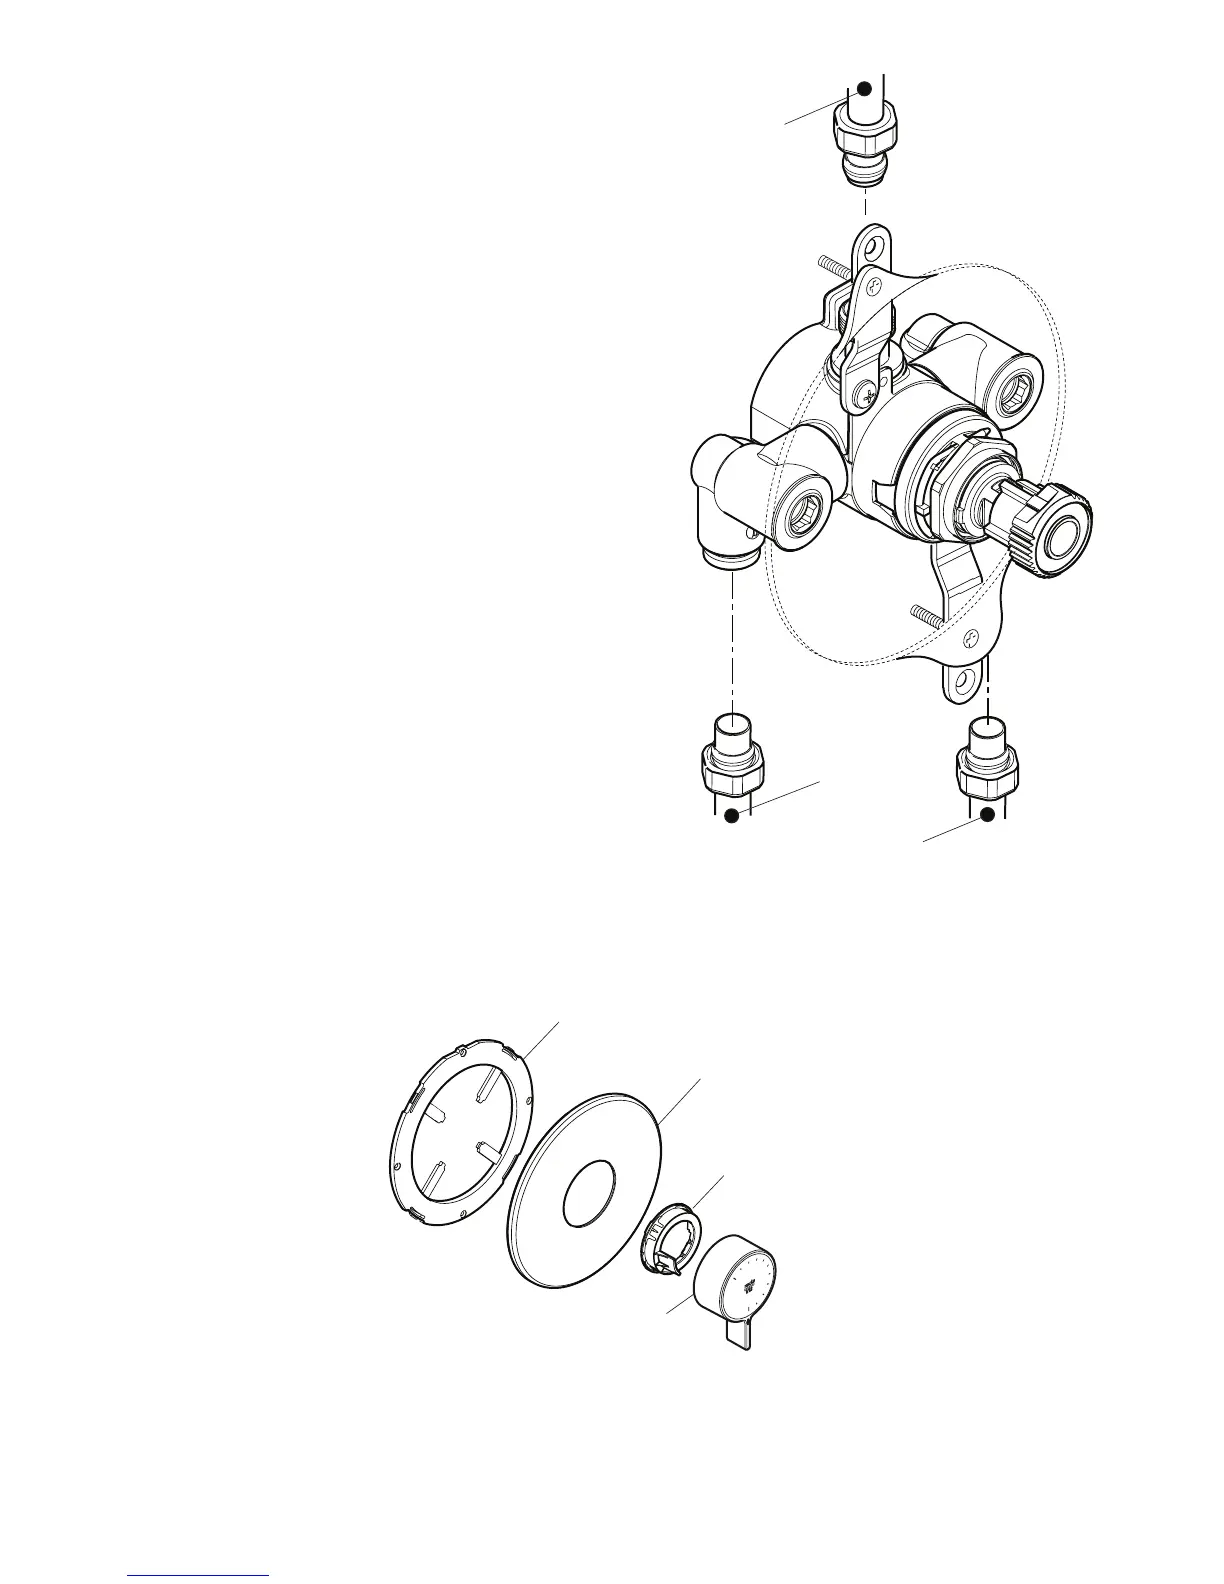
9. Fit the outlet pipework, leaving
enough pipe through the wall to
temporarily cap off.
10. Turn on the water supplies and check
for leaks.
Note! Fully open the integral isolating
valves on the inlet elbows.
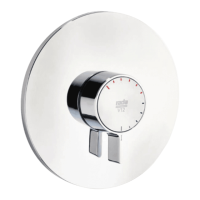
11. Refit the chrome trim and secure
in position with the two screws
(supplied).
12. Fit the Shower Fittings, refer to your
Shower Fittings Product Manual for
Instructions.
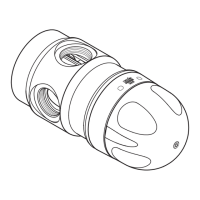
Note! For high pressure systems,
a 6 or 9 litre/minute ow regulator
(supplied) can be tted in the RAC
(Right Angled Connector - See
shower ttings kits).
13. Fit the concealing plate and control
assembly, refer to section: ‘Control
Assembly’.
Hot Supply
Cold Supply
Outlet Pipe
to Fittings
Control Assembly (Built-in Models)
1. Use the 2.5 mm hexagon key (supplied) to loosen the grubscrew, then remove
the control lever.
2. Carefully unclip the concealing plate from the backplate.
Control
Lever
Backplate
Concealing Plate
Bearing