32
1145094-W2-D
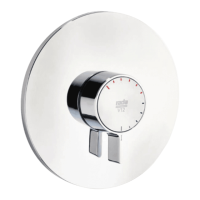
Built-in Models
Note! Refer to illustrations in section: ‘Control Assembly (Built-in Models)’.
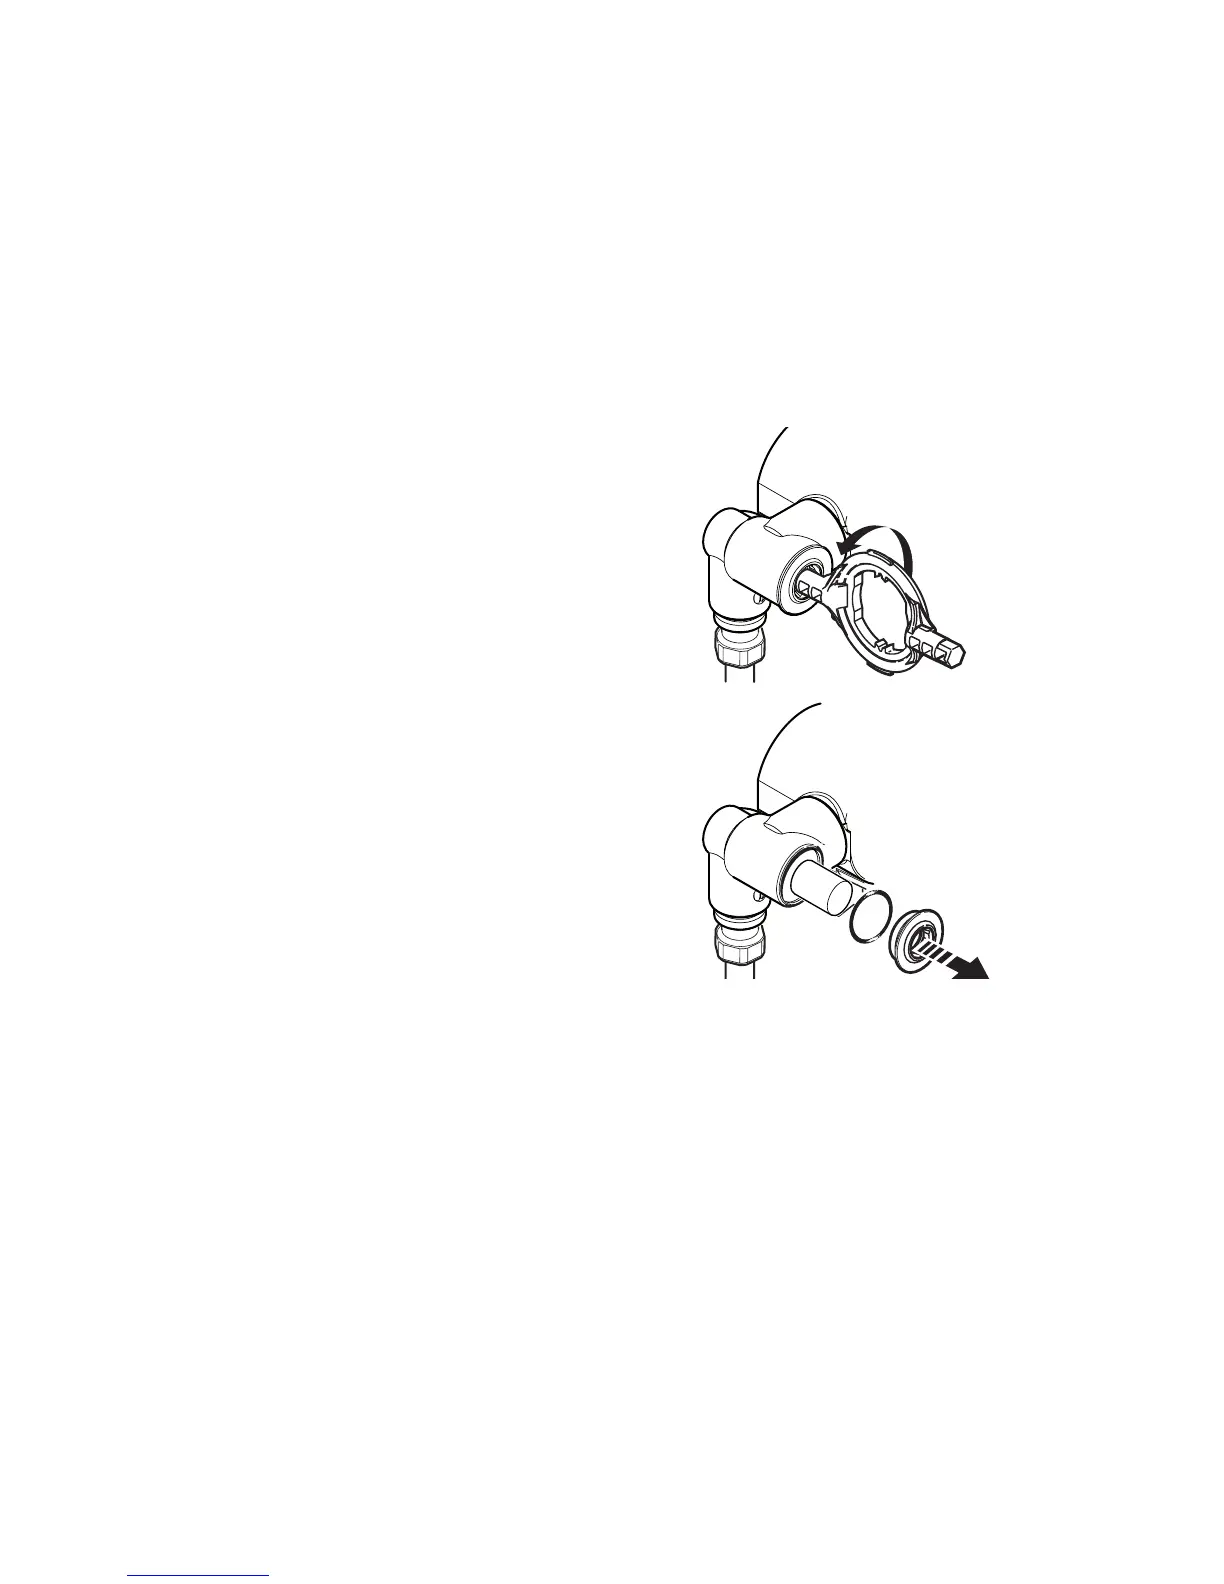
1. Loosen the Grubscrew and pull off the Control Lever and Bearing.
2. Carefully unclip the Concealing Plate from the Backplate.
Note! Use a screwdriver in the cutout to assist separation.
3. Isolate the hot and cold water supplies with the integral ball valves and operate
the control lever to drain any residual water.
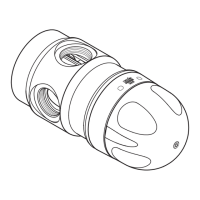
4. Unscrew the Filter Caps with the
‘O Key’ (supplied) or a 12 mm
hexagonal wrench and remove the
Filters.
Note! Use pliers to carefully remove
the lters.
5. Clean each of the lters under a jet of
water to remove any lodged particles.
6. Ret the Filters and tighten the Filter
Caps.
Note! Make sure that the seal is tted
correctly and not damaged.
7. Turn on the hot and cold water supplies and check for leaks.
8. Refer to section: ‘Control Assembly (Built-in Models)’ and follow instructions
4 to 9.