8
Setup
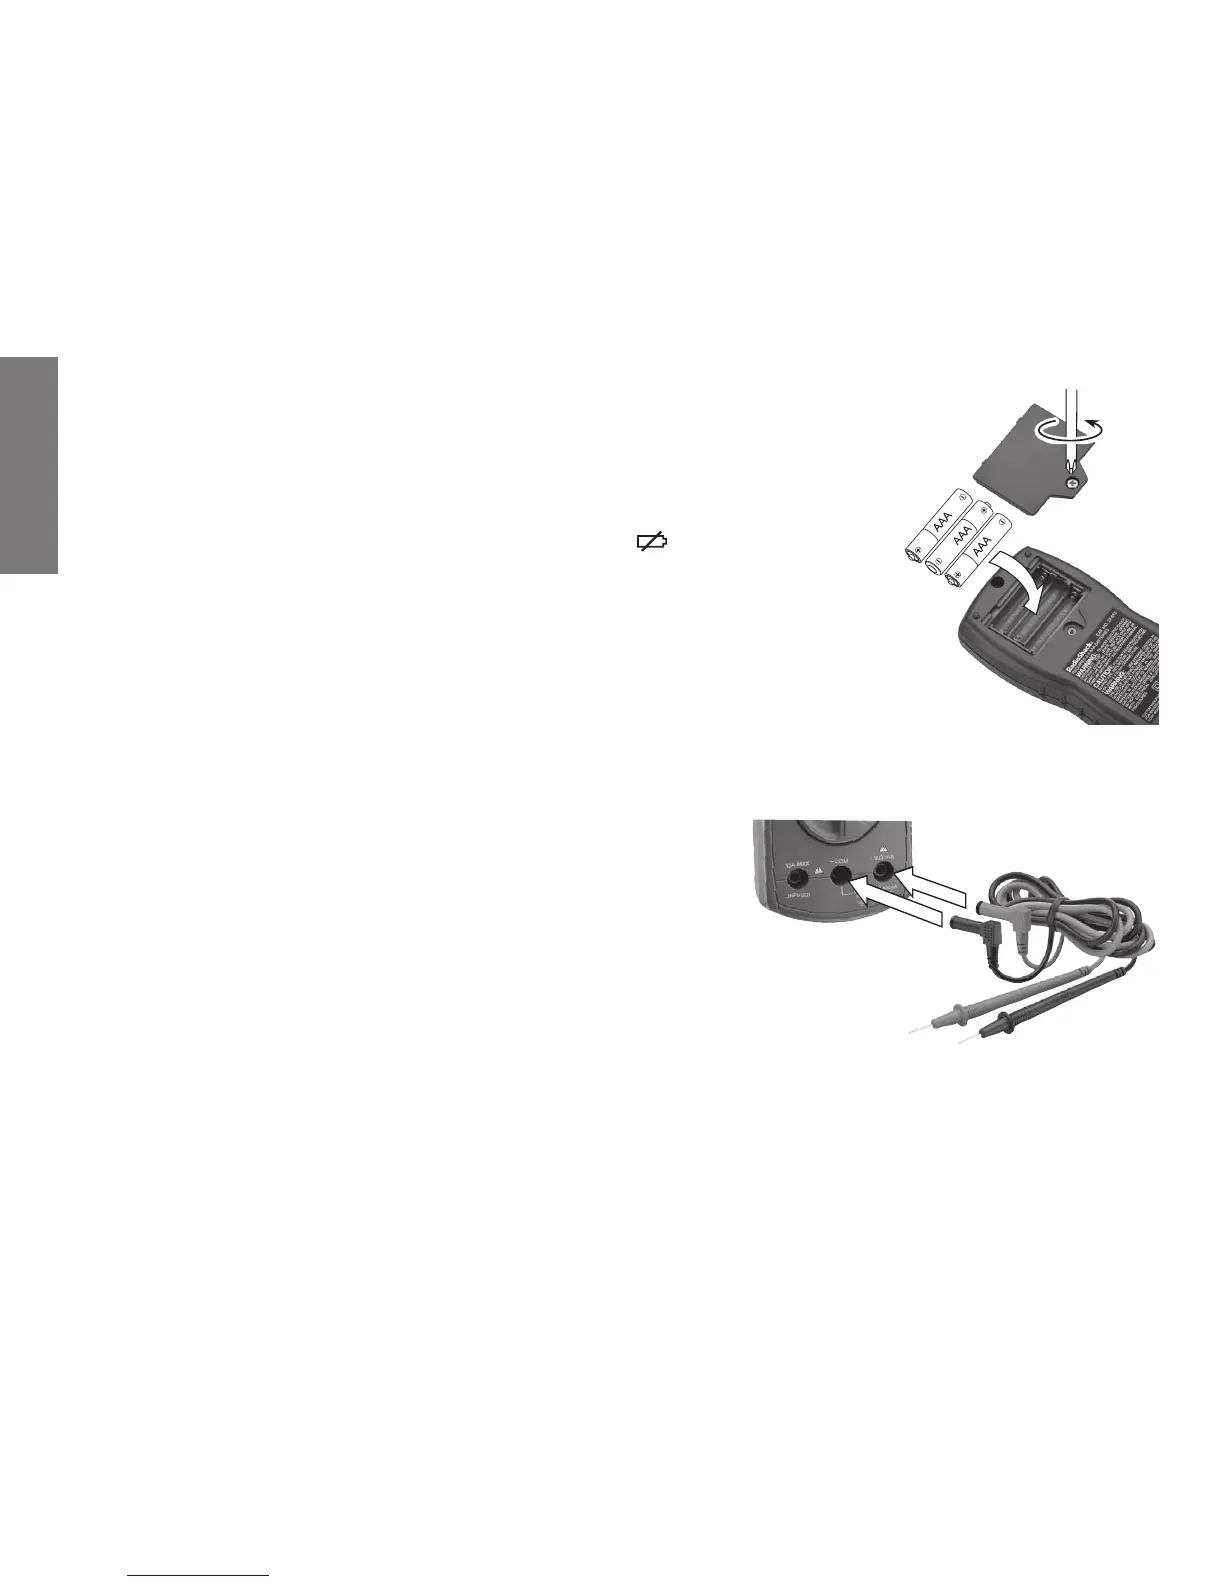
Install the Batteries
Before installing batteries, turn off the multimeter and disconnect the
testleads.InstallthreeAAAbatteries(notincluded),matchingthe
polaritysymbols(+and-)markedinside.When appears, replace
the batteries.
• Disposeofbatteriespromptlyandproperly.Donotburnorbury
them.
• Useonlyfreshbatteriesoftherequiredsizeandtype.
• Ifyoudonotplantousethemeterforamonthormore,remove
the batteries. Batteries can leak chemicals that can damage electronic parts.
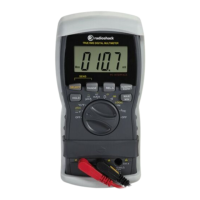
Connect the Test Leads
1. Remove the rubber caps from the test leads.
2. Plug the black lead into the –COM jackandthe
red lead into the +V.Ω.mAjack.Tomeasurecurrent
greaterthan400mA,plugtheredtestleadinto
+10A MAX.
n Note: After connecting to the +10A MAXjacktomeasureanythingexceptcurrent,a
buzzerremindsyounottotouchthetestleadstothecircuit.