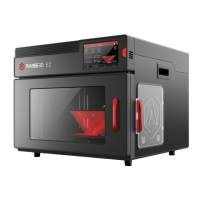
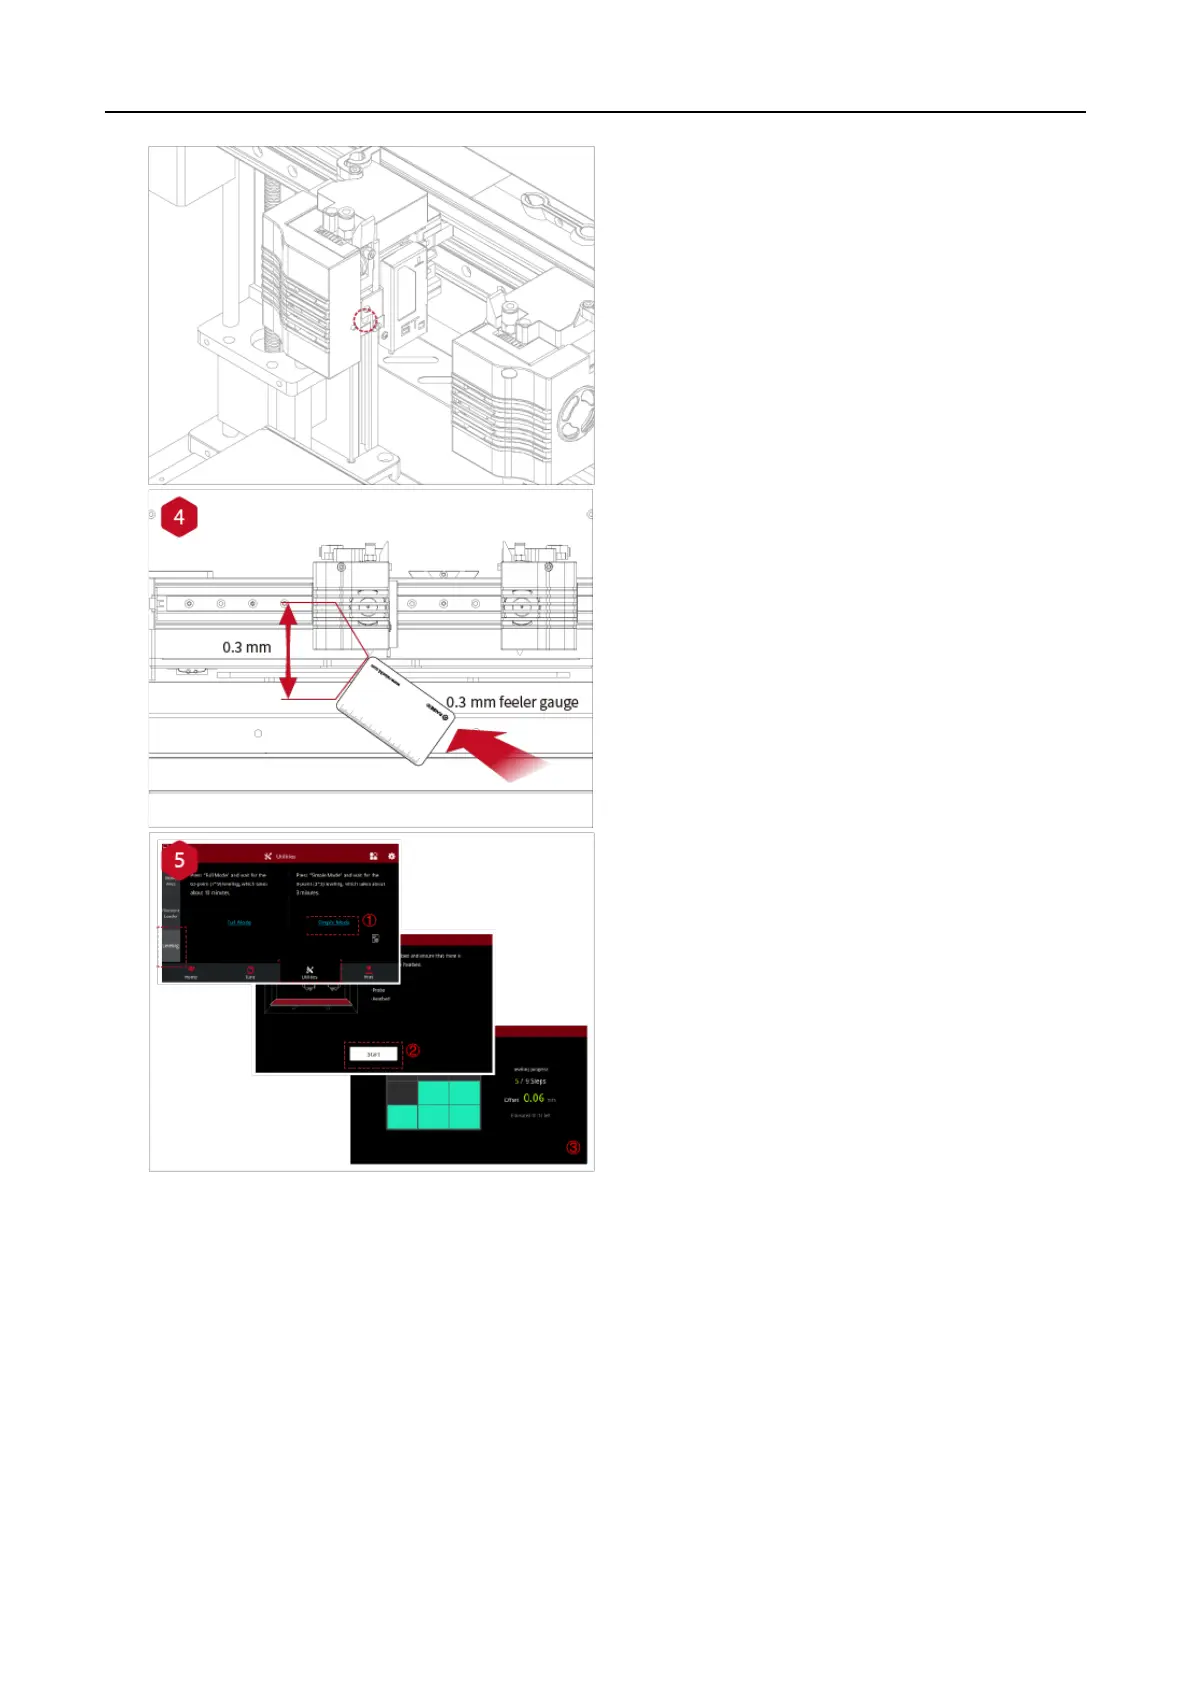
Take out the gauge from the Accessory Kit and
insert it between the nozzle and the platform.
Adjust the nozzle so that the distance between
the nozzle and the printing platform exactly
matches the thickness of the gauge (about 0.3
mm). Tighten the nozzle screw and remove the
gauge. The other nozzle is adjusted in the same
way.
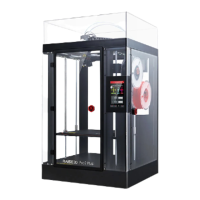
Follow the steps shown in the figure on the touch
screen to run 9-point automatic leveling.
After the 9 grid interface automatically closes, the
leveling is finished.