6
ArtNo.330-0003 - Grill pan w handle pulled forwards
ArtNo.200-0003 -
Generic grill control to full
Fig.2-7
Fig.2-9
ArtNo.051-0001 - Induction power levels
Power Level
Automatic heat-up time
at 100% (min:sec)
1
2
3
4
5
6
7
8
9
0:48
2:24
3:48
5:12
6:48
2:00
2:48
3:36
0:10
Table 2-2
Fig.2-6
ArtNo.331-0001Grill pan pulled forwards
Fig.2-8
The function is selected by turning the control knob to the
‘A’ position. This can be selected by either turning the control
knob momentarily counter-clockwise from the zero position
or clockwise past the ‘9’ until the symbol [ A ] is shown on
the hob control display. Once the [ A ] is displayed, turn the
control knob to the level of your choice (1 to 9). The pan will
heat up at 100% power for a specied time before the power
is reduced to the level selected.
When the Automatic Heat-up function is activated, the hob
control display will ash alternately between the [ A ] setting
and the chosen power level.
Once the automatic heat-up time has ended the hob control
display will stop ashing and will display the chosen power
level.
The Automatic Heat-up function can be stopped by either
turning the control knob back to the “0” power setting or
turning the control knob to the “9” power setting.
For your guidance Table 2-2 shows the time available at
100% power depending on the power level selected in the
Automatic Heat-up mode.
Child Lock, L
To prevent the unwanted use by children, the hob can be
locked.
IMPORTANT: This can only be activated when all the
cooking zones are switched o.
To lock the hob, rst turn on any of the hob controls on then
o – this will activate the hob display – then simultaneously
turn both rear outer induction controls counter-clockwise
(Fig.2-6) until [L] appears in the hob control display for all
cooking areas.
This will NOT aect the ovens or grill; they can still be used.
To unlock the hob, simultaneously turn both rear outer
induction controls counter-clockwise until the [L] symbol
disappears.
Pan Protection Function
This function identies when the temperature of the pan rises
rapidly and works to maintain a safe level of pan temperature.
It should not interfere with normal cooking.
Please remember not to leave the hob unattended.
Care should be taken to not allow your cookware to
boil dry.
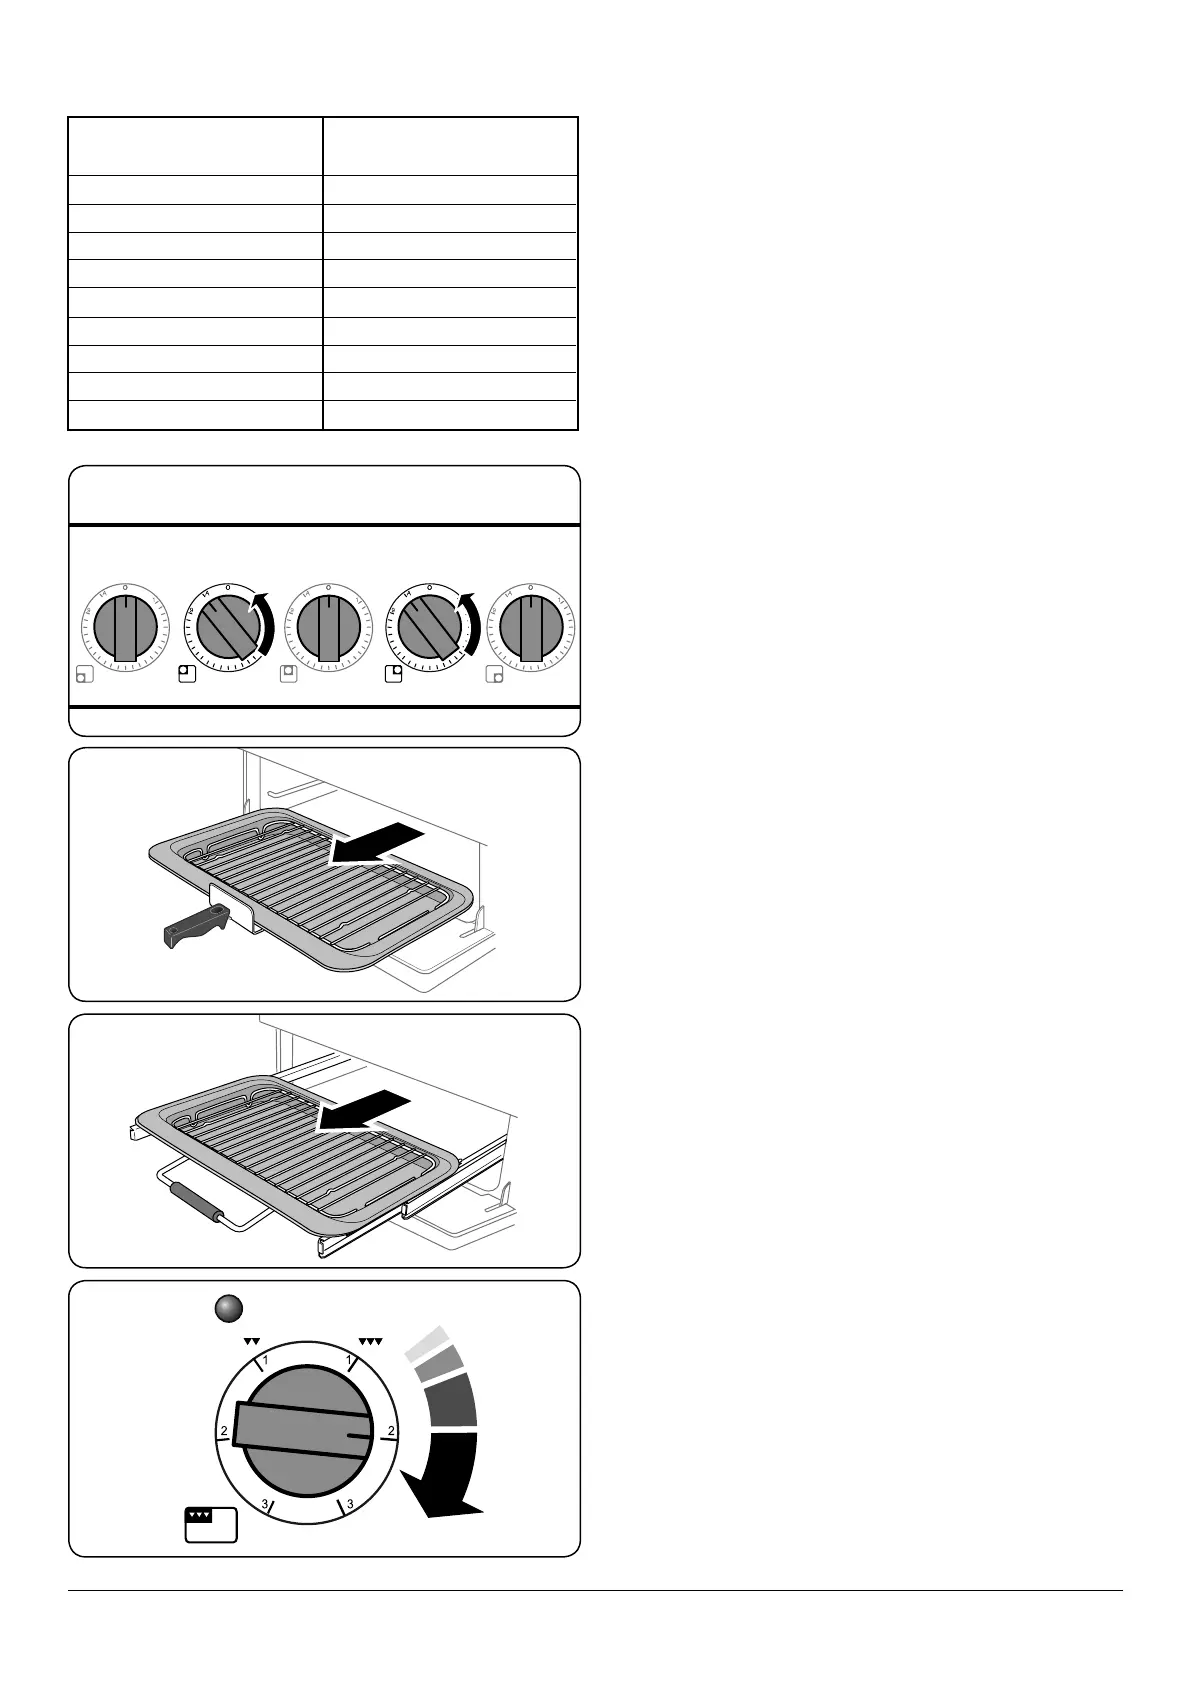
The Grill / Glide-out Grill
Open the door and pull the grill pan (Fig.2-7) or carriage
(Fig.2-8) forward using the handle.
The grill has two elements that allow either the whole area of
the pan to be heated or just the right-hand half.
Adjust the heat to suit by turning the control knob. To heat
the whole grill, turn the knob clockwise (Fig.2-9).
To heat the right-hand half, turn the control knob counter-
clockwise. The neon indicator light by the grill control will
come on.