IMPORTANT
Ensure that the example "Hello USB" code has been built as a Debug binary (CMAKE_BUILD_TYPE=Debug).
Now go to the Debug toolbar (Ctrl + Shift + D) and click the small green arrow (play button) at the top of the left-hand
window pane to load your code on the Raspberry Pi Pico and start debugging.
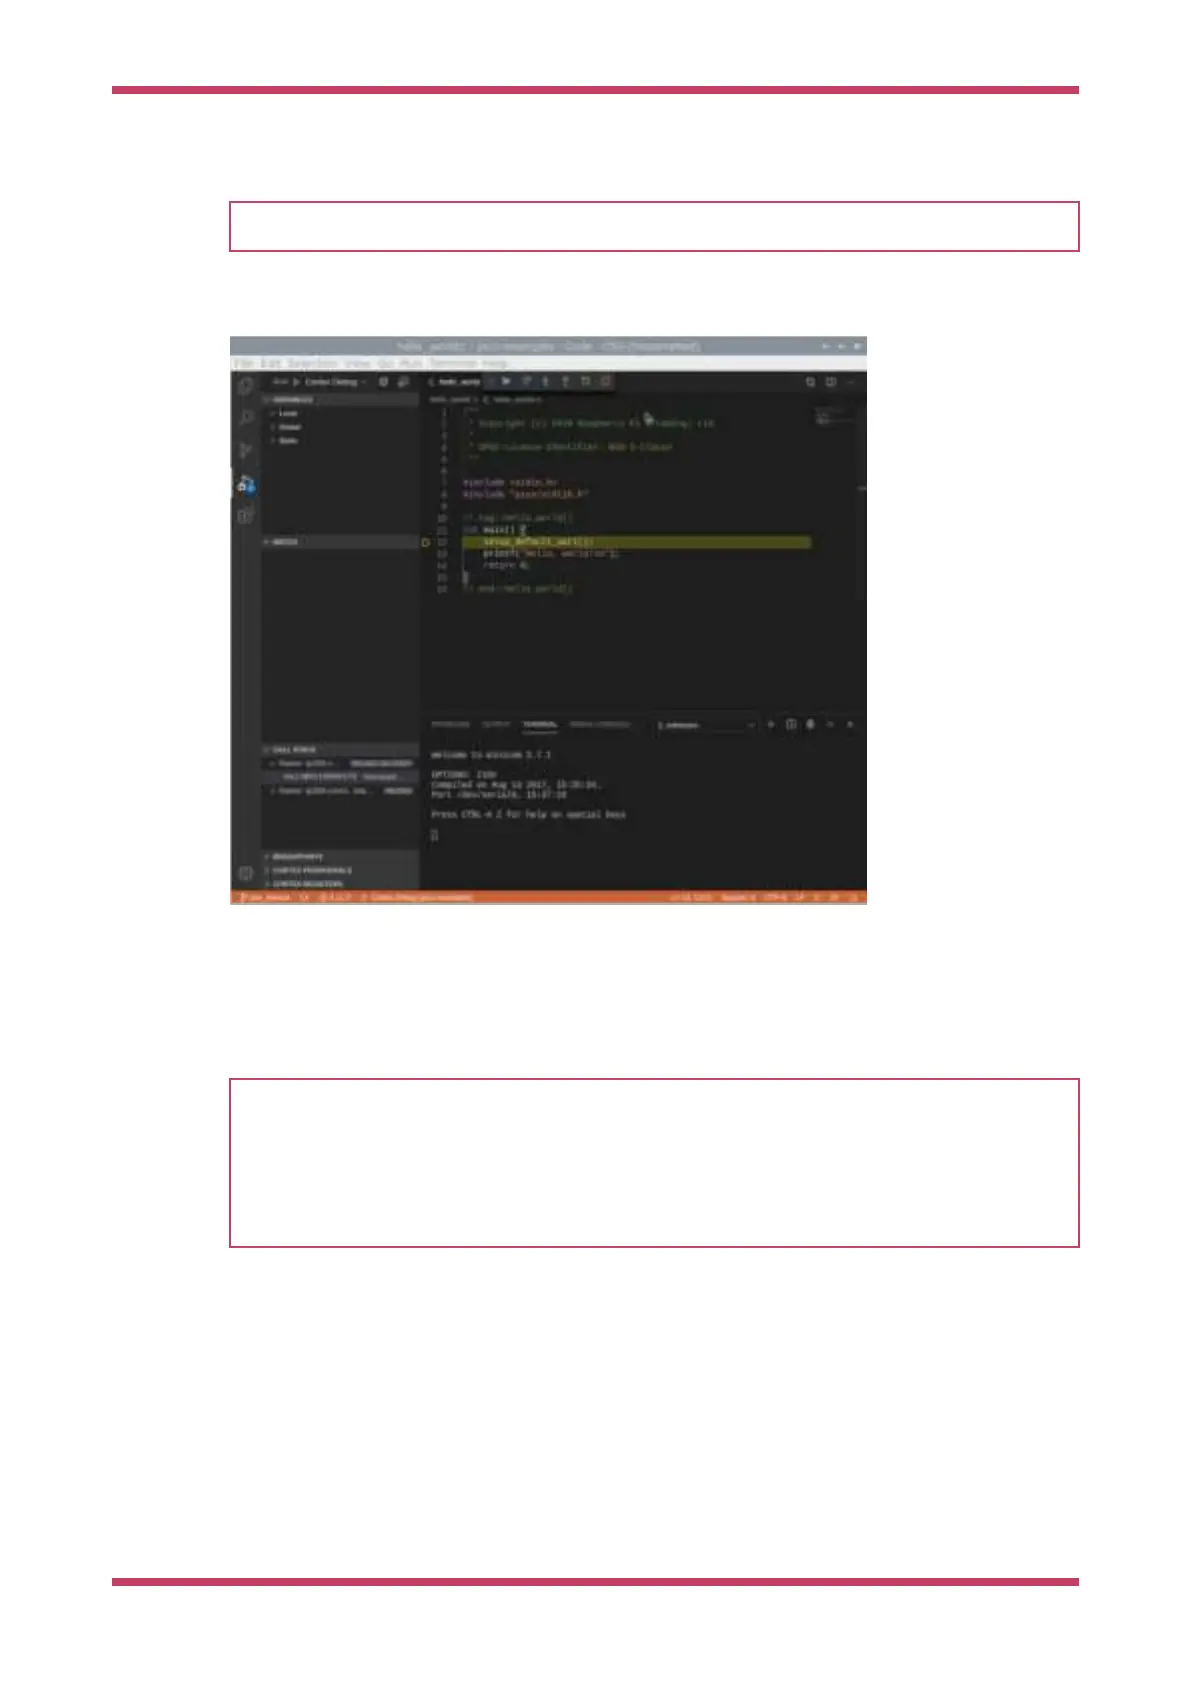
Figure 10. Debugging
the "Hello USB" binary
inside Visual Studio
Code
The code should now be loaded on to the Raspberry Pi Pico, and you should see the source code for "Hello USB" in the
main right-hand (upper) pane of the window. The code will start to run and it will proceed to the first breakpoint —
enabled by the
runToMain directive in the launch.json file. Click on the small blue arrow (play button) at the top of this
main source code window to Continue (
F5) and start the code running.
TIP
If you switch to the "Terminal" tab in the bottom right-hand pane, below the hello_usb.c code, you can use this to
open
minicom inside VSCode to see the UART output from the "Hello USB" example by typing,
$ minicom -b 115200 -o -D /dev/ttyACM0
at the terminal prompt as we did before, see
Section 4.4.
Getting started with Raspberry Pi Pico
7.3. Debugging a Project 29