10.1.1.2. Using pico-examples
The standard build system for the Pico environment is CMake. However Eclipse does not use CMake as it has its own
build system, so we need to convert the pico-examples CMake build to an Eclipse project.
•
At the same level as the
pico-examples folder, create a new folder, for example pico-examples-eclipse
•
Change directory to that folder
•
Set the path to the PICO_SDK_PATH
◦
export PICO_SDK_PATH=<wherever>
On the command line enter:
cmake -G"Eclipse CDT4 - Unix Makefiles" -D CMAKE_BUILD_TYPE=Debug ../pico-examples
This will create the Eclipse project files in our pico-examples-eclipse folder, using the source from the original CMake
tree.
You can now load your new project files into Eclipse using the
Open project From File System option in the File menu.
10.1.1.3. Building
Right click on the project in the project explorer, and select
Build. This will build all the examples.
10.1.1.4. OpenOCD
This example uses the OpenOCD system to communicate with the Raspberry Pi Pico. You will need to have provided the
2-wire debug connections from the host device to the Raspberry Pi Pico prior to running the code. On a Raspberry Pi this
can be done via GPIO connections, but on a laptop or desktop device, you will need to use extra hardware for this
connection. One way is to use a second Raspberry Pi Pico running Picoprobe, which is described in
Appendix A. More
instructions on the debug connections can be found in
Chapter 5.
Once OpenOCD is installed and the correct connection made, Eclipse needs to be set up to talk to OpenOCD when
programs are run. OpenOCD provides a GDB interface to Eclipse, and it is that interface that is used when debugging.
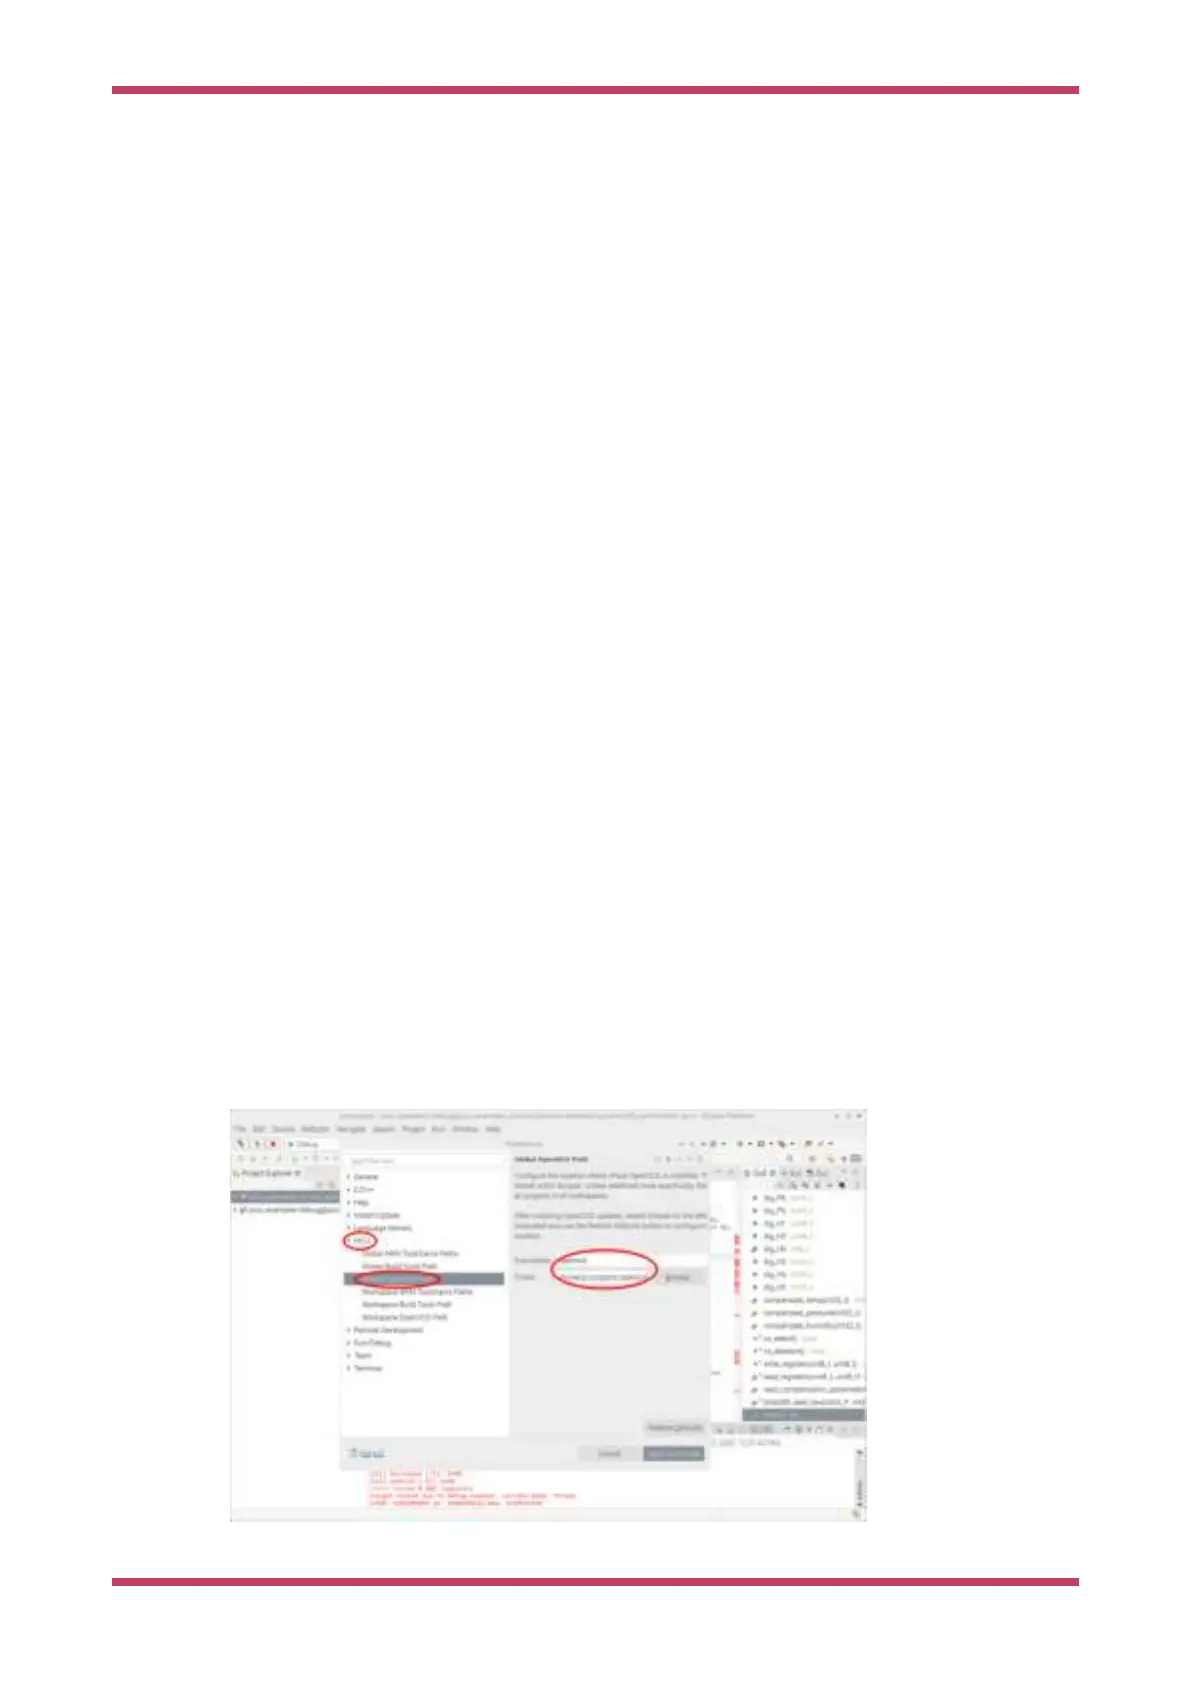
To set up the OpenOCD system, select
Preferences from the Window menu.
Click on
MCU arrow to expand the options and click on Global OpenOCD path.
For the executable, type in “openocd”. For the folder, select the location in the file system where you have cloned the
Pico OpenOCD fork from github.
Figure 22. Setting the
OCD executable name
and path in Eclipse.
Getting started with Raspberry Pi Pico
10.1. Using Eclipse 47