6 Use zip tie to keep cable wires
from rubbing against the front wheel
when unit is in motion.
4
ASSEMBLY AND SET-UP
Assembling the Frame
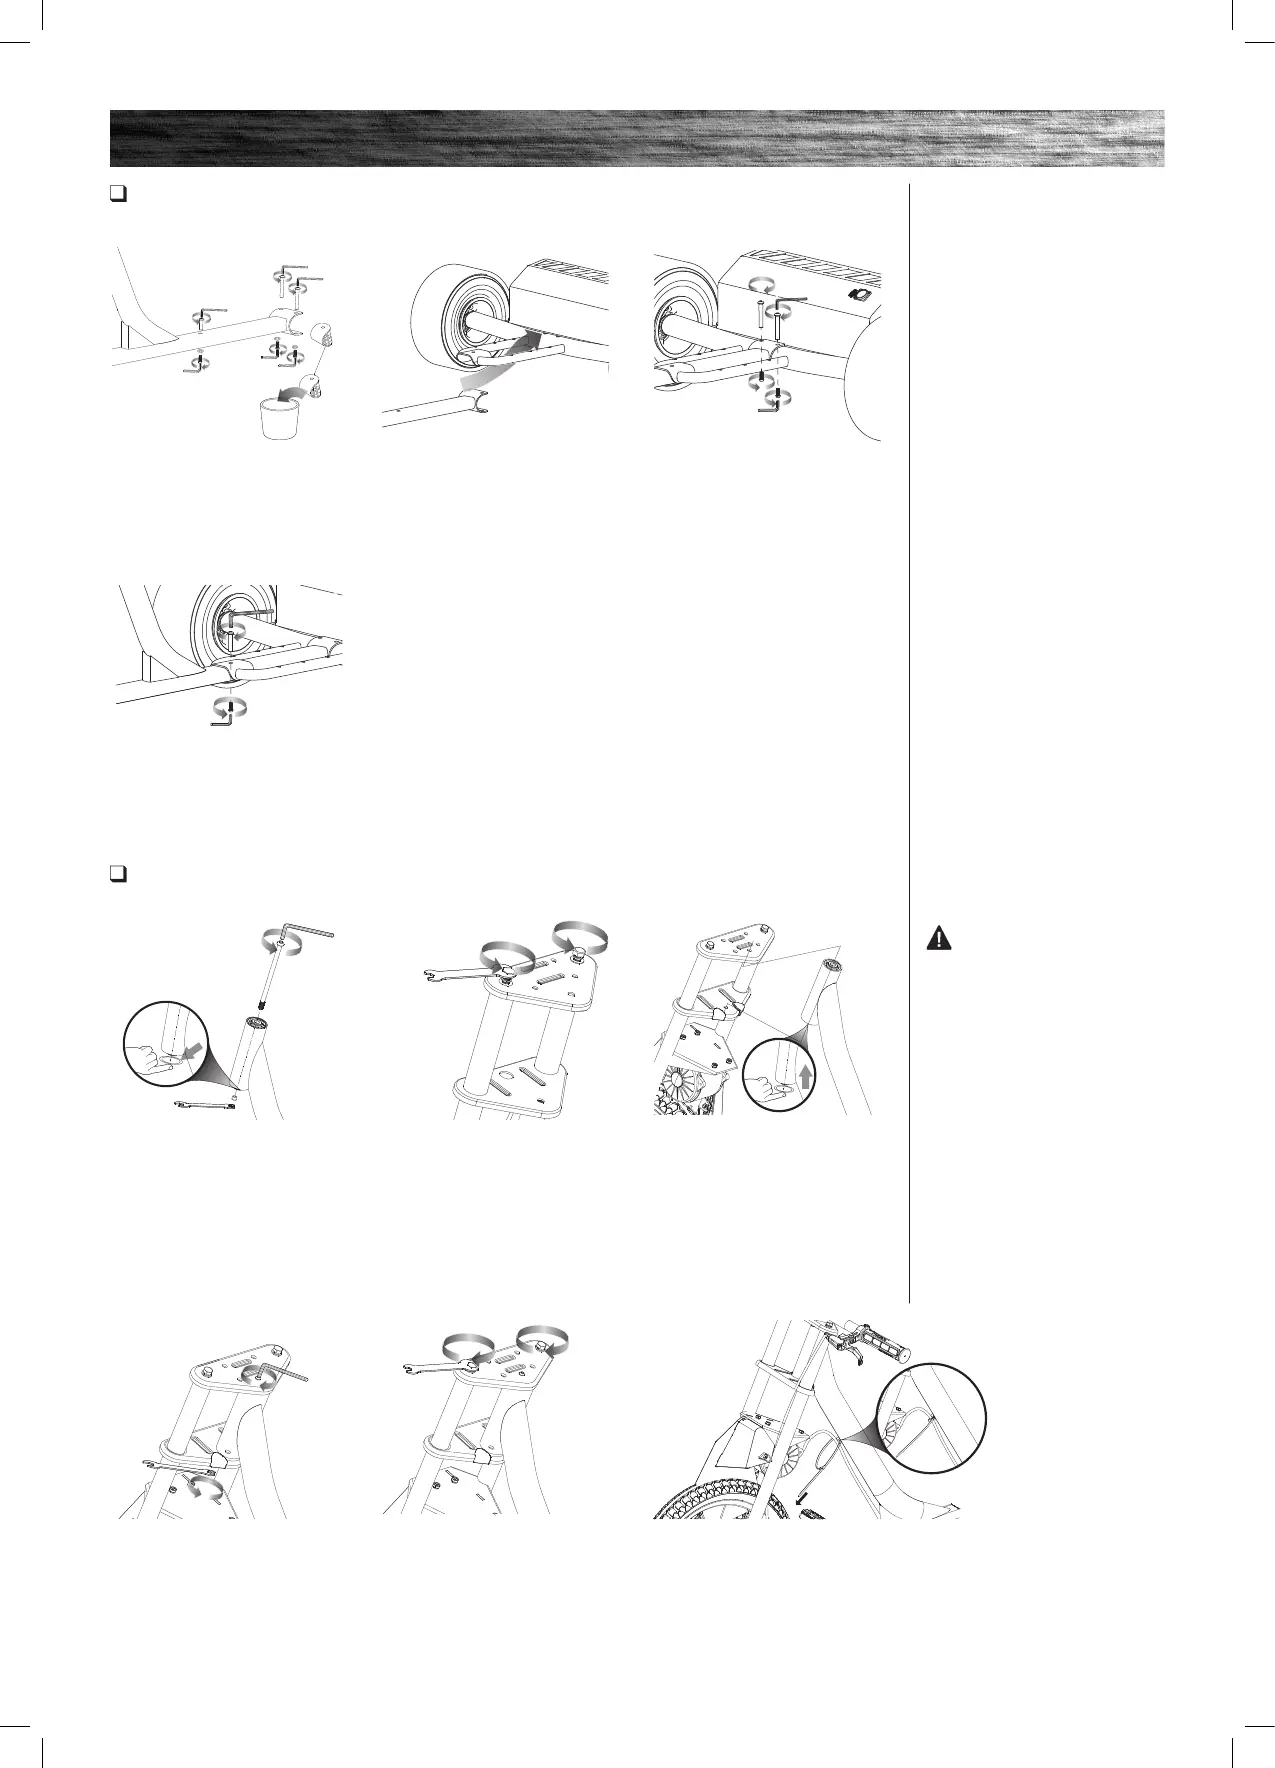
Required Tools: Two (2) 5 mm Allen Wrenches
1 Using a 5 mm Allen wrench
and a 13 mm wrench, remove
the steering bolt and locknut
from the downtube.
Note: Place finger underneath
the downtube to prevent the
bottom bushing from falling
out and getting lost.
Attaching the Front Fork
Required Tools: 5 mm Allen Wrench and 13 mm Wrench
2 Using a 13 mm wrench,
loosen the two (2) bolts on
the upper crown.
3 Re-insert the bottom bushing
into the downtube then carefully
slide the downtube between the
upper and lower crowns.
4 Align the downtube with the
hole in the upper and lower crown
and re-insert the steering bolt. Se-
curely tighten using a 5 mm Allen
wrench and a 13 mm wrench.
5 Re-tighten the two (2) 13 mm bolts
on the upper crown.
WARNING: Failing to
properly tighten the steering bolt
that attaches the front fork assembly
to the frame assembly can cause you
to lose control and fall.
1 Using two (2) 5 mm
Allen wrenches, remove the
three (3) coupling bolts from the
downtube. Remove and discard
the plastic insert.
4 Re-insert the one (1) shorter
coupling bolt (A) through the center
frame and downtube and tighten
securely in place.
3 Re-insert the two (2) longer
coupling bolts (B) through
downtube and rear frame and
tighten securely in place.
2 Connect the downtube to the
rear frame and align the holes on
the downtube with the holes on
the rear frame.
A (Shorter)
B (Longer)