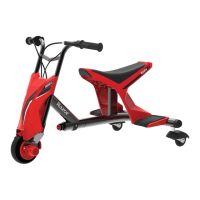
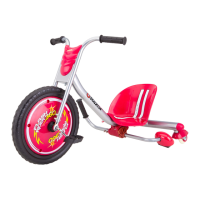
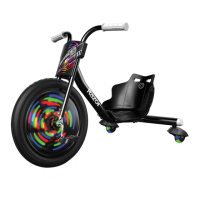
CHARGING THE BATTERY
Charger
Your DXT Electric Drift Trike may not have a fully charged battery; therefore you must charge the battery prior to use.
7
2 Plug the charger into the
charger port on the product. Make
sure the power switch is in the
OFF position. The light on the
charger should turn red during
charging. The light will turn green
again when charging is complete.
1 Plug the charger plug into wall
outlet. The light on the charger
should be green.
Note: If green light (LED) does not
turn on, try a different outlet.
Note: Make sure power is turned
OFF when unit is not in use. If
the power switch is left on for
an extended period of time, the
battery may reach a stage at which
it will no longer hold a charge.
WARNING: Use ONLY
with the recommended charger.
Batteries are only to be charged
under adult supervision. The charger
is not a toy. Always disconnect the
charger before wiping down and/or
cleaning the DXT Electric Drift Trike
with a damp cloth.
The charger supplied with the DXT
Electric Drift Trike should be regularly
examined for damage to the cord,
plug, enclosure and other parts.
In the event of such damage, the
DXT Electric Drift Trike must not be
charged until it has been repaired
or replaced.
Chargers have built-in overcharge
protection to prevent battery from
being overcharged.
Note: If the charger gets warm
during regular use, this is a normal
response and is no cause for concern.
If your charger does not get warm
during use, it does not mean that it is
not working properly.
Wall outlet - Green (stand by)
Wall outlet and Unit - Red (Charging)
Charging complete - Green (Charged)
Note: Continue charging unit even if
light turns green prior to 12 hours.
WARNING: Failure to
recharge the battery at least once a
month may result in a battery that
will no longer accept a charge.
• Initial charge time: 12 hours.
• Recharge time: up to 12 hours, even if the light turns green.
Recommended maximum charging time is 24 hours.
• Always charge the battery immediately after riding.
• Fully charge battery before storing for extended
periods of time.
• Unplug charger from the wall outlet when not in use.
• Failure to recharge battery periodically may result in a
battery that will not accept a charge.
• Make sure the power switch is turned OFF when unit is
not in use. If the power switch is left on for an extended
period of time, the battery may reach a stage at which it
will no longer hold a charge.
• To ensure long battery life, never store the product in
freezing or below freezing temperatures! Freezing will
permanently damage the battery.
• Run time: Up to 60 minutes of continuous ride time.
Run time may vary depending on riding conditions, rider
weight, climate, and/or proper maintenance.
• Constant stopping and starting may shorten ride time.
• Battery life can vary depending on proper maintenance
and usage of the unit.
ASSEMBLY AND SET-UP
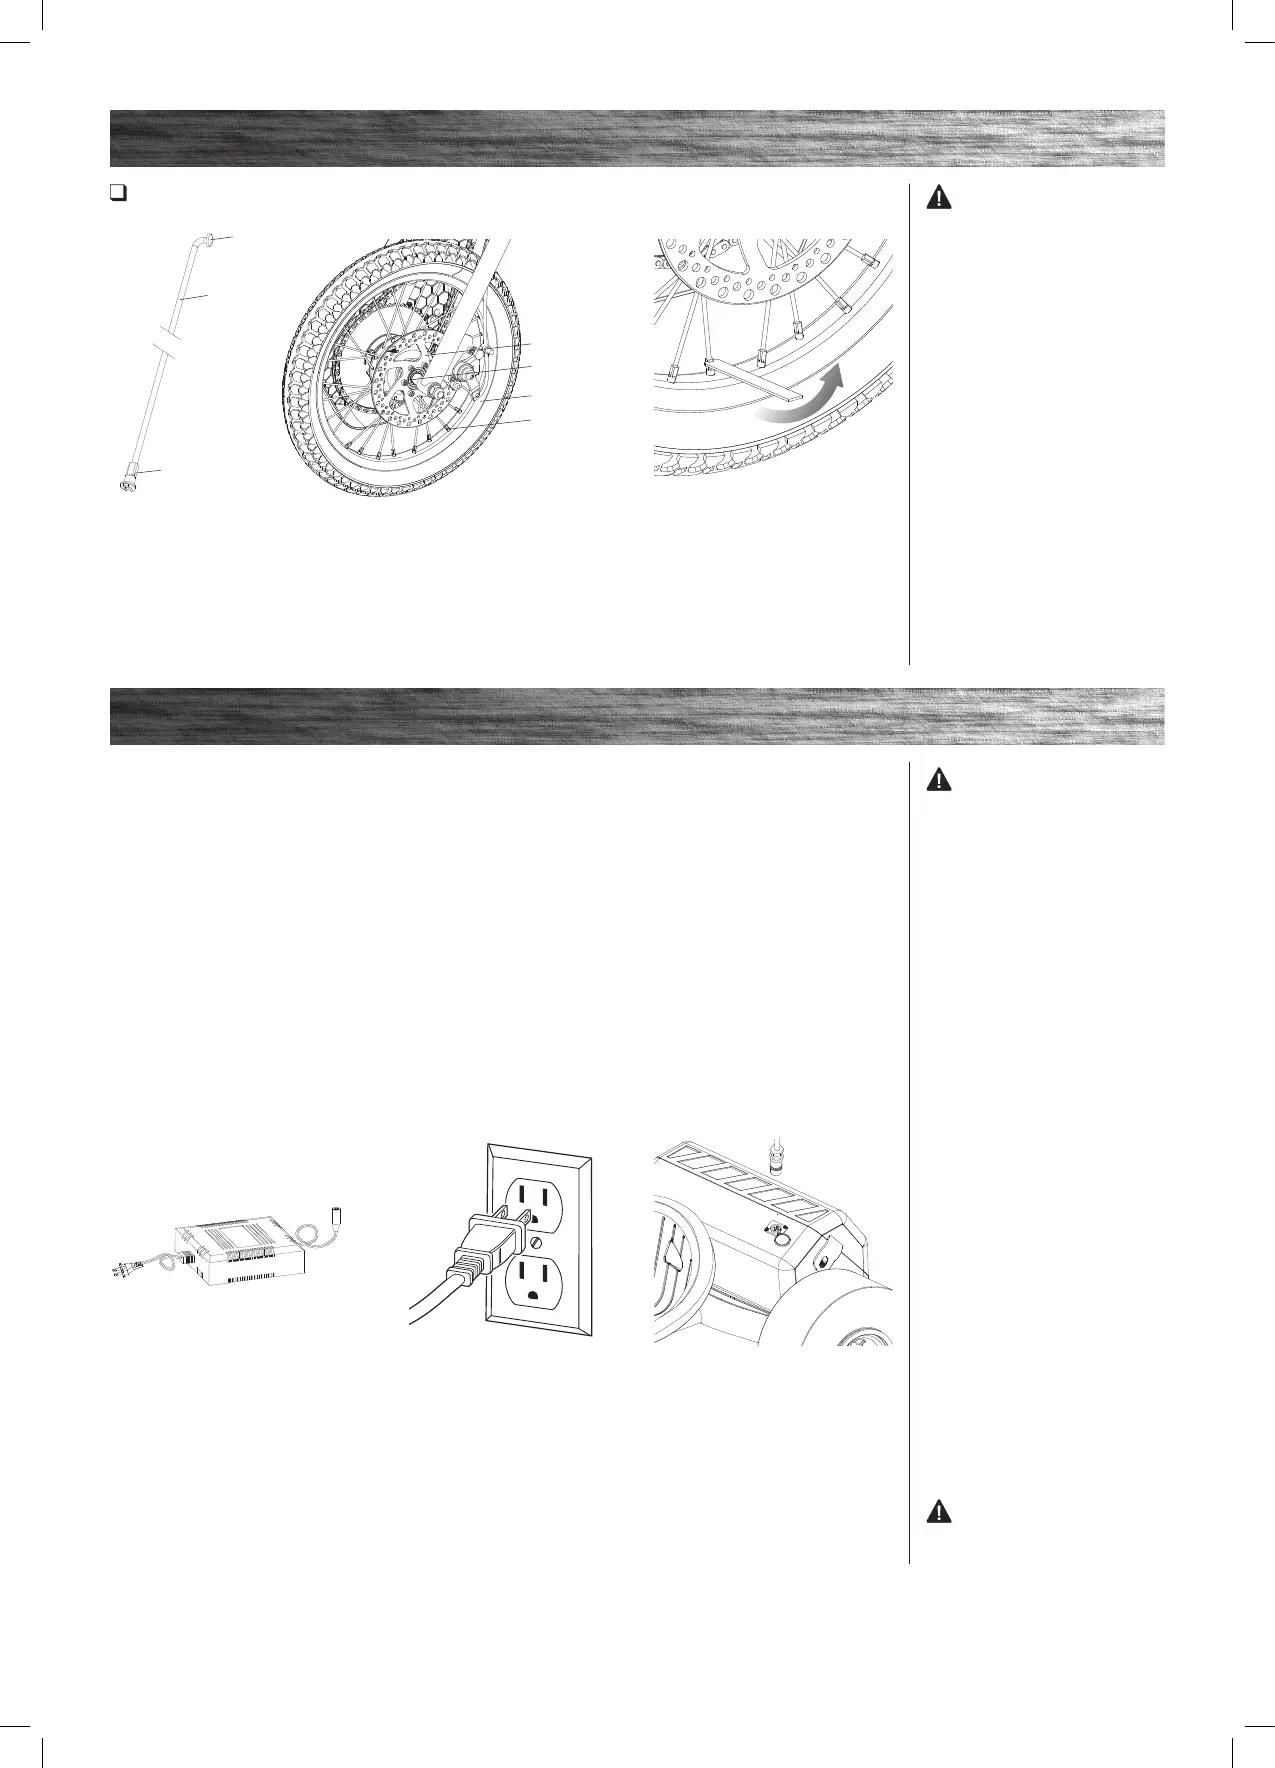
Checking Spoke Tension
1 Verify spoke tension by grasping and shaking each spoke. Spoke
should not be loose from hub. Look for any play between spoke flanges
where it mates with hub. Try to turn nipple using your fingers. You
should not be able to spin any nipple by hand. If one or more spokes
are loose, or if you can turn any nipple using your fingers, all spokes
must be checked and need to be tightened with a spoke tightener.
2 Start with spoke closest to tire
valve and tighten each nipple. In
sequence, exactly 1/4 to 1/2 turn.
A single 1/4 to 1/2 turn may not
be enough to bring the spokes into
proper tension. Continue tightening
all spokes in sequence, no more than
1/2 turn until all spokes are tight.
WARNING: Regularly check
the spoke tension and retighten
the spokes whenever loose. If you
have any doubt, ask an experienced
motorcycle or bicycle mechanic to
inspect your spokes to determine
if the spokes need tightening or
adjusting.
Note: Tightening each nipple more
than a 1/2 turn each can cause the
wheel to become distorted and
wobbly, thus permanently damaging
the wheel.
Hub Flange
Spoke Flange
Spoke
Nipple
Spke Flange
Rim
Nipple