the factory and no further adjustment should be
needed. If your machine is planing a taper, first
check to see if the knives are properly adjusted in
the cutterhead (see Setting Cutterhead Knives on
page 14) and make adjustments if necessary.
After the knives are confirmed to be properly set,
check to see if the work table is set parallel to the
cutterhead as follows.
1. Disconnect machine from power source.
2. Rotate the cutterhead such that one of the
knife blades (A, Fig. 14) is at the 6 o'clock
position.
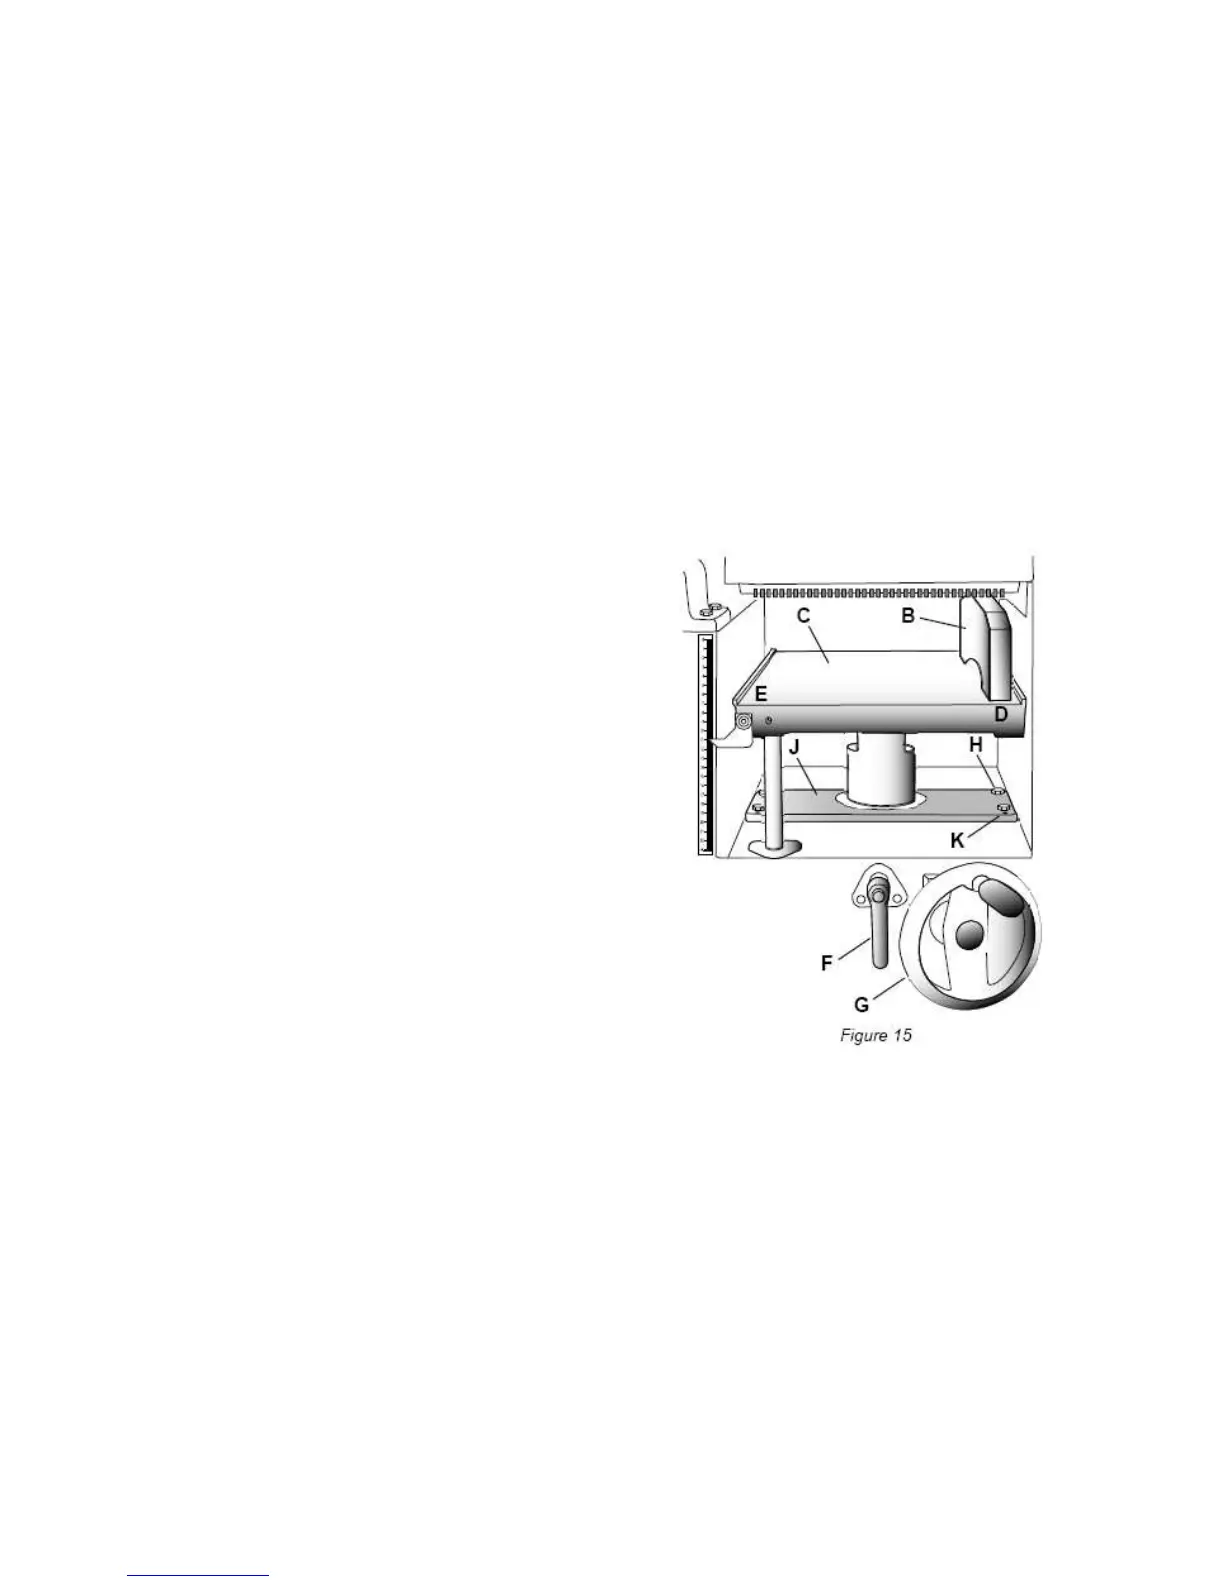
Referring to Figure 15:
3. Place a gauge block (B) or another measuring
device on the work table (C) at one edge (D)
directly under the cutterhead.
4. Unlock the table lock handle (F).
5. With the handwheel (G), gently raise the
table (C) until the gauge block (B) makes slight
contact with the tip of the knife blade, then lock
the table.
6. Move the gauge block (B) to opposite end of
table (E).
If the distance from the table to tip of the knife
blade is the same at both ends, the table is
parallel to the cutterhead.
Adjusting Work Table Parallel to Cutterhead
If the work table is not parallel to the cutterhead,
perform the adjustment procedure as follows:
7. With a 13mm wrench, loosen four hex cap
screws (H) located at each corner of the
column support (J).
8. Bring the table parallel to the cutterhead by adjusting four setscrews (K) located at each corner
of the column support (J) next to the hex cap screws (H).
9. Repeat steps 3 – 6, and if further adjustment is necessary, repeat steps 8, 9.
10. When the table is determined to be parallel to the cutterhead, tighten the hex cap screws (H).
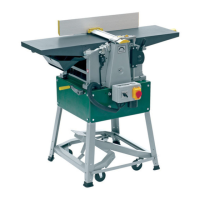
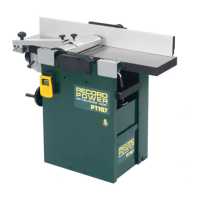
Basic Operations
Dust Collection
Before initial operation, the machine must be connected to a dust collector.
Initial Startup
After the assembly and adjustments are complete the planer is ready to be tested. Turn on the
power supply at the main panel. Press the Start button. Keep your finger on the Stop button in
case of a problem. The planer should run smoothly with little or no vibration or rubbing noises.