919-417
09.19.14
1
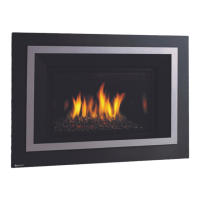
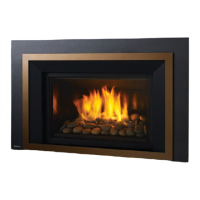
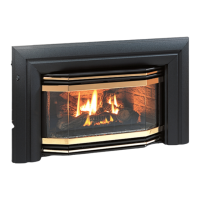
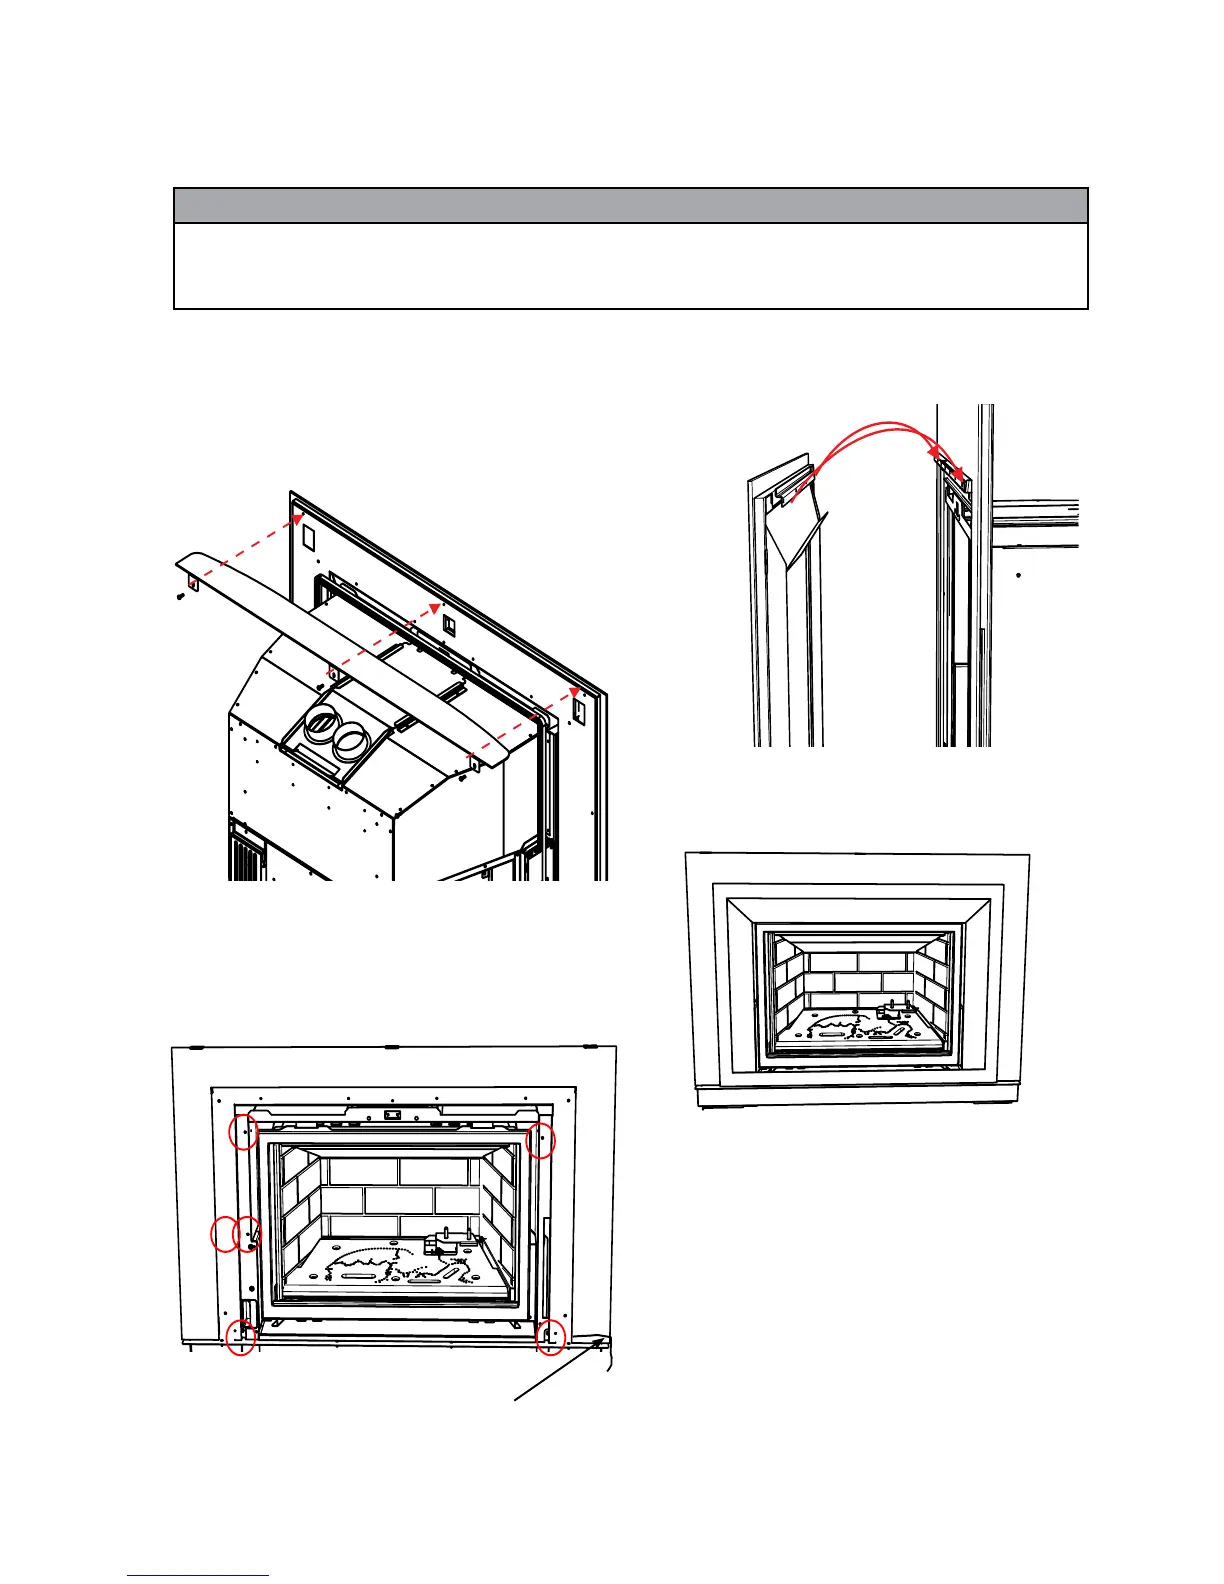
VIGNETTE FACEPLATE
2. Install the outer faceplate and secure with 6 screws as shown.
Route power cord on right side between the inner and outer profi le
of faceplate. Use a grommet and wire clip to secure.
3. Install the Vignette faceplate by hooking the fl ange over the hanger
as shown.
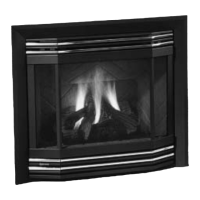
VIGNETTE FACEPLATE W/SAFETY SCREEN INSTALLATION
A mantel defl ector may be installed to reduce the minimum mantel height.
Refer to minimum clearances in the installation manual. The mantel
defl ector must be attached prior to installing the outer faceplate.
If not installing the mantel defl ector - proceed to Step 2.
1. Line up the mantel defl ector (tabs to the back) with the Vignette Outer
Faceplate, secure in place with 3 screws.
Final Install
Note:Shown with Optional Hearth Trim
4. Ensure fi nger prints or smudges are removed from the faceplate
before the fi rst fi ring.
NOTE: Pull the bottom of the Vignette faceplate towards you to access
the remote receiver
Power Cord
Location
Black Chrome Handling Instructions
*
All hand and fi nger marks MUST be cleaned off with a soft cloth. Use an ammonia based cleaner (ie. glass cleaner) to remove any
fi nger prints before applying heat to the unit. Use supplied gloves when installing Black Chrome Faceplates.
Failure to do this will result in burn stains on panels which you will be unable to remove. Not protected by product warranty.