18
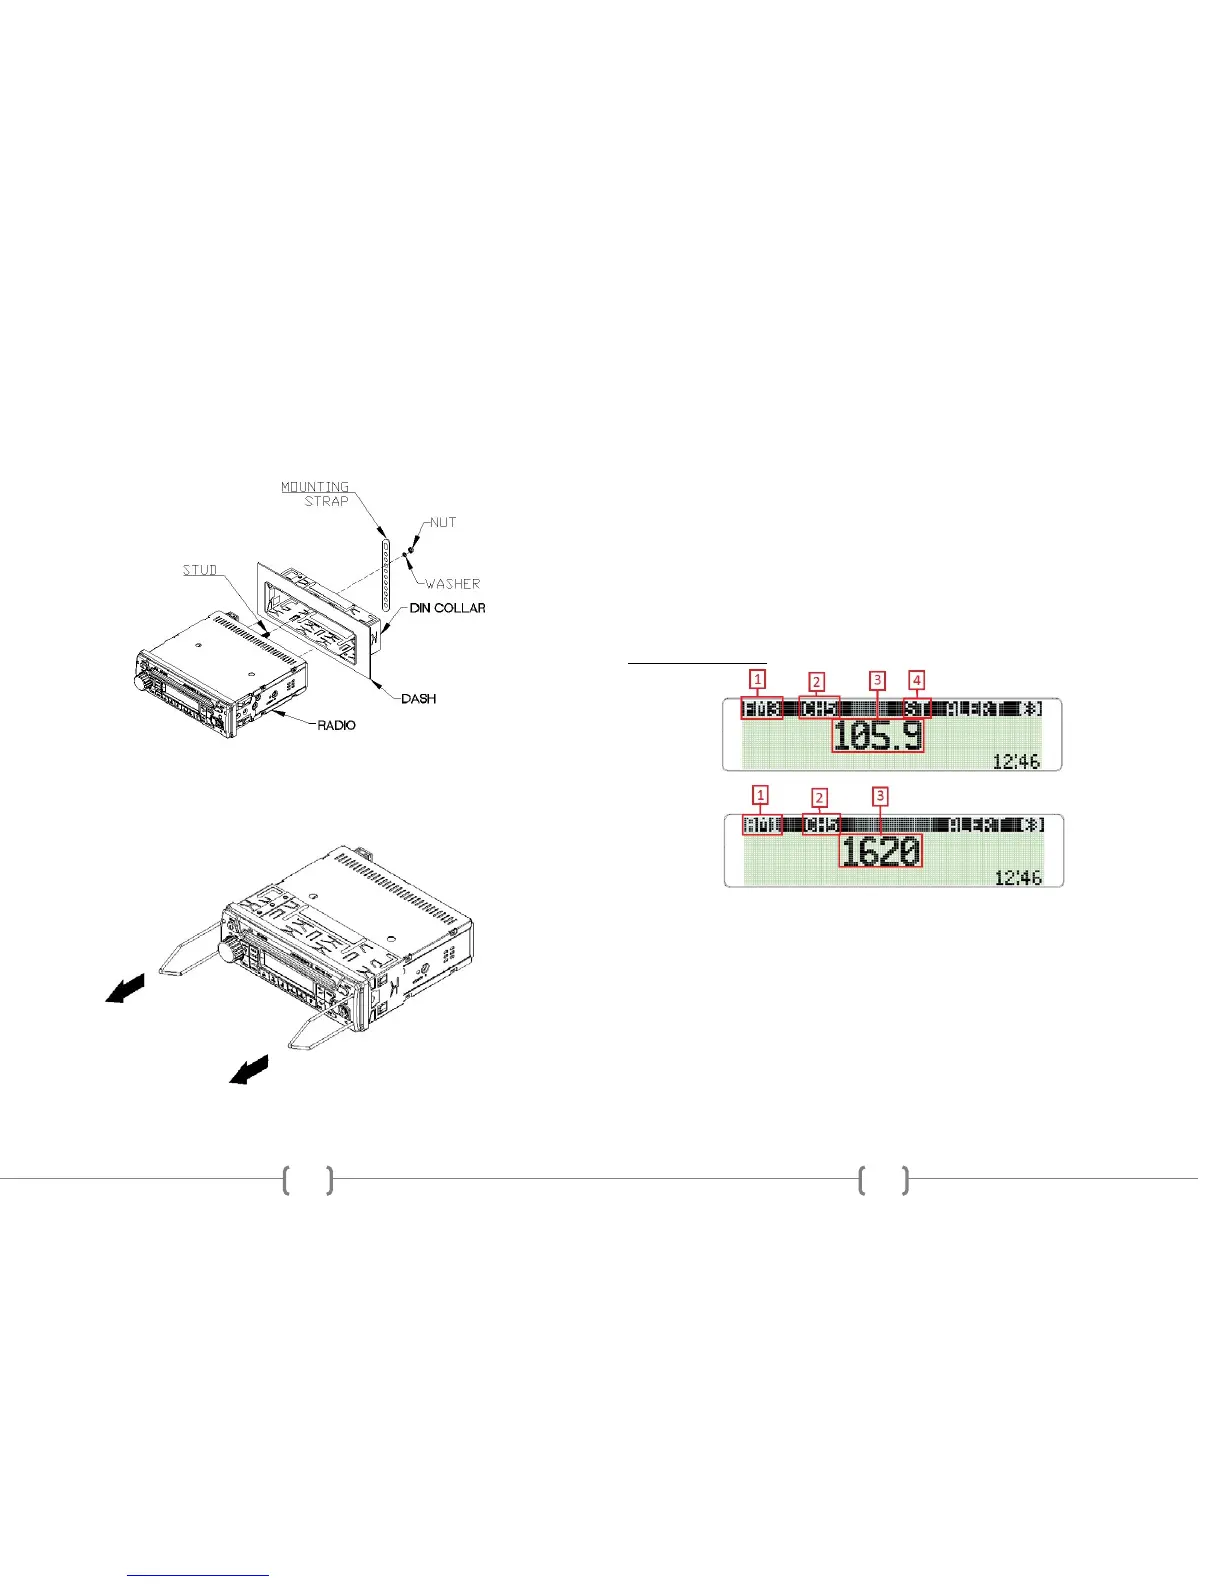
3. If additional support is needed, bend the included support bracket, and secure it
to the vehicle using a screw. Secure the opposite end to the radio’s rear stud using the
nut and washer provided.
4. To remove the radio, insert the two release keys into the holes on the front face of
the radio. The tools must be inserted with the notched side facing the radio. Slide the
keys foreword until you hear a click. Then pull the radio out, releasing it from the
DIN collar.
7
CARBON
Microphone has on on-board volume control. Radio will not control the
volume.
Press VOL/SEL knob to make the desired selection.
BRIGHTNESS 0-35
Rotate the VOL/SEL knob to choose the desired CONTRAST level of the display.
Press the VOL/SEL knob to select.
VER 1.00
This is the firmware version present on the radio. Not all features described
in this manual may be available on the radio at this time.
To save and exit MENU mode, press and hold the VOL/SEL button.
Note: Menu will exit automatically after 5 continuous seconds without saving any
selections.
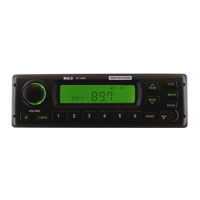
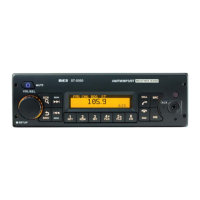
RADIO OPERATION
1. AM/FM Preset Mode
Press the BAND button to switch from FM-1, FM-2, FM-3, AM-1, or AM-2.
2. Preset Number
Displays the Preset Channel of the frequency.
3. Frequency Display
Displays the Frequency of the current tuned station.
4. Stereo Indicator
Displays when the FM frequency is tuned in Stereo.