EN
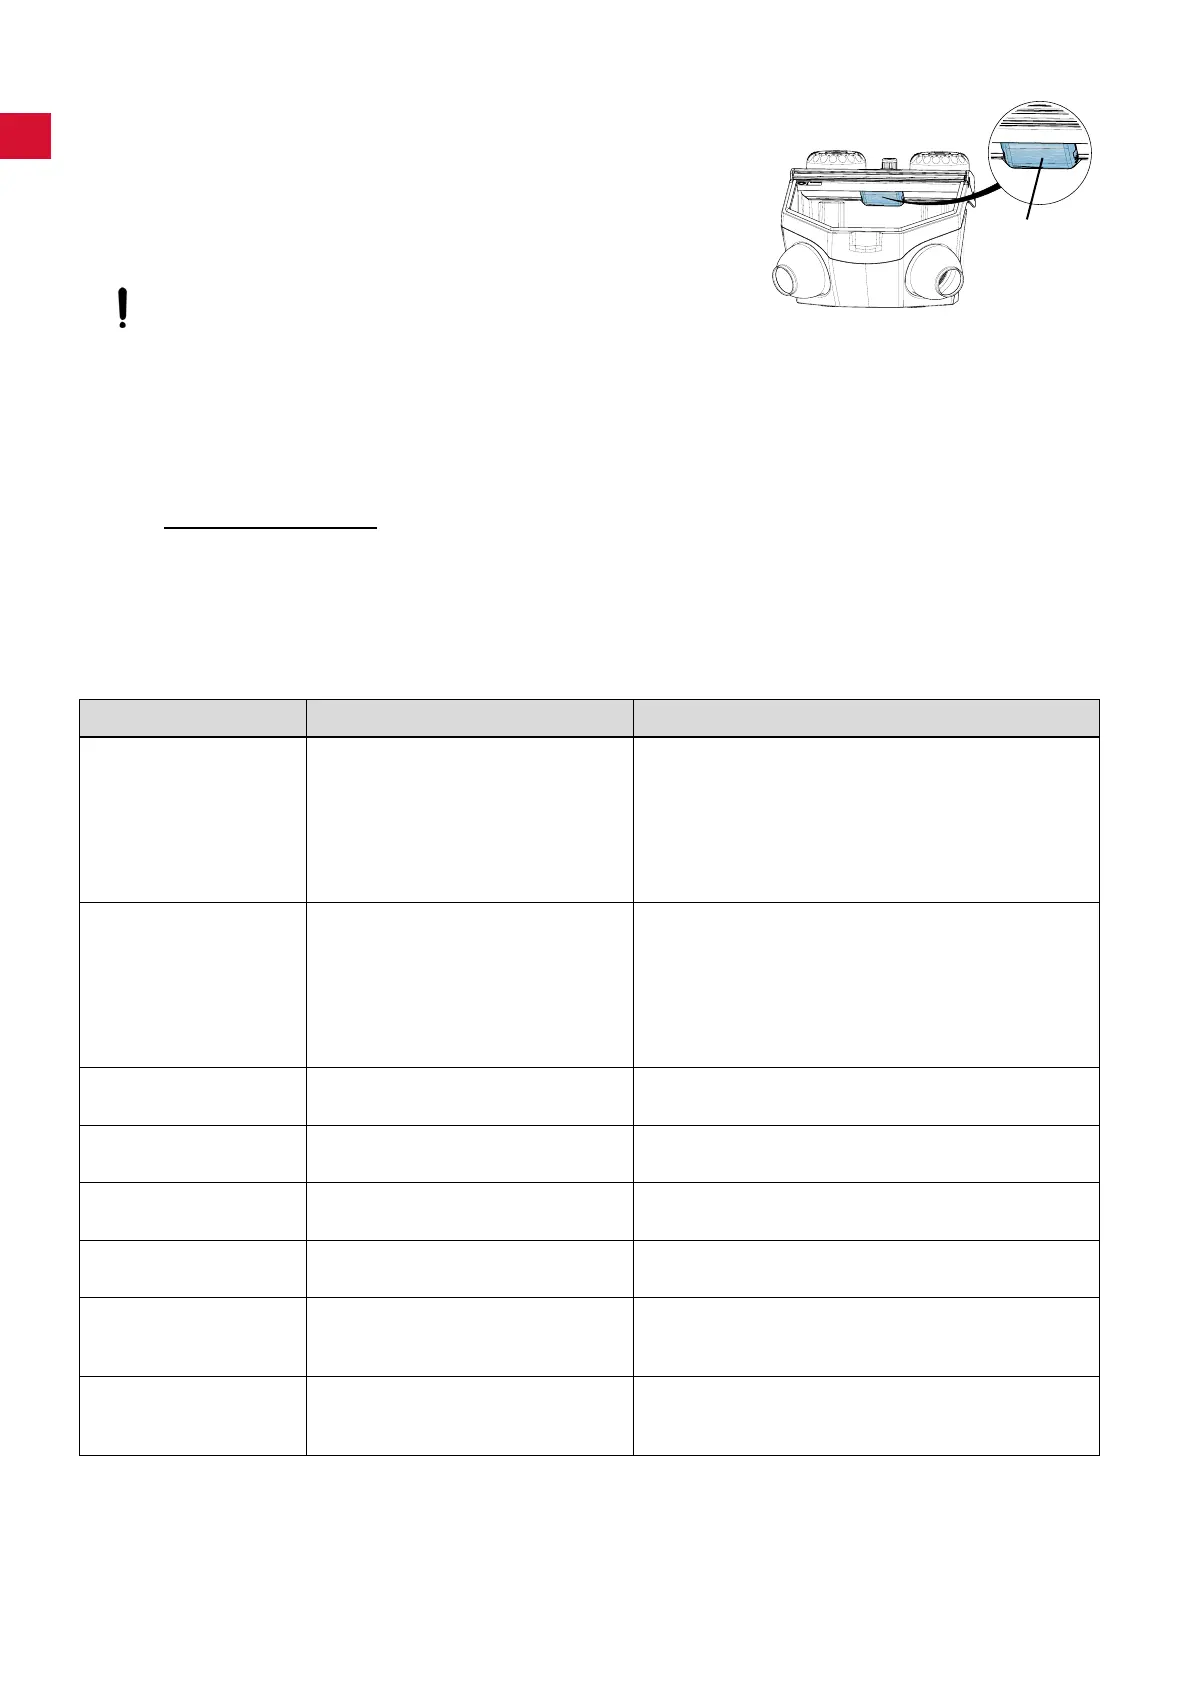
6.6 Lamp cover
It is possible to remove the lamp cover (50) when cleaning
(e.g. removing sandblasting residues and dust).
⇒ Hold the lamp cover at the back on both sides and pull forwards
to remove.
⇒ Clean the lamp cover.
⇒ Insert the side of the lamp cover marked „TOP“ into the frame
and press the back edge up until it locks into place.
Do not operate without the lamp cover in place, otherwise the
protective shield, which cannot be exchanged, will become
matt!
In the course of time, the lamp cover can become matt. This cover can be ordered as a spare part.
6.7 Spare parts
Youcanndcomponentssubjecttowearandthesparepartsonthesparepartlistintheinternetat
www.renfert.com/p918.
The components excluded from the warranty (such as consumables or parts subject to wear and tear) are
marked on the spare part list.
Serial number and date of manufacturing are shown on the type plate of the unit.
7. Trouble shooting
Problem Possible cause Corrective action
No air and no abrasive. • Blasting nozzle blocked at the hand-
piece.
• Foot switch connecting lines kinked.
• Tank selection switch in an interme-
diate position.
• Unscrew the nozzle from the hand-piece and blow it
out.
• With the nozzle removed, blow out the blasting hose
by activating the foot pedal.
• Inspect/correct the connection lines.
• Turn the switch until you feel it click into place.
Only air, no or very
little abrasive.
• The dosage nozzle in the mixing
chamber is blocked due to contami-
nated or moist sand.
• Mixingchamberltercombination
blocked.
• Abrasive contains impurities or is
moist.
• Cleaning the dosing nozzle, see chapter 6.5.
• Changeltercartridge(17,Fig.1)(wrenchSW14).
• Replace the abrasive.
Pressure control can-
not be adjusted.
• The pressure control button is
locked.
• Pull the pressure control button upwards to unlock.
Unit blasts continu-
ously.
• Foot switch connected incorrectly.
• Valve in foot switch is defective.
• Inspect / correct the foot switch connection.
• Replace foot switch.
Lamp is not alight. • Power cord not plugged in.
• Illumination defect.
• Plug the power cord into the wall outlet.
• Change light using the service or see spare part list.
Compressed air leaking
from the foot switch.
• Pneumatic hoses reversed. • Reverse the connections.
Foot switch fails to
switch on.
• No pressure at the compressed air
connection.
• Pneumatic hoses are kinked.
• Inspect the compressed air lines and/or the compres-
sor.
• Reposition the hoses.
Foot switch hoses can-
not be disconnected
from the unit.
• Push-in connection is not released
(Fig. 2 / 3).
• Press the push-in connection ring on the hose side
rmlywhilepullingonthehoses.
50
- 12 -
 Loading...