13
Attachment of the guide rail
1x X-plate
1x guide rails
6x cylinder head screws M4x12
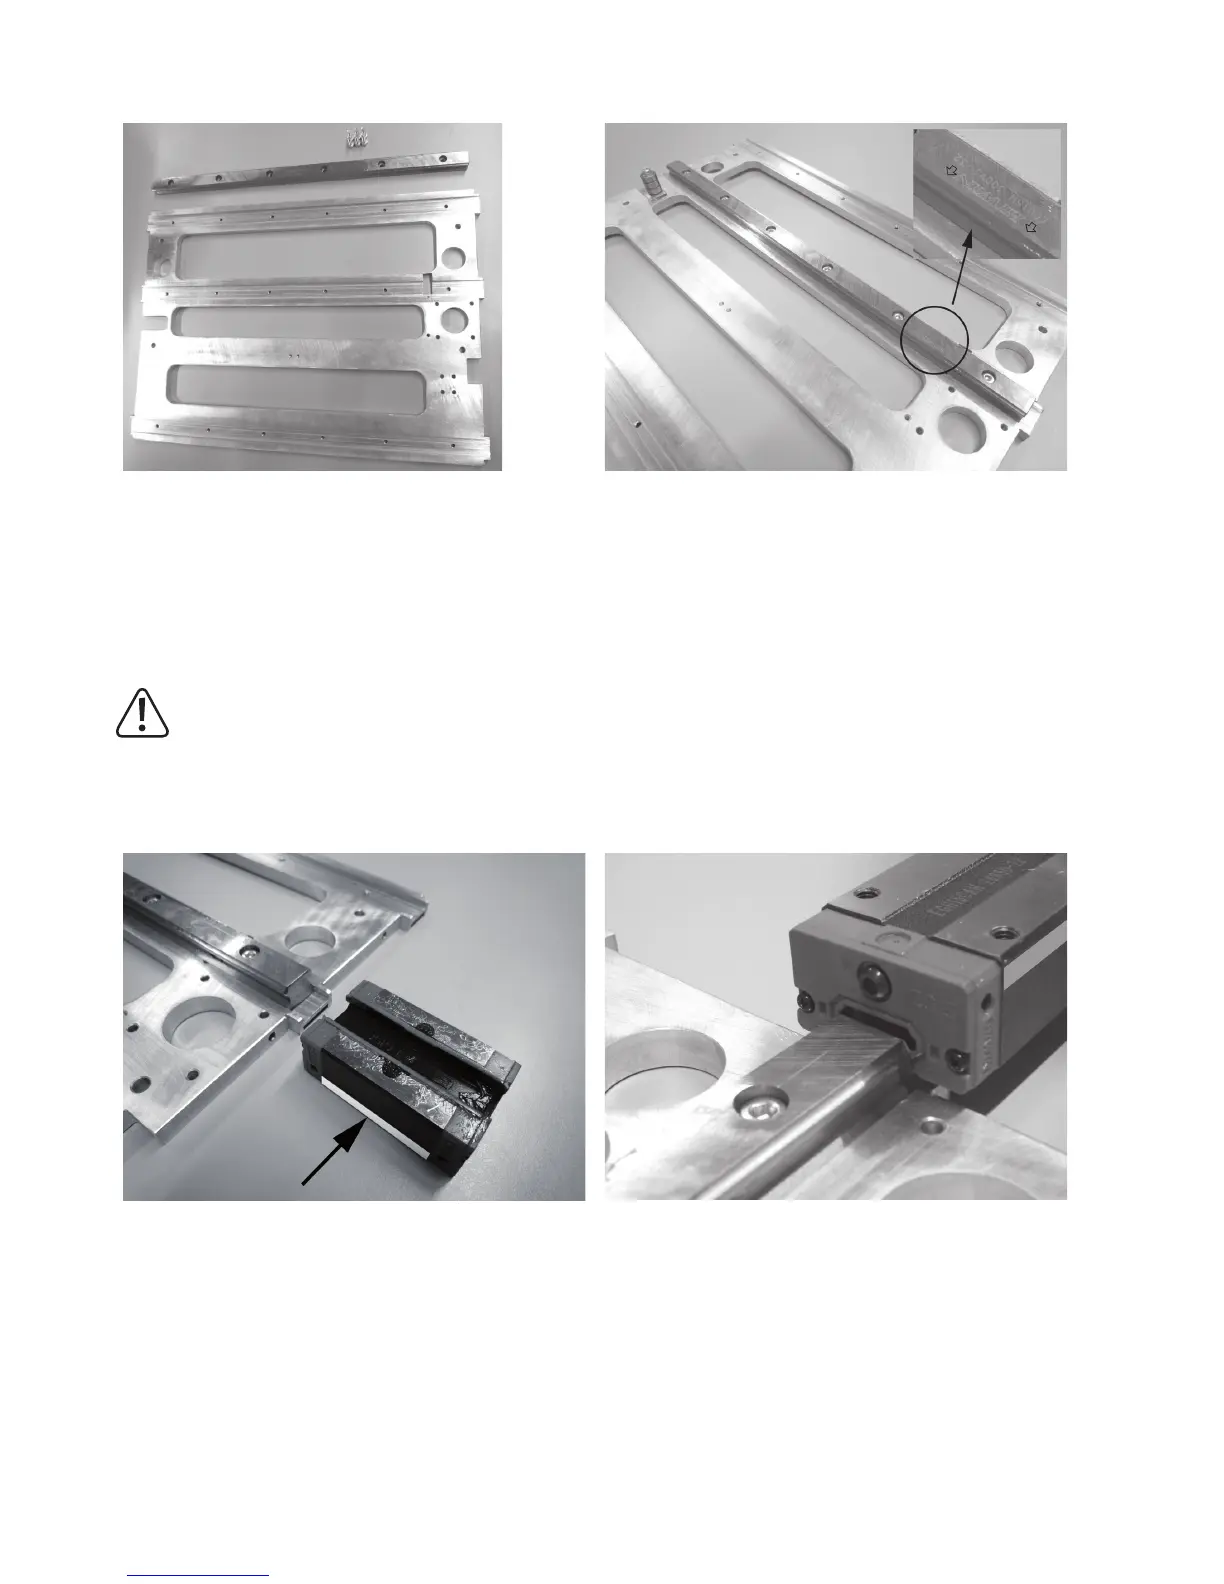
Insert the guide rail into the middle groove of the X-plate and
attach with the screws.
The imprinted arrows on the guide rail must point to the side of
the belt tensioner.
Push the guide carriage onto the guide rail
The assembly aid (plastic part in the guide of the guide carriage) must never be removed before pushing on the guide
carriage, since the gearing balls will fall out of the carriage otherwise. This would be irreparable.
This also applies when the guide carriage is pushed from the guide rail after assembly. For reasons of safety, the guide
carriage should be secured, e.g. with adhesive tape before further installation.
The guide carriage has a polished area on one side (see arrow in the figure on the lower left). Turn the guide carriage
so that the arrows on the guide rails point towards the ground area of the guide carriage before pushing it on.