English 9
Checking
You should regularly check the water tub, air tubing and the air filter for any damage.
1. Check the water tub:
• Replace it if it is leaking or has become cracked, cloudy or pitted.
• Replace it if the seal is cracked or torn.
• Remove any white powder deposits using a solution of one part household vinegar to
10 parts water.
2. Check the air tubing and replace it if there are any holes, tears or cracks.
3. Check the air filter and replace it at least every six months. Replace it more often if there are any
holes or blockages by dirt or dust.
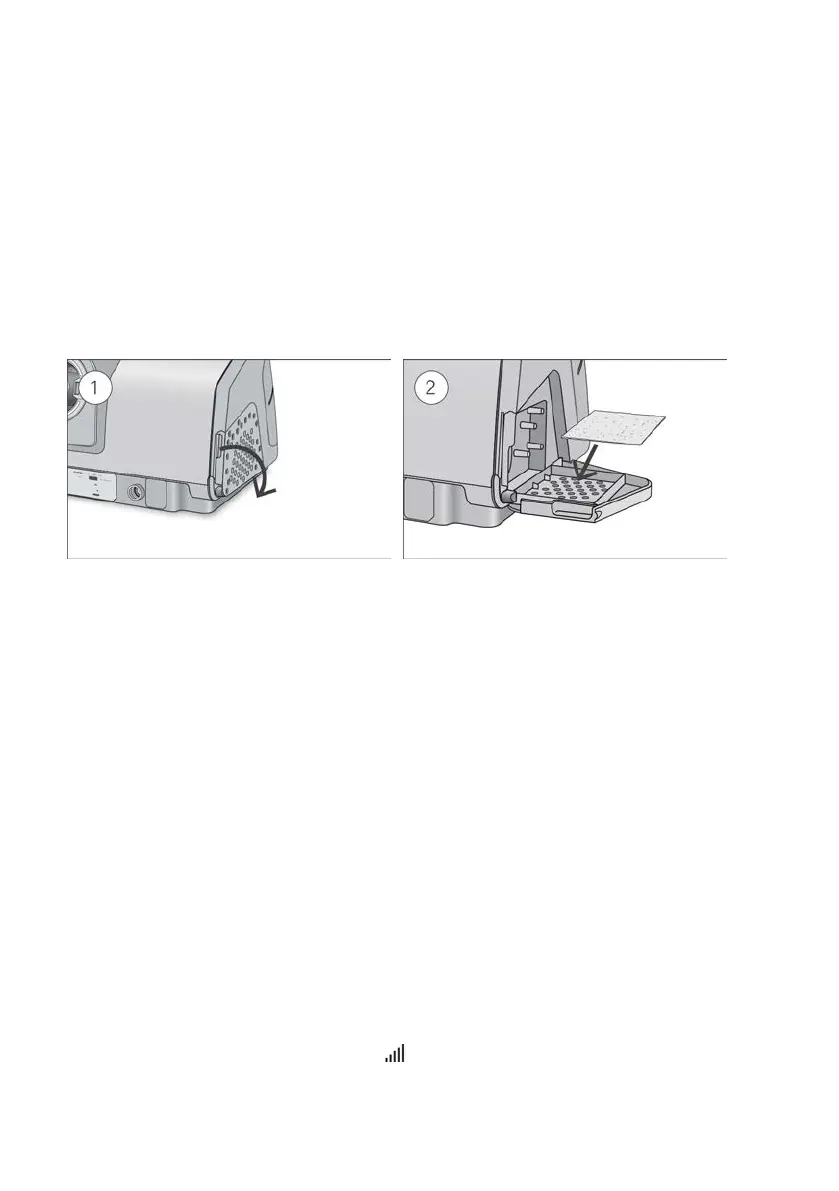
To replace the air filter:
1. Open the air filter cover and remove the old air filter.
The air filter is not washable or reusable.
2. Place a new air filter onto the air filter cover and then close it.
Make sure the air filter is fitted at all times to prevent water and dust from entering the device.
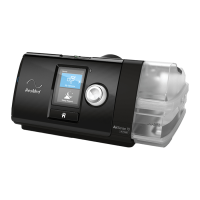
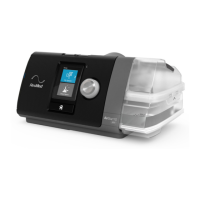
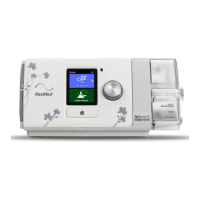
Reassembling
When the water tub and air tubing are dry, you can reassemble the parts.
1. Connect the air tubing firmly to the air outlet located on the rear of the device.
2. Open the water tub and fill it with distilled room temperature water up to the maximum water
level mark.
3. Close the water tub and insert it into the side of the device.
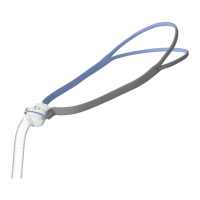
4. Connect the free end of the air tubing firmly onto the assembled mask.
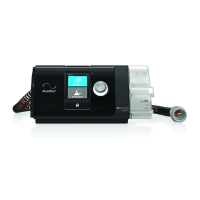
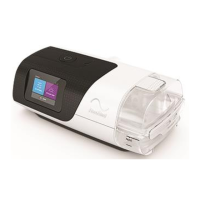
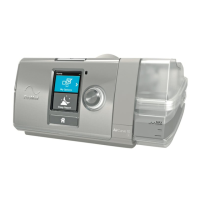
Therapy data
Your AirSense 10 device records your therapy data for you and your care provider so they can view
and make changes to your therapy if required. The data is recorded and then transferred to your care
provider wirelessly, if wireless network is available, or via an SD card.
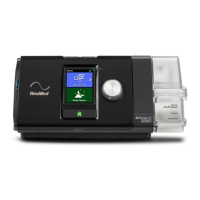
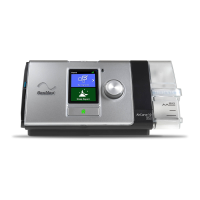
Wireless
Your AirSense 10 device is equipped with cellular communication. This allows your therapy data to
be wirelessly transmitted to your care provider to enhance the quality of your treatment. It also
allows therapy settings to be updated in a more timely manner or your device software to be
upgraded. The Wireless signal strength icon
displayed at the top right of your screen indicates
the signal strength.
 Loading...