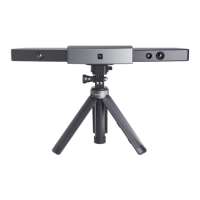
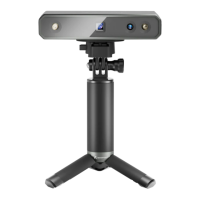
POP 2 3D Scanner User Manual
COPYRIGHT ©2022 REVOPOINT 3D ALL RIGHTS RESERVED 12
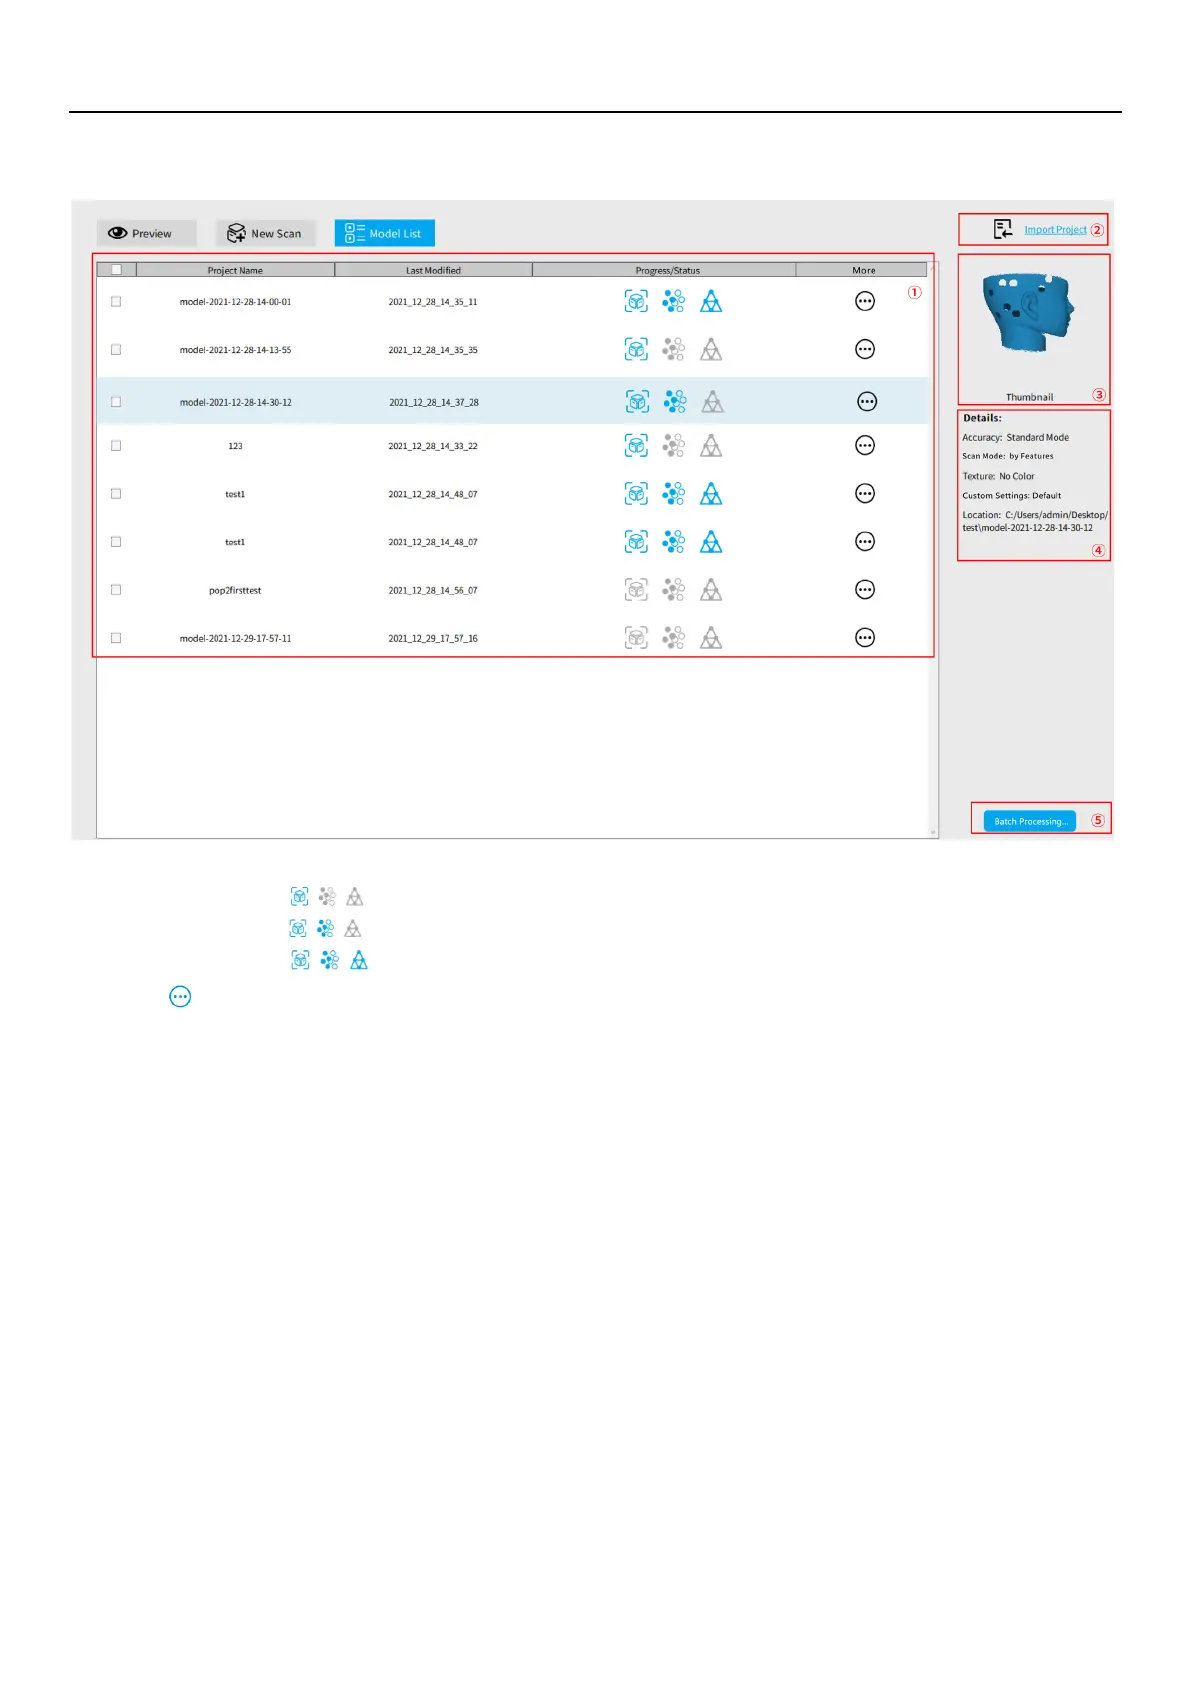
4. Model List
①
Model Viewing Area:
Lists all models scanned, creation timestamps and status.
The icon sequence
means that the model has completed scanning.
The icon sequence
means that the model has been scanned and its point cloud has been fused.
The icon sequence
means that the model has been scanned, fused and meshed.
The
icon allows users to open, rename, delete and export the model.
②
Import Project:
Import a 3D model into the model list.
③
Thumbnail preview:
Select a model in the
①
Model Viewing Area and its thumbnail displays in this area.
④
Details:
Display the model’s scan information.
⑤
Batch Processing:
Select more than one model and process (fuse, mesh and texture) them in one go.
Revo Scan - Workflow
Double Click to open Revo Scan---> Confirm "Device is connected" (displays after several seconds) ---> Click New Scan to
select Accuracy, Scan Mode and Texture ---> Confirm distance to be "Excellent" ---> Adjust the brightness in RGB camera
and Depth Camera (Auto first, if available, then Manual) ---> Start/Pause Scanning ---> Stop to Complete/Restart Scanning
---> Fuse Point Cloud ---> Mesh ---> Texture (only available for Colorful scans) ---> Export the 3D model