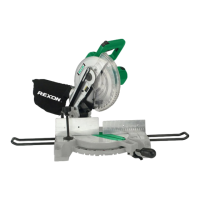
5
Locking the cutting head:
1. Push the cutting head down to its lowest
position.
2. Push the head hold-down latch (2) into
the locking hole to lock the cutting head.
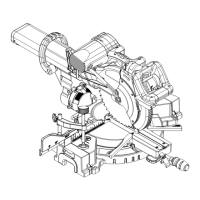
INSTALLING THE MITER HANDLE
(FIG. 3)
1. Thread the miter handle (1) into the
hole (2) located at the front of the
miter table.
INSTALLING THE DUST BAG (FIG. 4)
1. Squeeze the metal collar wings (2) of
the dust bag (1).
2. Place the dust bag neck opening around
the exhaust port (3), and release the
metal collar wings (2).
INSTALLING THE EXTENSION WINGS
(FIG. 5)
1. Loosen the extension wing locking
screw (1) located in the hole.
2. Place the left extension wing (2) into the
mounting holes (3) provided in the miter
saw base.
3. Tighten the extension wing locking
screw (1) to secure extension wing
in place.
4. Repeat for the right extension wing.
INSTALLING THE HOLD-DOWN CLAMP
(FIG. 6)
1. Loosen the lock knob (1) from the rear
side of the saw base.
2. Place the hold-down clamp assembly (2)
in one of the rear mounting holes (3).
3. Tighten the lock knob (1).
4. Also the hold-down clamp assembly (2)
can be placed in one of the front
mounting holes (4).
5. Place the workpiece on the table,
and then place the hold-down clamp
assembly (2) in one of the front
mounting holes (4).
6. Turn the turning knob (5) of the hold-
down clamp assembly (2) until the
stop plate (6) touches and tightens
the workpiece.
SAW BLADE WRENCH (FIG. 7)
1. For convenient storage and prevention
of loss, there is a slot (1) in the rear side
of the carrying handle for storing the
blade wrench (2) when not in use.
NOTE: This tool is accurately adjusted
before shipping from the factory. Check
the following accuracy and readjust them if
necessary in order to obtain the best results
in operation.
ADJUSTING FENCE SQUARENESS
(FIG. 8)
1. Loosen the four fence locking bolts (1).
2.
Lower the cutting arm and lock in position.
3. Using a square (2), lay the heel of the
square against the blade and the ruler
against the fence (3) as shown.
4. Adjust the fence 90° to the blade and
tighten the four fence locking bolts (1).
5. After fence has been aligned, using a
scrap piece of wood, make a cut at
90° then check squareness on the
piece. Readjust if necessary.
Setting the Tool
WARNING! If the saw has not been used
recently, recheck blade squareness to the
fence and readjust if needed.
WARNING! Failure to unplug your
saw could result in accidental starting
causing possible serious personal injury.