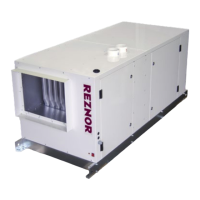
Form I-MAPSIII&IV, P/N 222917R9, Page 35
Hood Top, P/N 222689
Hood Bottom, P/N 222692
Right
Side,
P/N 222694
Left
Side,
P/N 222697
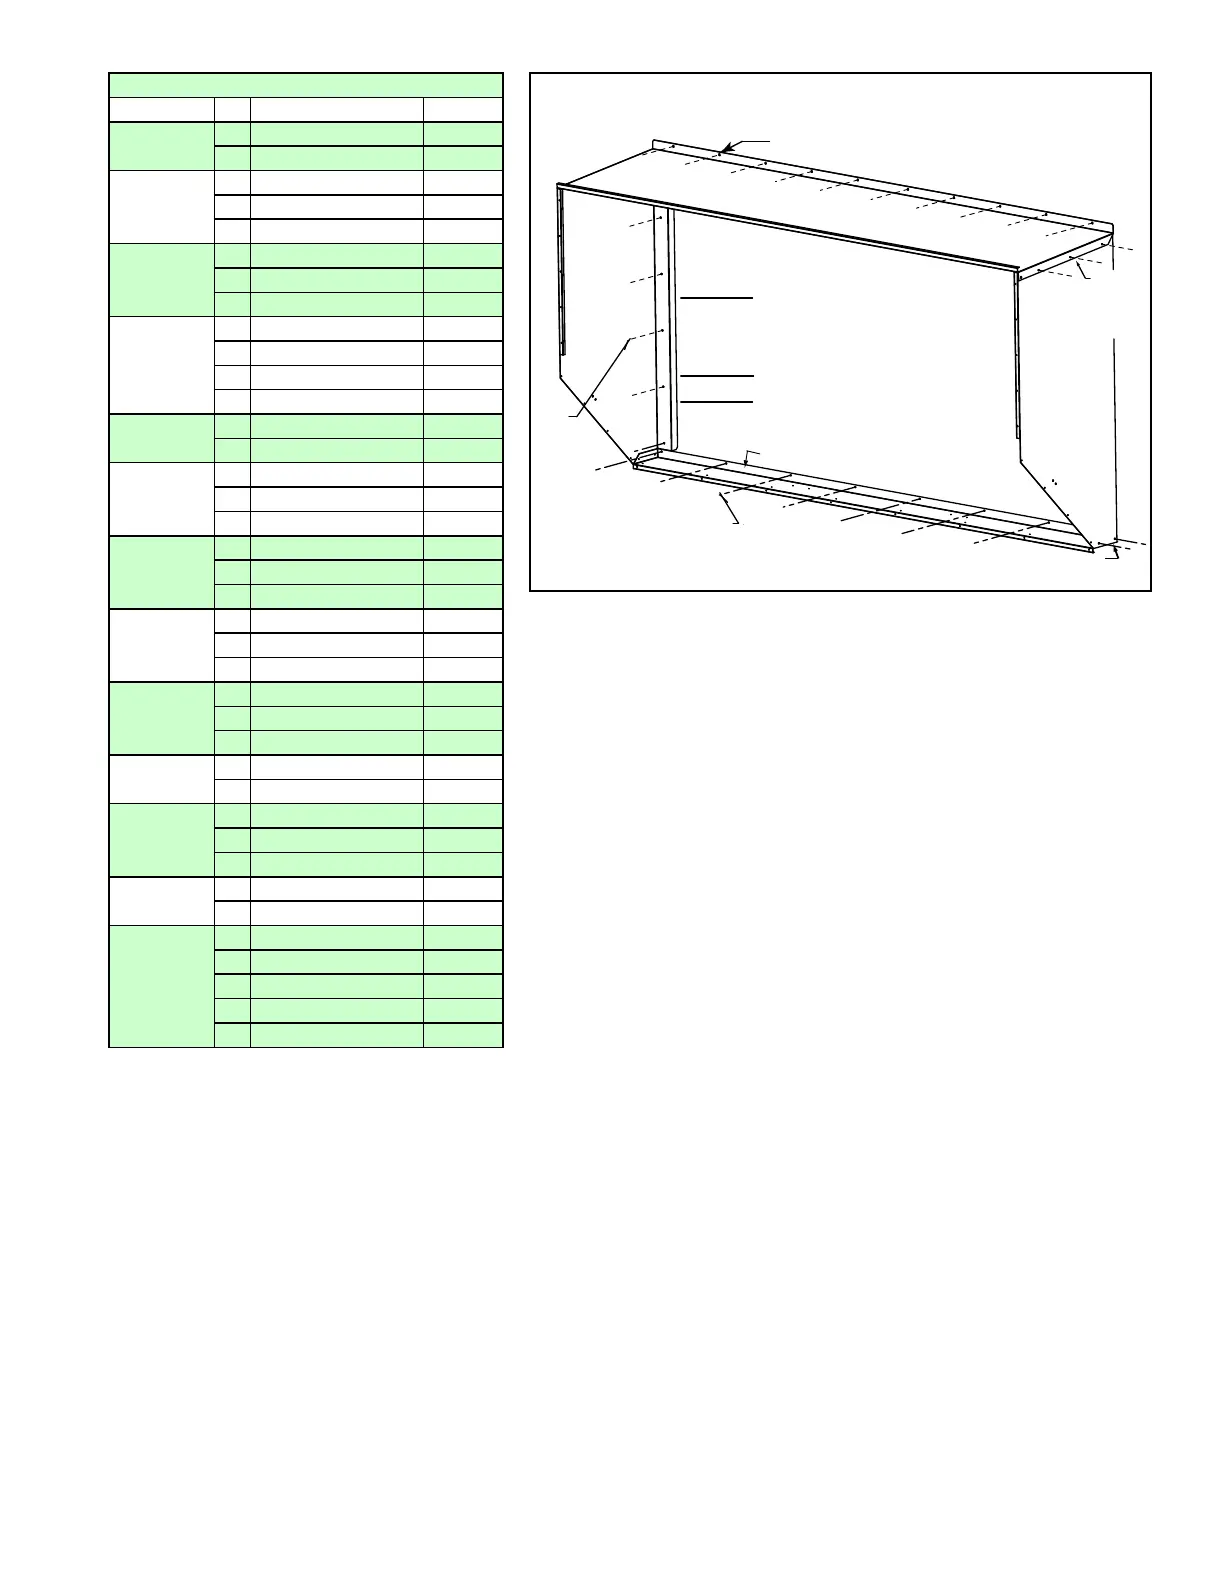
STEP 1a) Install top of hood.
- Remove and save screws holding cabinet top.
- Slide edge of hood top under cabinet top.
- Re-insert the screws.
STEP 1b) Attach sides.
STEP 1c) Attach hood bottom.
Use
self-
drilling
screws
on
sides.
Use self-drilling
screws across the bottom.
Use
sheetmetal
screws to
attach top.
Use sheetmetal screws.
Reuse screws removed from cabinet top.
Edge of hood top MUST BE UNDER
the cabinet top.
FIGURE 18B - STEP 1, Install First Section
Components by STEP (FIGURES 18A - 18D)
Used in Qty Description P/N
STEP 1a,
FIGURE 18A
1 Top (Section 1) 222689
6 Sheetmetal Screws 11813
STEP 1b,
FIGURE 18A
1 Left Side (Section 1) 222697
1 Right Side (Sctn 1) 222694
12 Self-Drilling Screws 37661
STEP 1c,
FIGURE 18A
1 Bottom 222692
8 Self-Drilling Screws 37661
4 Sheetmetal Screws 18113
STEP 2a,
FIGURE 18B
1 Left Side (Section 2) 222696
1 Right Side (Sctn 2) 222693
10 Sheetmetal Screws 11813
Silicone
53335
STEP 2b,
FIGURE 18B
1 Top (Section 2) 222690
10 Sheetmetal Screws 11813
STEP 2c,
FIGURE 18B
1 Top Seal 222691
20 Sheetmetal Screws 11813
Silicone
53335
STEP 3a,
FIGURE 18C
1 Top Filter Support 222701
1 Top Filter Clip 222702
16 Sheetmetal Screws 11813
STEP 3b,
FIGURE 18C
1 Btm Filter Support 222703
1 Bottom Filter Clip 222704
16 Sheetmetal Screws 11813
STEP 3c,
FIGURE 18C
1 Left Side Gutter 222698
1 Right Side Gutter 222695
18 Sheetmetal Screws 11813
STEP 3d,
FIGURE 18C
2 Vertical Supports 222700
8 Sheetmetal Screws 11813
STEP 3e,
FIGURE 18C
2 Horizontal Supports 222699
24 Sheetmetal Screws 11813
12 Clip-on Receptacles 205708
STEP 4a,
FIGURE 18D
12 Filter Stops 222705
24 Sheetmetal Screws 11813
STEP 4b,
FIGURE 18D
12 Filters, 16x16x1 104102
6 Filters, 16x25x1 101609
6 Filter Retainers 222706
12 Wing Head Screws 205707
12 Nylon Retainers 205709
All screw ends (except some across the bottom) should be inside the
air hood. The top and sides are in two sections; starting at the inlet air
opening, follow the illustrated instructions.
1. Install First Section (FIGURE 18B)
a) Top Panel - Above the air inlet opening, remove and save the
factory-installed screws attaching the system top. Slide the edge
of the hood top panel underneath the edge of the cabinet top. The
edge of the hood top panel must be between the cabinet top
and the end panel. Reinsert all of the sheetmetal screws.
b) Install First Section Side Panels - Position the hood side panel
under and to the inside of the hood top panel. Attach the side
panel to the system cabinet and to the hood top. Use the type of
screws shown. (See note in FIGURE 18A about selection.) Screw
ends should be inside the hood.
Repeat to install the other side of the hood.
c) Install Hood Bottom (FIGURE 18B) - Position and attach the
bottom as illustrated. Use the type of screws shown.
2. Install the Second Section (FIGURE 18C)
a) Install Side Panels - Position one of the small side panels against the already installed side panel as illustrated.
Remove the small panel and apply a bead of silicone along the mating surface of the already installed panel.
Attach the second panel piece with sheetmetal screws.
Repeat to attach the other small side panel piece.
b) Install Top Panel - Position the hood top piece over the newly installed side panels. Attach to the side panels with
sheetmetal screws.
c) Install Top Seal - Position the top seal over the seam in the top of the hood. Lift the seal and silicone along both
sides of the seam so that the anges of the top seal will be on the silicone. Attach the seal with sheetmetal screws.
3. Install the Filter Supports & Hood Gutters (FIGURE 18D)
a) Install Top Horizontal Filter Support and Clip - Position the top horizontal lter support inside the top edge of the
hood. Line up the holes and attach with sheetmetal screws.
With the open side down, position the lter clip to the inside of the lter support. Line up the holes with the support
and attach with sheetmetal screws.
b) Install Bottom Horizontal Filter Support and Clip - Position the bottom horizontal lter support on the bottom of
the hood. Attach with sheetmetal screws
Position the lter clip on the lter support and attach with sheetmetal screws.
 Loading...