Configuring the Printer for the Network
14
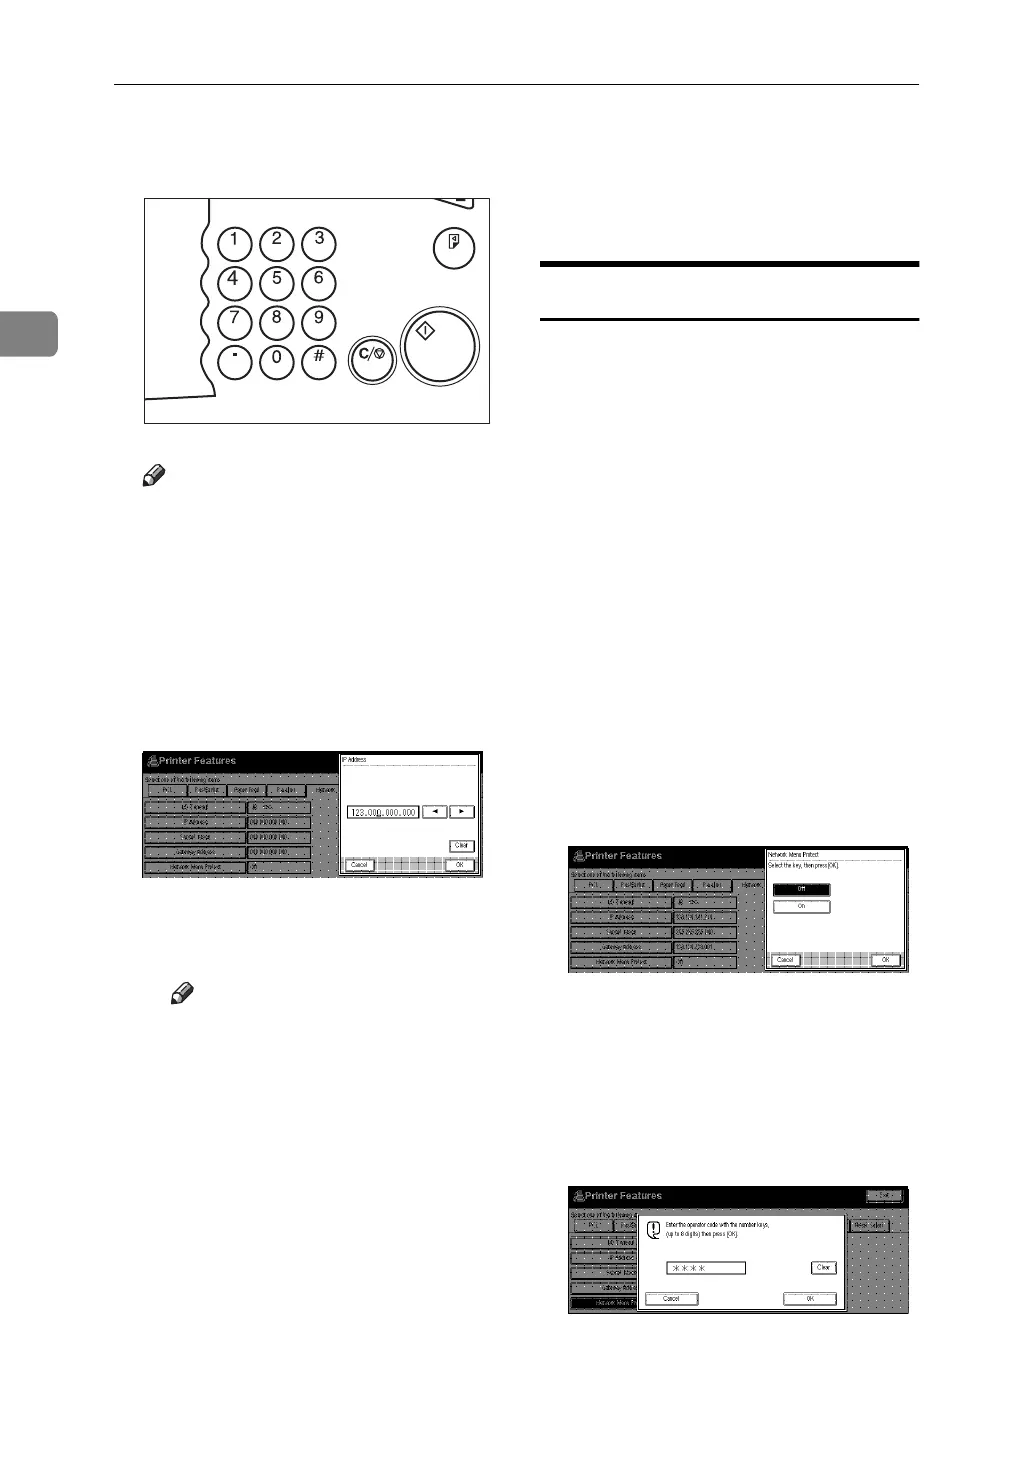
2
E Set the IP Address with the num-
ber keys.
Note
❒
To get the IP Address for the
printer, contact your network
administrator.
A Type the first three digits of the
IP Address, and the pointer
moves to the next entry field au-
tomatically.
The following screen appears
on the panel display.
Repeat these procedures to
complete setting the IP Ad-
dress.
Note
❒
If you press "Clear", the nu-
merical value currently en-
tered is canceled.
❒
If you press "Cancel", the en-
tered value is canceled and
the previous setting is re-
stored.
B Press
[
OK
]
.
The setting of the IP Address is
completed. Then return to the
"Printer Features" screen.
F Set "Subnet Mask" and "Gateway
Address" following the same pro-
cedure for setting the IP Address,
if necessary.
Protecting the Network Menu
You can protect the network setting
to prevent it being accidentally
changed.
A Press {
User Tools/Counter
} on the
operation panel.
The User Tools/Counter menu ap-
pears.
B Press
[
Printer Features
]
.
The Printer Features menu ap-
pears.
C Press
[
Network
]
.
The Network menu appears.
D Press
[
Network Menu Protect
]
.
The following screen appears on
the panel display.
A When the operation code has
been set, enter the key operator
code, up to 8 digits with the
number keys, and then press
[
OK
]
.
The following screen appears
on the panel display.
Sample Copy
Clear/Stop
Start
Enter
TSPS020N