A Press the {User Tools/Counter} key.
B Press [Address Book Mangmnt].
C Check that [Program / Change] is
selected.
D Select the name whose e-mail address
you want to register. Press the name key,
or enter the registered number using the
number keys.
E Press[E-mail].
F Press[Change],under"E-mailAddress".
G Enterthee-mailaddress.
H Press [OK].
For details about registering folders, see
"Registering Addresses and Users",
Connecting the Machine/ System Settings
.
Registering an E-mail destination...
(Registering Addresses and Users, Connecting the
Machine/ System Settings )
How to save to the machine’s hard
disk...
(Storing and Saving the Scanned Documents)
A Press the {Home} key on the top left of
the control panel, and press the [Scanner]
icon on the [Home] screen.
B Make sure that no previous settings
remain. If a previous setting remains,
press the {Reset} key.
C Place originals.
D Press [Store File].
E Press [Store to HDD].
F If necessary, specify file information,
such as [User Name], [File Name], and
[Password].
G Press [OK].
H If necessary, press [Scan Settings]
to specify scanner settings such as
resolution and scan size.
I Press the {Start} key.
For details about saving to memory
storage device, see "Storing the Scanned
Documents to a USB Flash Memory
Device or SD Card", Scan
on the
supplied CD-ROM.
Why use it?
To store scanned files in the hard disk of
the machine for later (shared) use. (See
Scan
.)
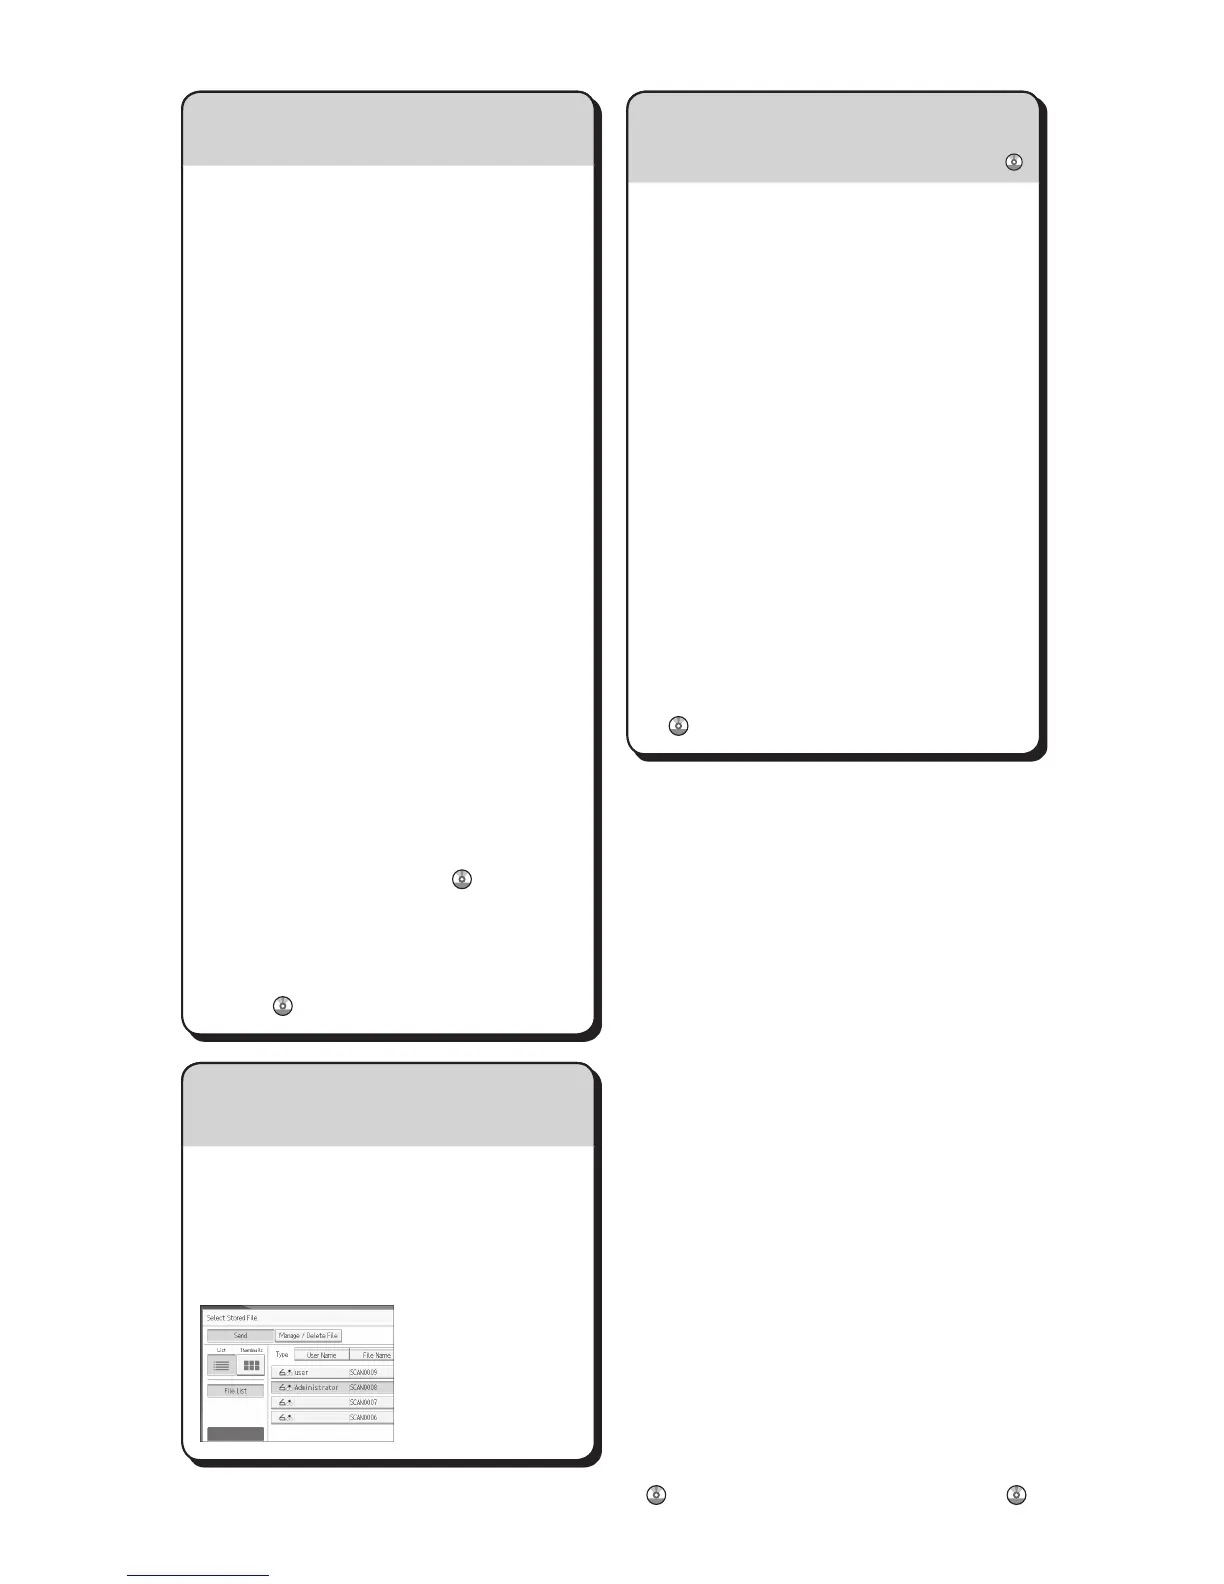
Displaying a list of files stored on the machine’s hard disk
(Storing and Saving the Scanned Documents)
A Press the {Home} key on the top left of
the control panel, and press the [Scanner]
icon on the [Home] screen.
B Press [Select Stored File]. The list of
stored files is displayed.
Chapter references in this guide refer to the bundled OI CD; Scan
and Connecting the Machine/ System Settings
.
How to save to the machine’s hard disk...
 Loading...