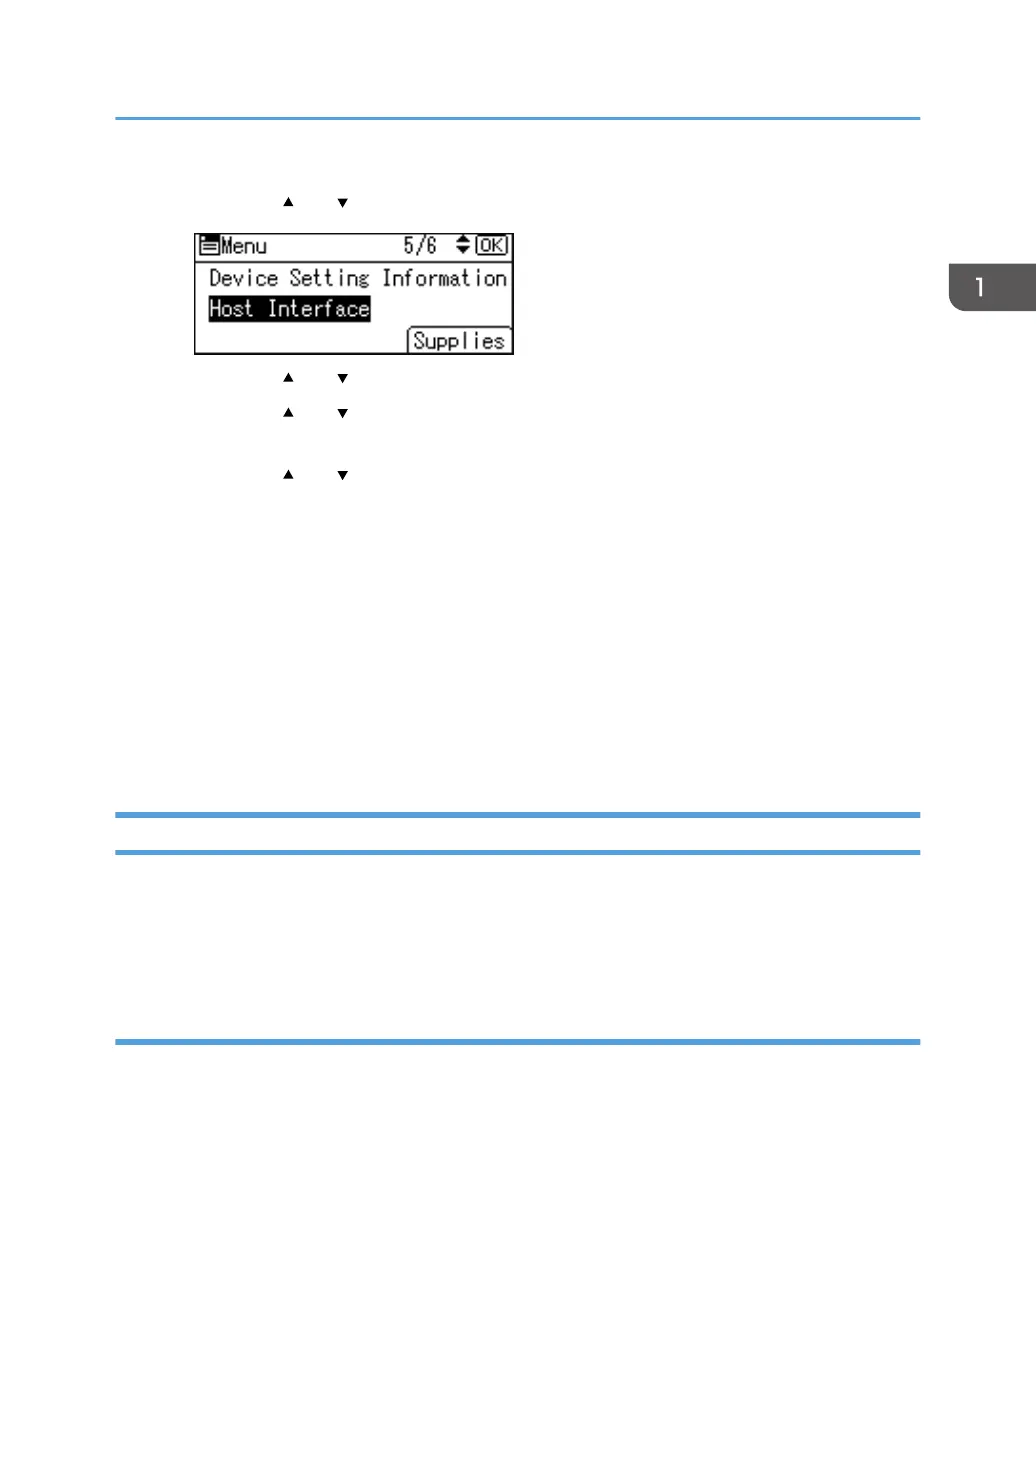
2. Press the [ ] or [ ] key to select [Host Interface], and then press the [OK] key.
3. Press the [
] or [ ] key to select [Network], and then press the [OK] key.
4. Press the [ ] or [ ] key to select [Machine IPv4 Address], and then press the [OK]
key.
5. Press the [ ] or [ ] key to select [Specify], and then press the [OK] key.
6. Press the selection key beneath [IP Add.], and then enter the IP address.
7. Press the [OK] key.
8. Press the selection key beneath [Subnet M], and then enter the subnet mask.
9. Press the [OK] key.
10. Press the selection key beneath [Gateway], and then enter the gateway.
11. Press the [OK] key.
12. Confirm the [Specify] is selected, and then press the [OK] key.
13. Press the [Escape] key.
Setting Wireless LAN
Wireless LAN connection is available when you install the optional Wireless LAN interface board.
See page 34 "Installing the Wireless LAN interface board" for how to install the Wireless LAN
interface board.
Selecting the communication mode for the Wireless LAN
Select the communication mode according to your environment.
Connecting and Setting the Network
13
 Loading...