6. Change the settings for custom paper (such as paper's name, size, and type), as necessary.
If you change the [Paper Weight], [Paper Type], [Coated Paper Type], [Paper Color],
[Prepunched], or [Textured] and press [Save Paper], a message appears to notify you that the
[Advanced Settings] will be initialized. To apply the changes for those settings, select
[Change]. To cancel the changes, select [Do not Change].
7. Press [OK].
8. Press [Exit].
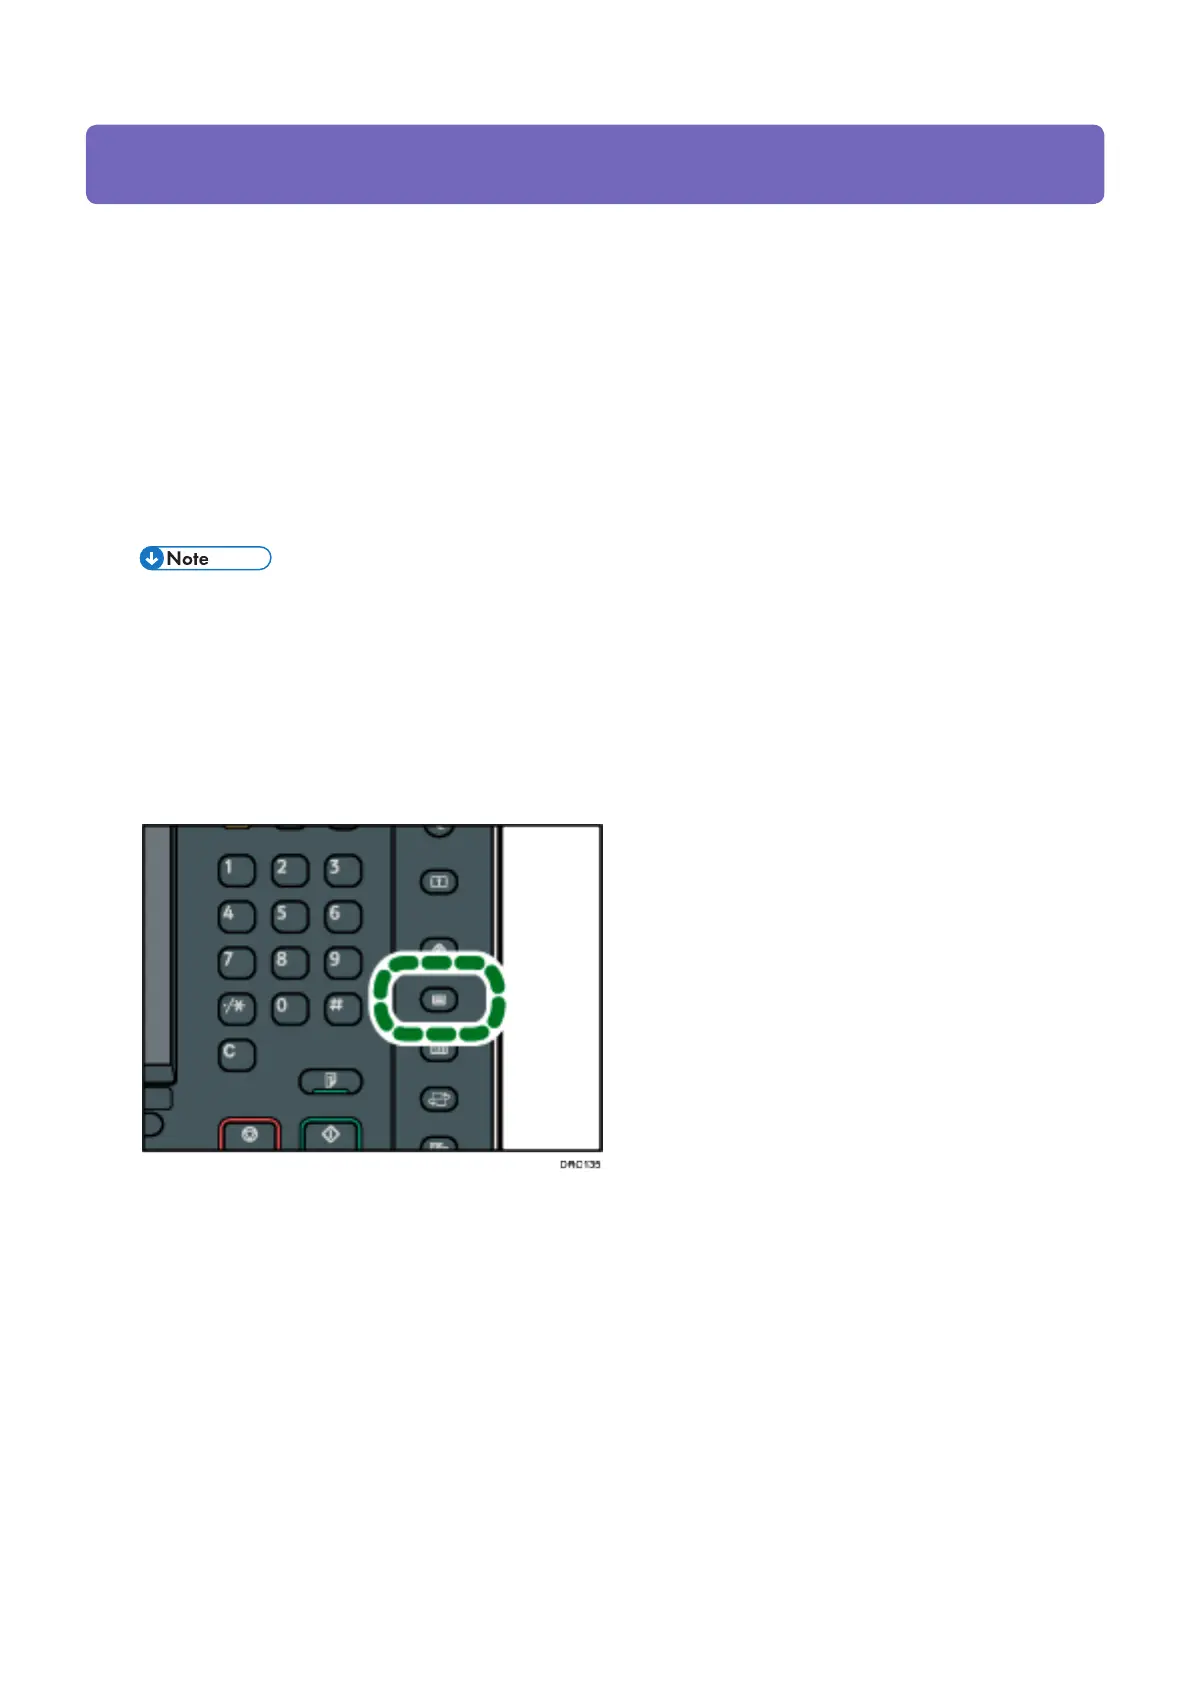
9. Press the [Paper Setting] key.
Modifying the registered custom paper settings using the Media Identification Unit
When you register and scan custom paper using the Media Identification Unit, following items
are automatically specified:
• Paper weight
• Coated paper other than matte paper
1. Press the [Paper Setting] key.
2. Press [Edit Custom Paper].
3. Select the custom paper whose settings you want to modify.
Press [Up arrow key Previous] or [Down arrow key Next] to scroll through the list to find
the paper that you want to modify.
4. Press [Scan Value to Program with Media Identification Unit].
CIP Training
Pro C5200 series Pap
Paper Catalogue Media Identification Unit
Unit

 Loading...


