Host Interface Menu
You can set configurations about network connections and communication.
The changed configuration holds even if the printer is turned off.
Changing the Host Interface Menu
Use the following procedure to change the network settings.
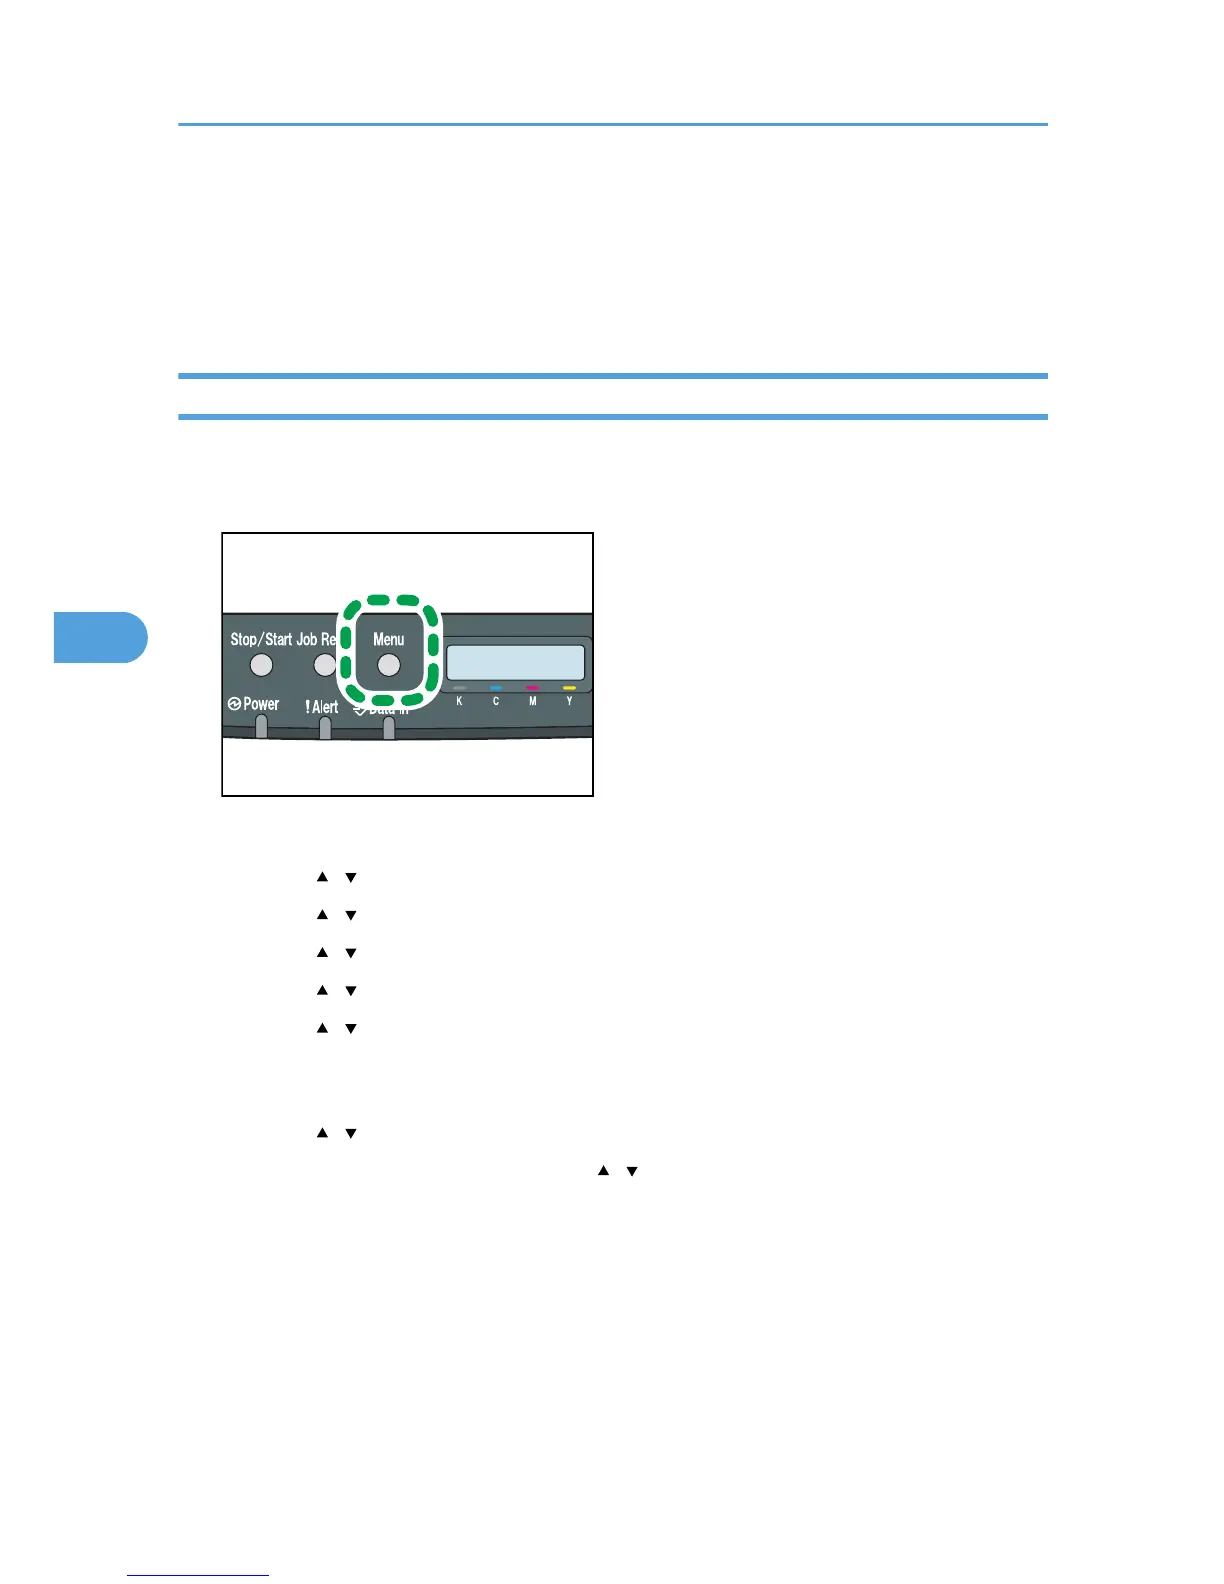
1. Press the [Menu] key.
The menu screen appears.
2. Press the [ ][ ] keys to select [Host Interface], and then press the [OK] key.
3. Press the [ ][ ] keys to select [Network Setting], and then press the [OK] key.
4. Press the [ ][ ] keys to select [IPv4 Config.], and then press the [OK] key.
5. Press the [ ][ ] keys to select [DHCP], and then press the [OK] key.
6. Press the [ ][ ] keys to select [Active] or [Inactive] according to the network
environment, and then press the [OK] key.
If you select [Active], proceed to step 10.
7. Press the [ ][ ] keys to select [IP Address], and then press the [OK] key.
8. Specify the printer’s IPv4 address using [ ][ ] keys, and then press the [OK] key.
• To go to the next field, press the [OK] key.
• To go back to the previous field, press the [Escape] key.
9. Set the subnet mask and gateway address.
Set values for each setting following the same procedure as for the IPv4 address.
10. Press the [Menu] key to return to the initial screen.
5. Making Printer Settings Using the Control Panel
60
 Loading...