10
16. Press [Connect].
“Please wait for 2 minutes” appears and connecting with PIN
method starts.
17. Check the result.
Connection has succeeded:
"Connected to access point." is displayed.
Press [OK] to return to the screen displayed in Step 12, and then press
the [Home] key to return to the initial screen.
Connection has failed:
"Failed to connect to access point." is displayed.
Press [OK] to return to the screen displayed in Step 12. Check the
configuration for the router (access point), then try the connection
again.
18. Configuring the Wi-Fi settings is complete.
3. FAX settings
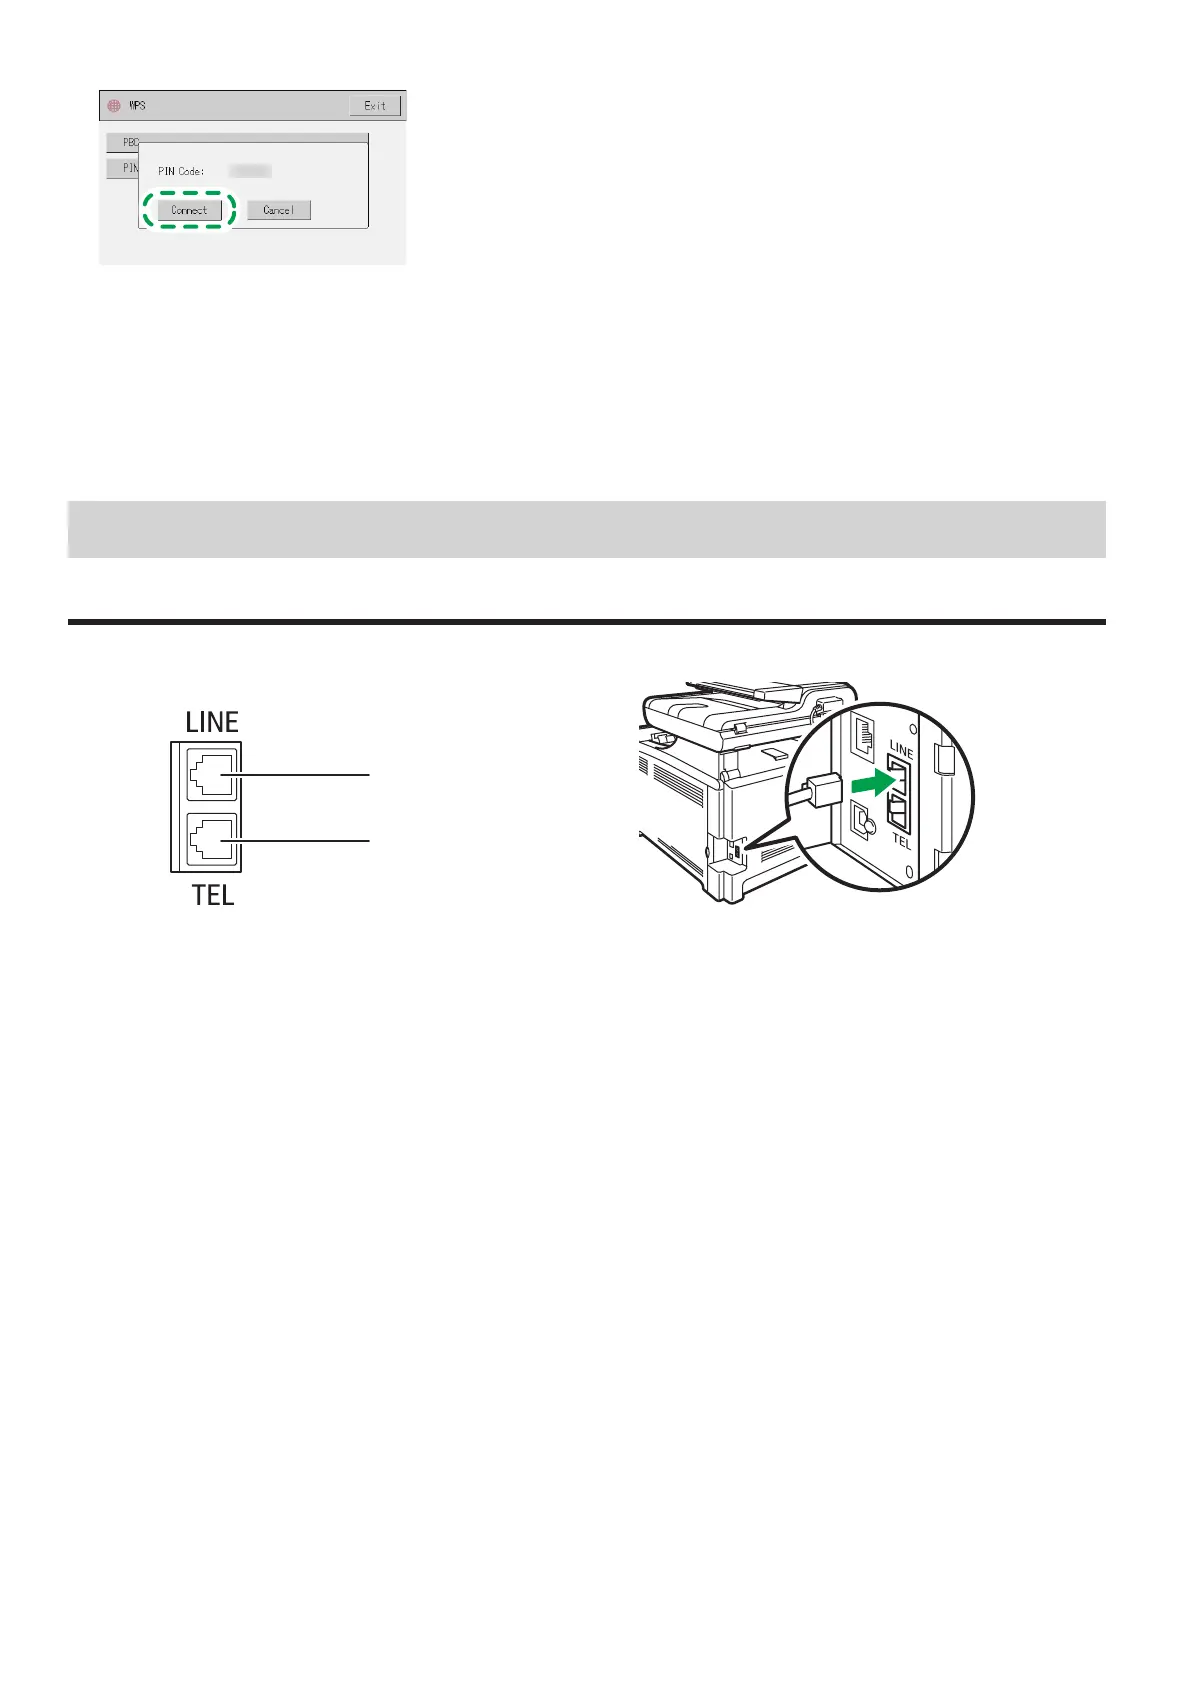
Connection
Connect a telephone line cord to LINE.
If using an external telephone, connect the telephone to TEL.
2
1
DUE040
1. Port For LINE
2. Port For External Telephone
DUE041

 Loading...