7
TO INSTALL BATTERIES
This digital miter gauge uses two ”AAA” batteries.
Fig. 2
Fig. 3
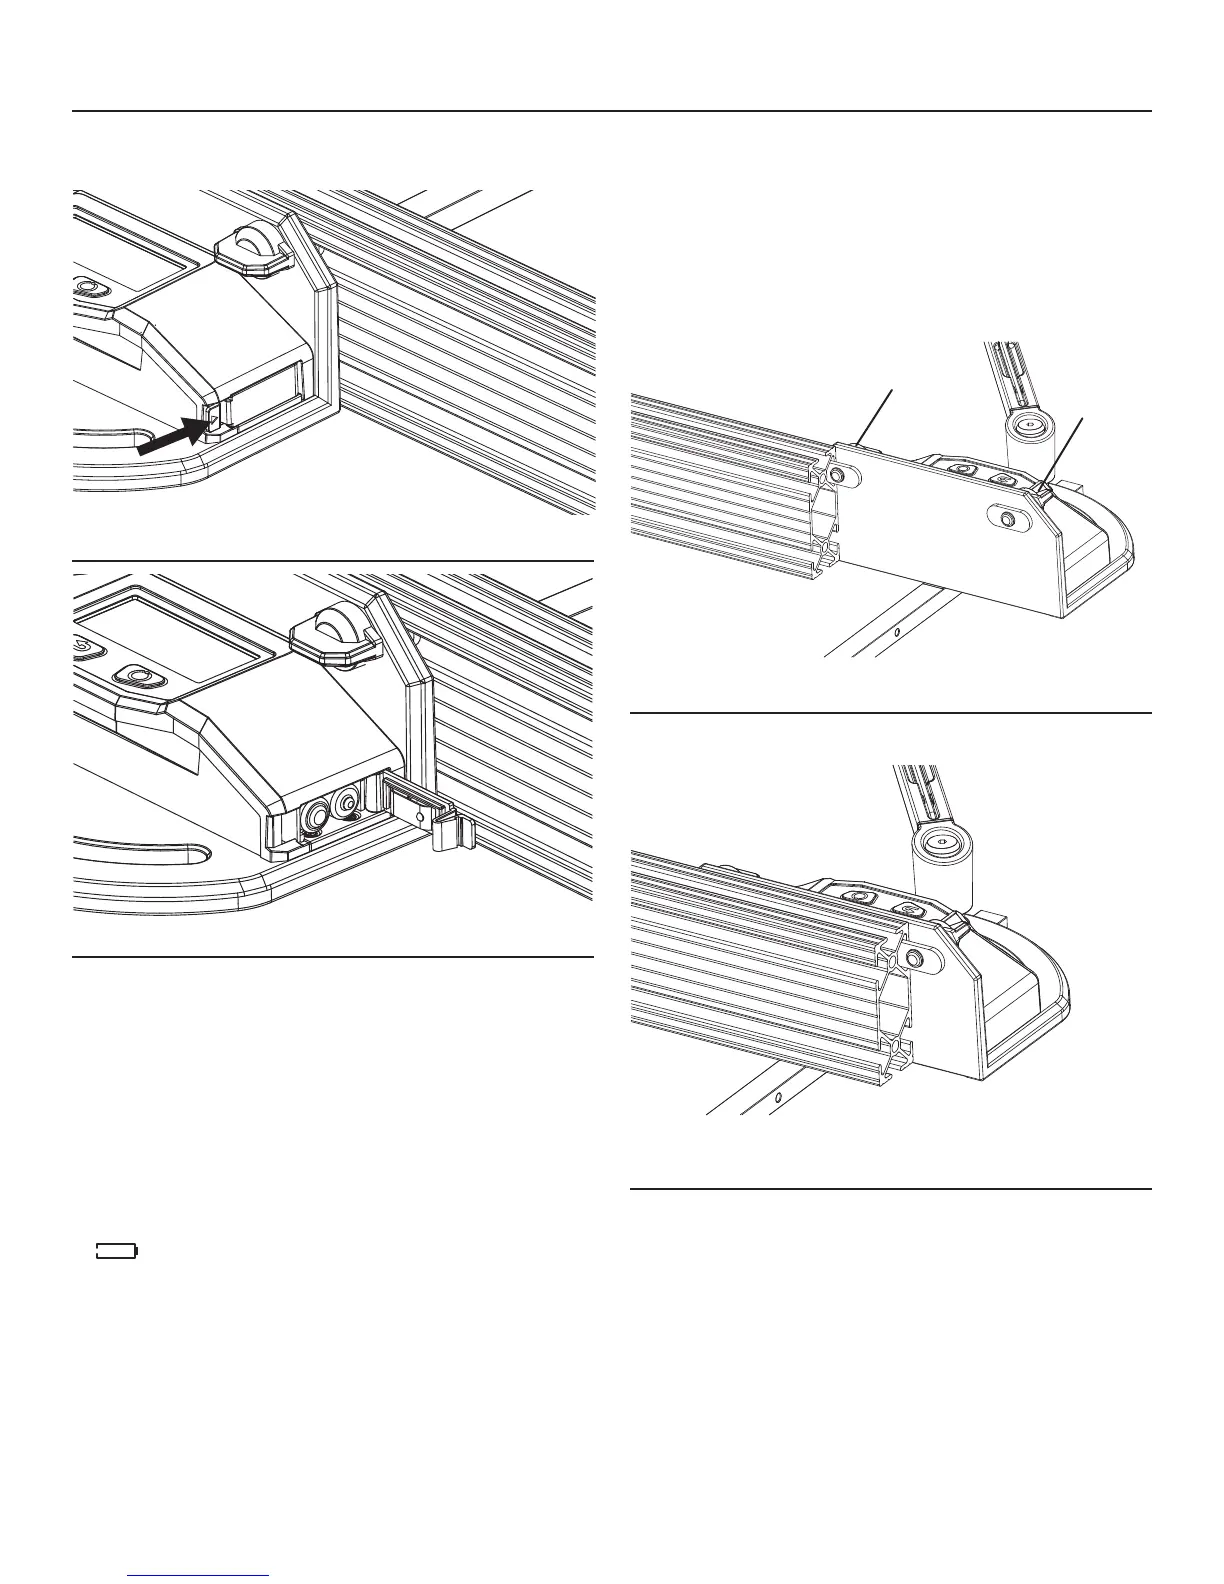
1. Open the battery cover as indicated by the arrow on the
cover (Fig. 2).
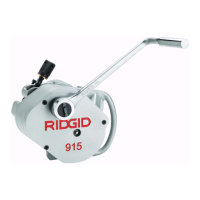
2. Insert two new “AAA”alkaline batteries according to the
polarity indicators in the battery compartment(Fig. 3). Be
sure the polarity (+/-) is correct!
3. Close the cover and lock it securely in place.
NOTE:
•Replacethebatterieswhenthebatteryindicatoronthe
display indicates that the batteries are fully depleted:
" ".
•Removethebatteriesfromthedigitalmitergaugewhenit
is not used for extended periods.
•The2AAAbatteriesshouldmatcheachotherinbrand
and type.
•Donotmixoldandnewbatteries.
•Removedepletedbatteriesimmediately,anddisposeof
them according to your local ordinance.
•Neverdisposeofbatteriesinre.
OPERATION
ATTACH THE FENCE TO THE MITER GAUGE HEAD
The fence has a mitered end to permit precise miter cuts
close to the end of the miter fence. Always position this
end to right side of the miter head. Refer to location 21 in
Fig. 1.
1. Loosen the fence-lock knobs (5 in Fig. 1) to release
both lock blocks so they may be inserted into the slot
in the fence.
Fig. 4
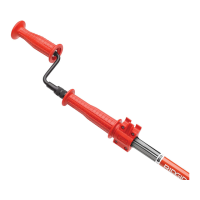
2. Align the rst lock block with the slot in the fence and
slide it into place (Fig. 4).
Fig. 5
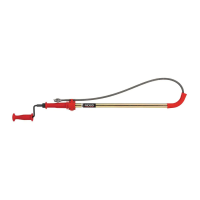
3. Continue to slide the second lock block into place
(Fig.5).
4. Move the fence to the desired position.
5. Turn the fence-lock knobs clockwise to lock the fence.
fence-lock knob
fence-lock
knob