8
The 3/8” T-slot washer (Fig. 7a) is attached to the front side
of the gauge bar (Fig. 8). Use this washer for T-slots that
are 3/8” deep. For T-slots that are ½” deep, remove the
3/8” washer and attach the ½” T-slot washer (Fig. 7b & Fig.
7c).
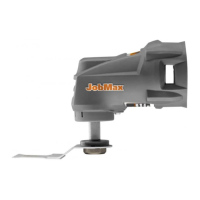
There are three indicating lines on each washer (Fig. 7a);
use these lines to guide you as you turn the washer to a
specied position to it t a standard 5/8”, 3/4” or 7/8” T-
slot table.
Fig. 8
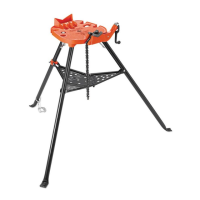
To t non T- slot tables, keep the two sides of the T-washer
aligned with the gauge bar, as shown in Fig. 8.
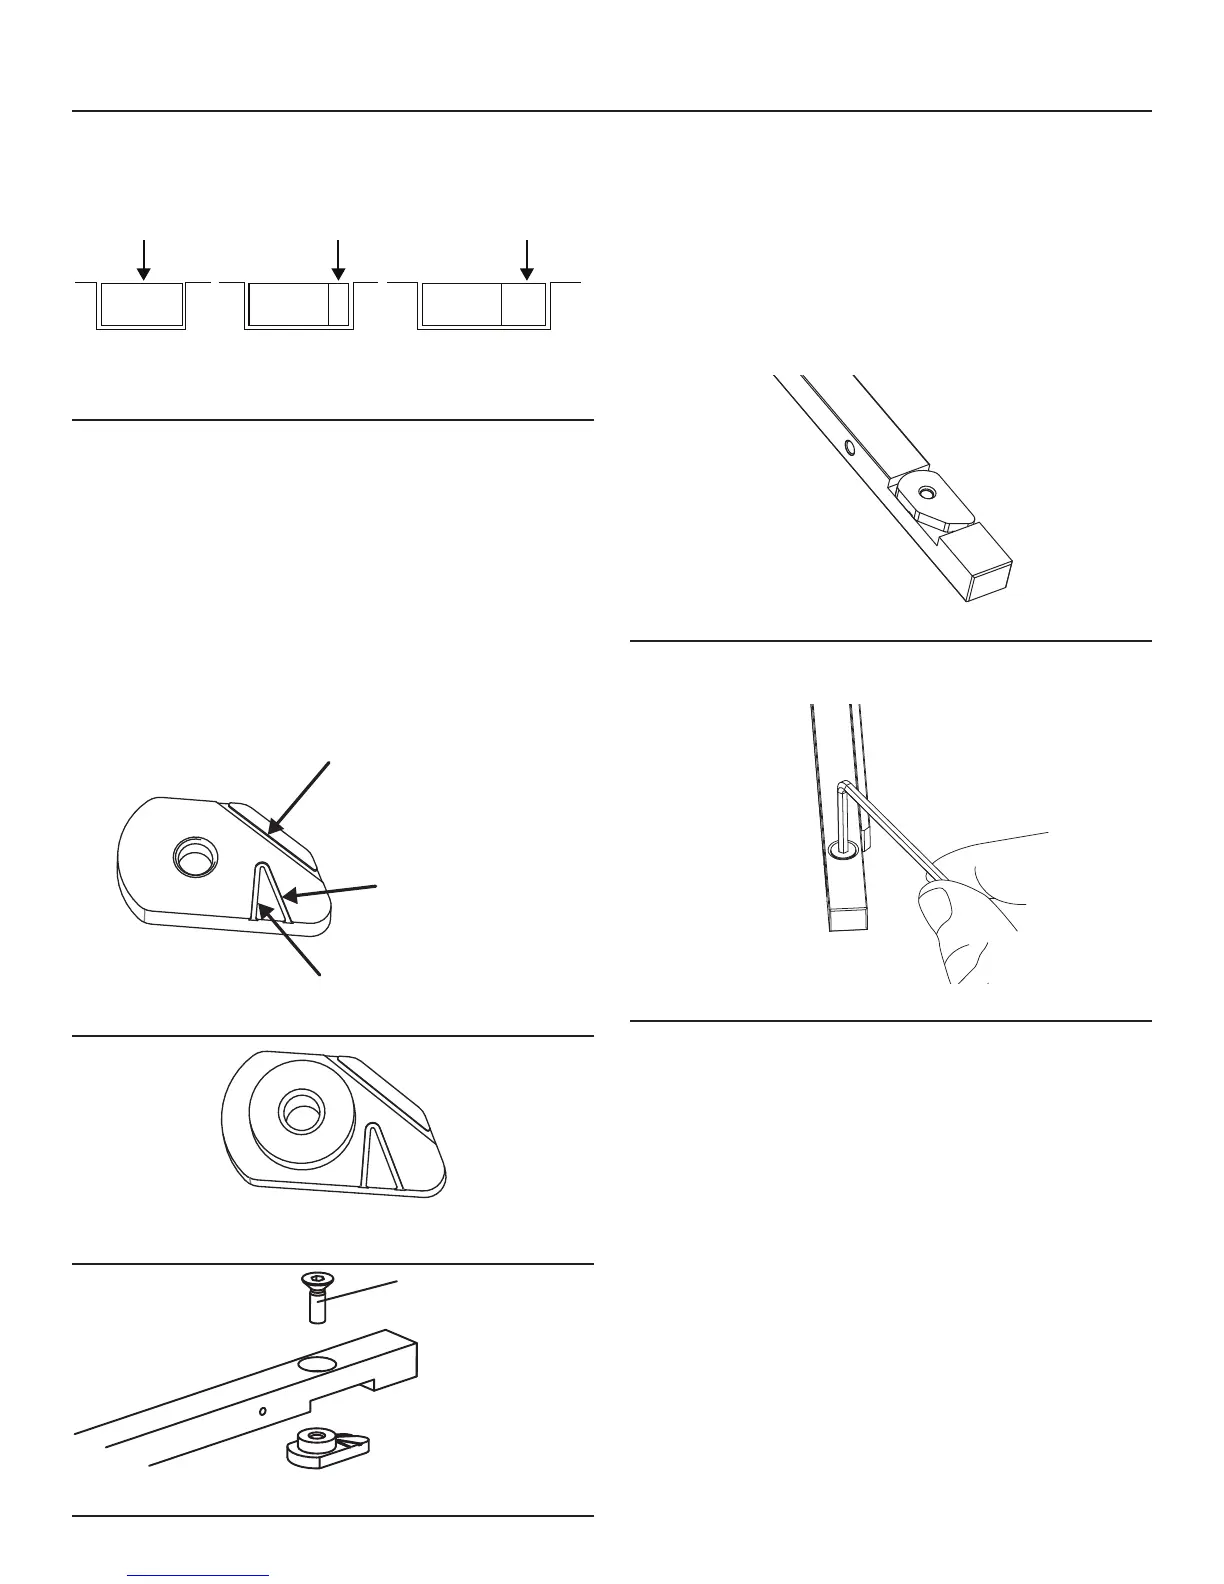
Fig. 9
To t a T-slot table:
1. Loosen the screw on the T-slot washer with the hex
wrench (Fig. 9).
OPERATION
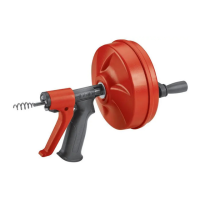
CHOOSE THE PROPER GAUGE BAR ATTACH-
MENT
Fig. 6
The gauge bar attachments adapt the universal gauge bar
to t in standard 1/2”, 5/8” or 3/4” miter gauge slots. The
universal gauge bar ts a 1/2” slot. Using the hex wrench
and the screws provided, attach a 1/8” gauge bar attach-
ment on the side to t in a 5/8” slot; attach a 1/4” gauge
bar attachment on the side to t in a 3/4” slot. Please refer
to Fig. 6.
ADJUST THE T-SLOT WASHER TO THE COR-
RECT POSITION
Adjust the T-slot washer to allow the gauge bar to t in the
slots of T-slot tables and non T-slot tables on bench, por-
table, and stationary tools.
Fig. 7a
Fig. 7b
Fig. 7c
1/2” gauge bar
1/8” gauge bar
attachment
1/4” gauge bar
attachment
1/2” slot 5/8” slot 3/4” slot
Indicating line for
5/8" T-slot
Indicating line for
3/4" T-slot
Indicating line for
7/8" T-slot
Long screw for deep
T-slot washer

 Loading...