5
FEATURES
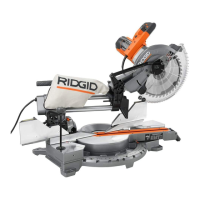
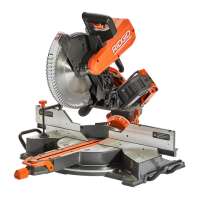
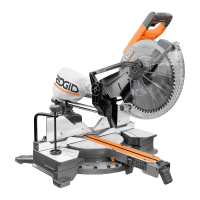
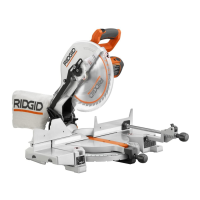
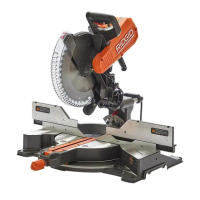
KNOW YOUR COMPOUND MITER SAW
1. On/Off Switch and Lockout Hole: This saw
is activated by an easy to use, hand operated,
power switch. When not in use the saw should be
disconnected from the power supply and locked using a
padlock inserted through the lockout hole located on the
power switch.
2. Safety Switch: This switch helps prevent accidental
start, must be engaged along with power switch to
operate machine.
3. Dust Bag: The dust bag collects and contains the saw
dust during the cutting operations.
4. Depth Stop Screw/Depth Stop Plate: The depth
stop plate can be used to make a non-through cut. The
depth stop screw allows the depth of cut to be adjusted.
5. Bevel Scale and Indicator: These indicate the
current blade bevel position and are adjustable; This
allows for ne calibration of the blade alignment.
6. Sliding Fence: The fence supports the workpiece when
making all cuts. The extension is adjustable.
7. Base: Supports the tool and features mounting holes.
8. Throat Plate (Kerf Plate): The throat plate supports
the workpiece from underneath, on both sides of the
blade, to minimize workpiece tear out
9. Work Table: The die-cast aluminum work table
provides a level and sturdy work surface.
10. Work Clamp: The vertical work clamp helps to position
and secure the workpiece to the work table. This
provides for safer operation and more accurate cuts.
11. Blade: A 12 inch blade is included with the compound
miter saw.
12. Lower Guard: The lower blade guard is made of
shock-resistant, see-through plastic that provides
protection from the blade.
13. Spindle Lock: Engage the spindle lock when changing
the blade in order to hold the blade into position while
you loosen the blade bolt.
14. Upper Guard: Cast aluminum protects user from blade.
15. Back Fence Support: These provide workpiece
support and additional cut capacity when the sliding
fence is removed.
16. T30 Torx/Blade Wrench: This wrench should be used
when removing, installing, or changing the blade.
17. Motor End Cap: This provides access to your saw’s
motor’s Brush Caps/carbon brushes, in the event they
need to be inspected or replaced.
18. Carrying Handle: Use this to transport your saw.
Make sure the Slide and Head lock are engaged before
transporting.
19. Slide Lock Lever: This allows the saw head to be
locked into the fully retracted position.
20. Saw Head Lock Pin: This allows the saw head to be
locked into the full down position, for transportation.
21. Miter Scale and Indicator: These indicate the current
blade miter position and are adjustable; This allows for
ne calibration of the blade alignment.
22. Miter Detent Override Button: This button holds the
miter detent into the unlocked position which allows
free movement of work table arm without holding the
miter detent lock/unlock button.
23. Miter Lock Knob: This knob locks the blade miter
angle securely into place. Always lock before making
any cuts.
24. Miter Detent Lock/Unlock Button: This button
allows you to release the miter arm from the positive
stops and freely rotate the miter arm.
25. Mounting Holes (x4): Enables you to securely mount
the tool to a stable surface.
26. Bevel Lock/Unlock Handle: This handle locks the
blade bevel angle securely into place. Always lock
before making any cuts.
27. Bevel Detent Latch: This latch engages/disengages
the bevel detent pin which allows the bevel angle to be
locked into one of the detent positions.
28. Slide Resistance Adjustment: This adjusts the
friction for the front to back saw head siding movement.
29. E-Brake (Not Shown): This brake will slow your blade
down quickly when the power switch is disengaged
(release hand from power switch).


 To Next Page