14 - English
ASSEMBLY
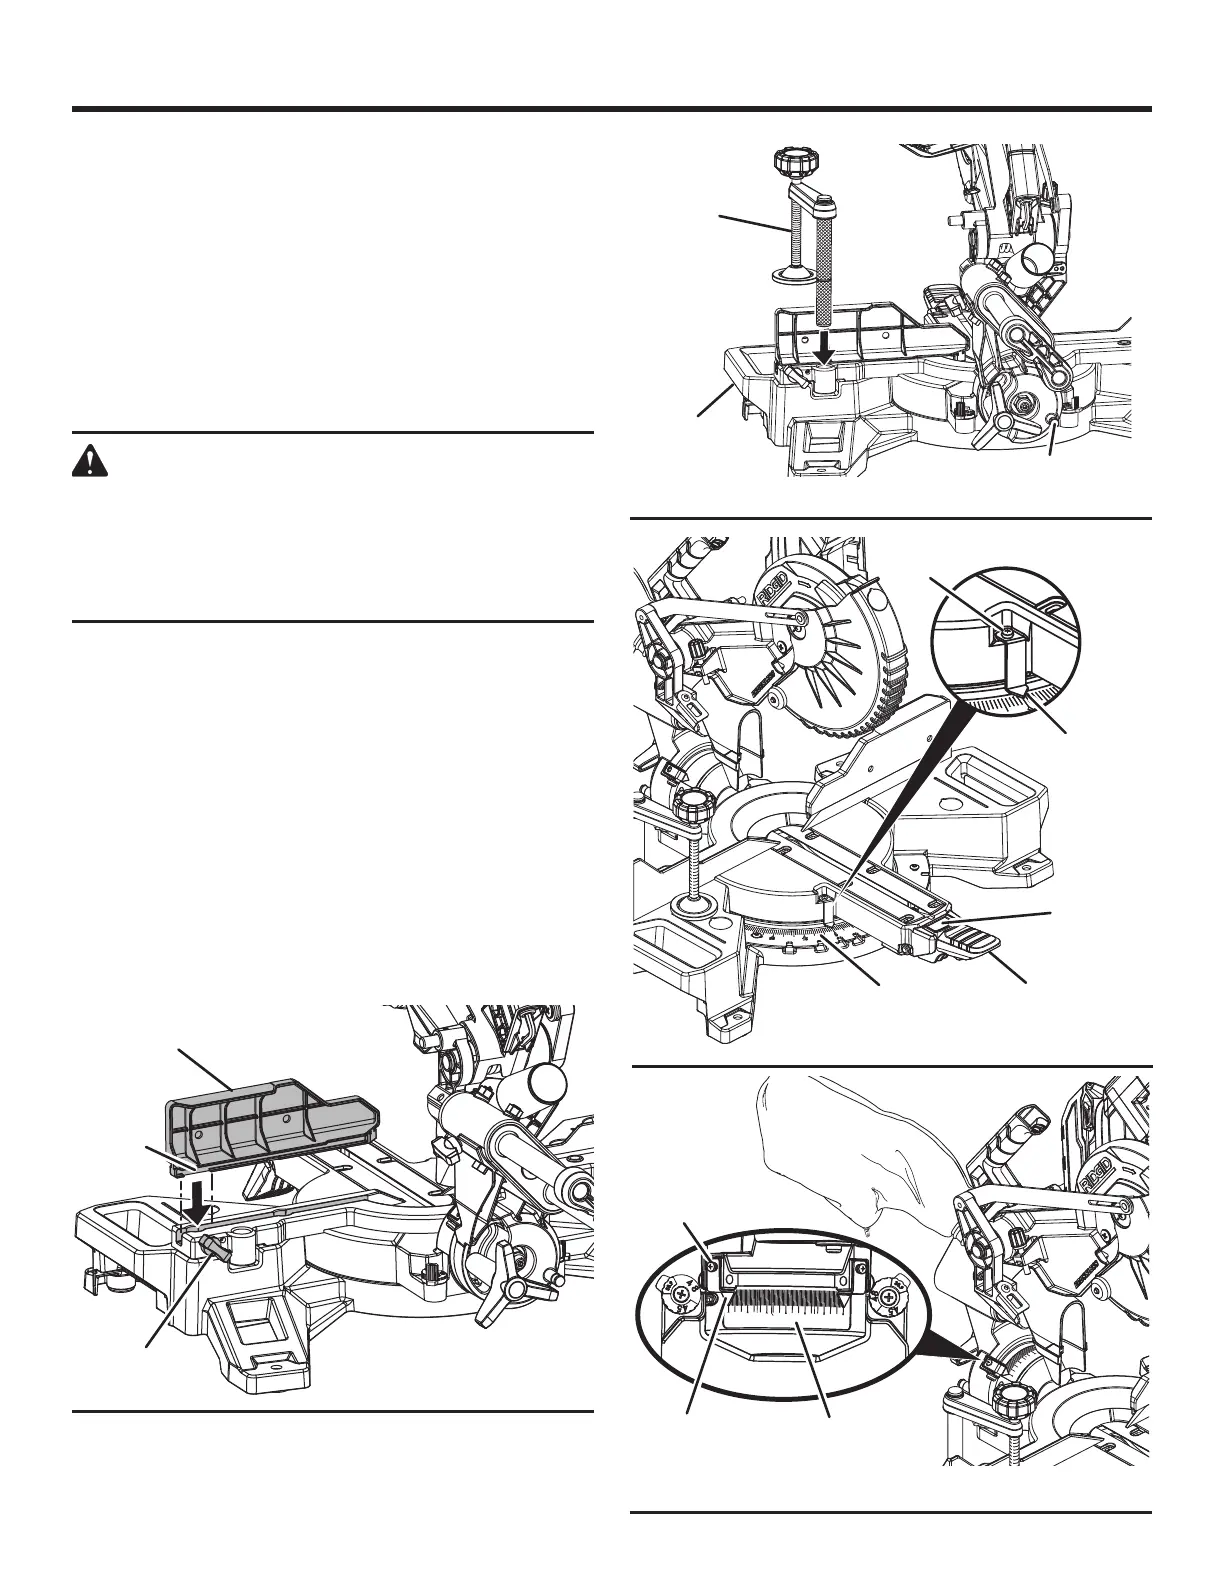
INSTALLING SLIDING MITER FENCE
See Figure 11.
Turn the fence lock knob counterclockwise, to clear fence
slots.
Install the sliding miter fence. Lower fence into fence
slot. Be sure side of fence lines up flush with side of fixed
fence.
Tighten fence lock knob securely.
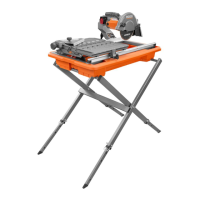
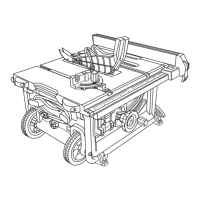
INSTALLING THE WORK CLAMP
See Figure 12.
WARNING:
In some operations, the work clamp assembly may
interfere with the operation of the blade guard as-
sembly. Always make sure there is no interference
with the blade guard prior to beginning any cutting
operation to reduce the risk of serious personal injury.
The work clamp provides greater control by clamping the
workpiece to the table. It also prevents the workpiece from
creeping toward the saw blade. This is very helpful when
cutting compound miters.
Depending on the cutting operation and the size of the
workpiece, it may be necessary to use a C-clamp instead of the
work clamp to secure the workpiece prior to making the cut.
To install the work clamp:
Place the shaft of the work clamp in either hole on the
rear of fence.
Push the top of the work clamp toward the back while
rotating the knob to move the clamp up or down as
needed.
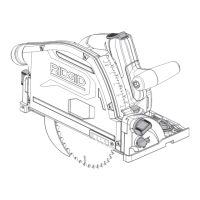
Fig. 13
INDICATOR
SCREW
SCALE
INDICATOR
MITER SCALE
DETENT PLATE
SCALE
INDICATOR
INDICATOR
SCREW
BEVEL
SCALE
Fig. 14
SAW
BASE
WORK
CLAMP
Fig. 12
0
15
30
22.5
0
45
30
15
22.5 33.9 33.9
30
15
0
22.5
MITER
LOCK LEVER
BEVEL STOP PIN
Fig. 11
SLOT
FENCE LOCK
KNOB
SLIDING MITER
FENCE
MITER
DETENT
BYPASS
BUTTON