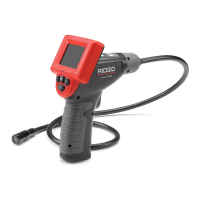
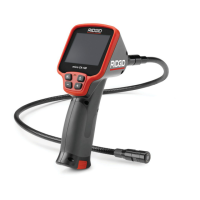
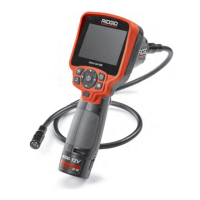
SeeSnake
®
micro
™
Inspection Camera
Ridge Tool Company
5
Storage Temperature ..-4°F to 158°F
(-20°C to 70°C)
Water Resistance........Image head and
extensions to 10'
(3.05 m) water depth
(When assembled.)
Maximum Distance....Optional cable ex-
tensions can be as-
sembled to make
cable up to 30'
(9.74 m) long
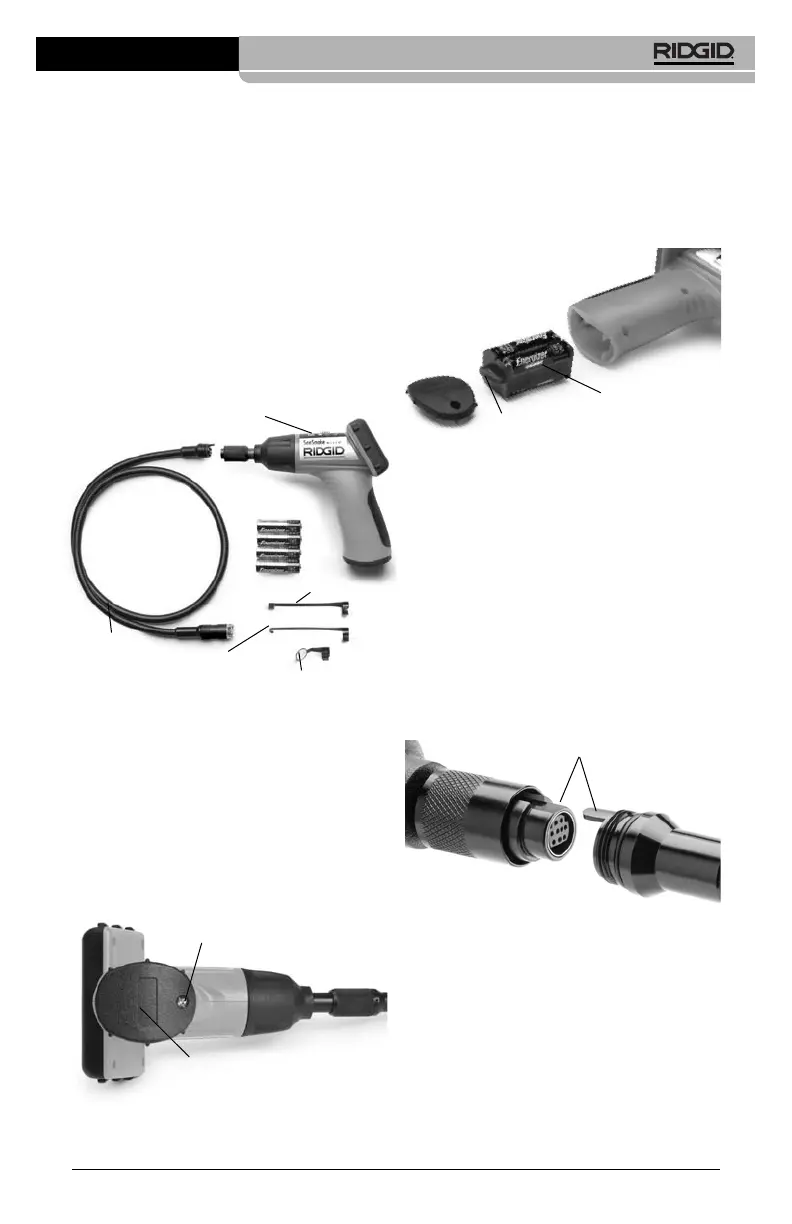
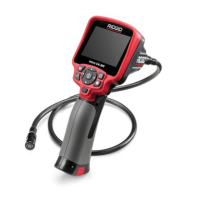
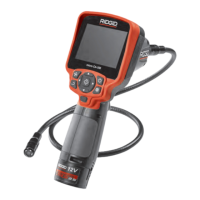
Standard Equipment
The SeeSnake micro Inspection Camera
comes with the following items:
Figure 1 – System Components
Assembly
To Install Batteries (4 AA):
NOTE! Be sure to read Battery Precautions
section on
Page 2
.
1. Turn the hand-held viewer upside down
to expose the battery compartment cov-
er and screw
(Figure 2)
.
Figure 2
2. Using a Phillips head screwdriver, re-
move screw and cover.
3. Remove battery compartment and insert
four (4) new AA batteries into the proper
slots in the battery compartment
(Figure
3)
. Proper battery orientation is indicated
on the battery compartment.
Figure 3
4. Replace battery compartment, making
sure the fin is oriented as shown with its
taller portion toward the LCD screen.
5. Replace battery cover
(Figure 2)
and
screw.
To use the display unit (
Figure 1)
, it must be
connected to the imager head cable.
To connect the cable to the display unit,
make sure the keyed ends
(Figure 4)
are
properly aligned. Once they are aligned, fin-
ger tighten the knurled knob to hold the con-
nection in place.
Figure 4
To Install an Accessory:
The three included accessories, (mirror, hook
and magnet)
(Figure 1)
all attach to the imager
head the same way.
To connect, hold the imager head as shown in
Figure 5
. Slip the semicircle end of the acces-
sory, over the flats of the imager head as
shown in
Figure 5
. Then rotate the acces-
sory a
1
/
4
turn so the long arm of the accessory
is extending out as shown in
Figure 6.
Hand Held
Display Unit
Imager Head
and Cable
Accessory
Mirror
Accessory Magnet
Accessory
Hook
Battery
Compartment
Cover
Screw
Battery Compartment
Fin
Keyed Ends