J
James WalkerJul 27, 2025
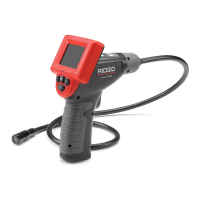
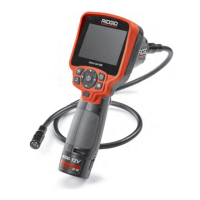
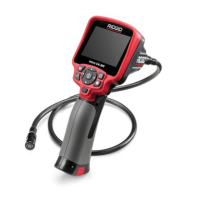
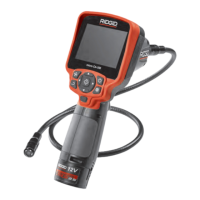
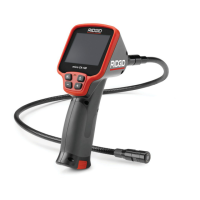
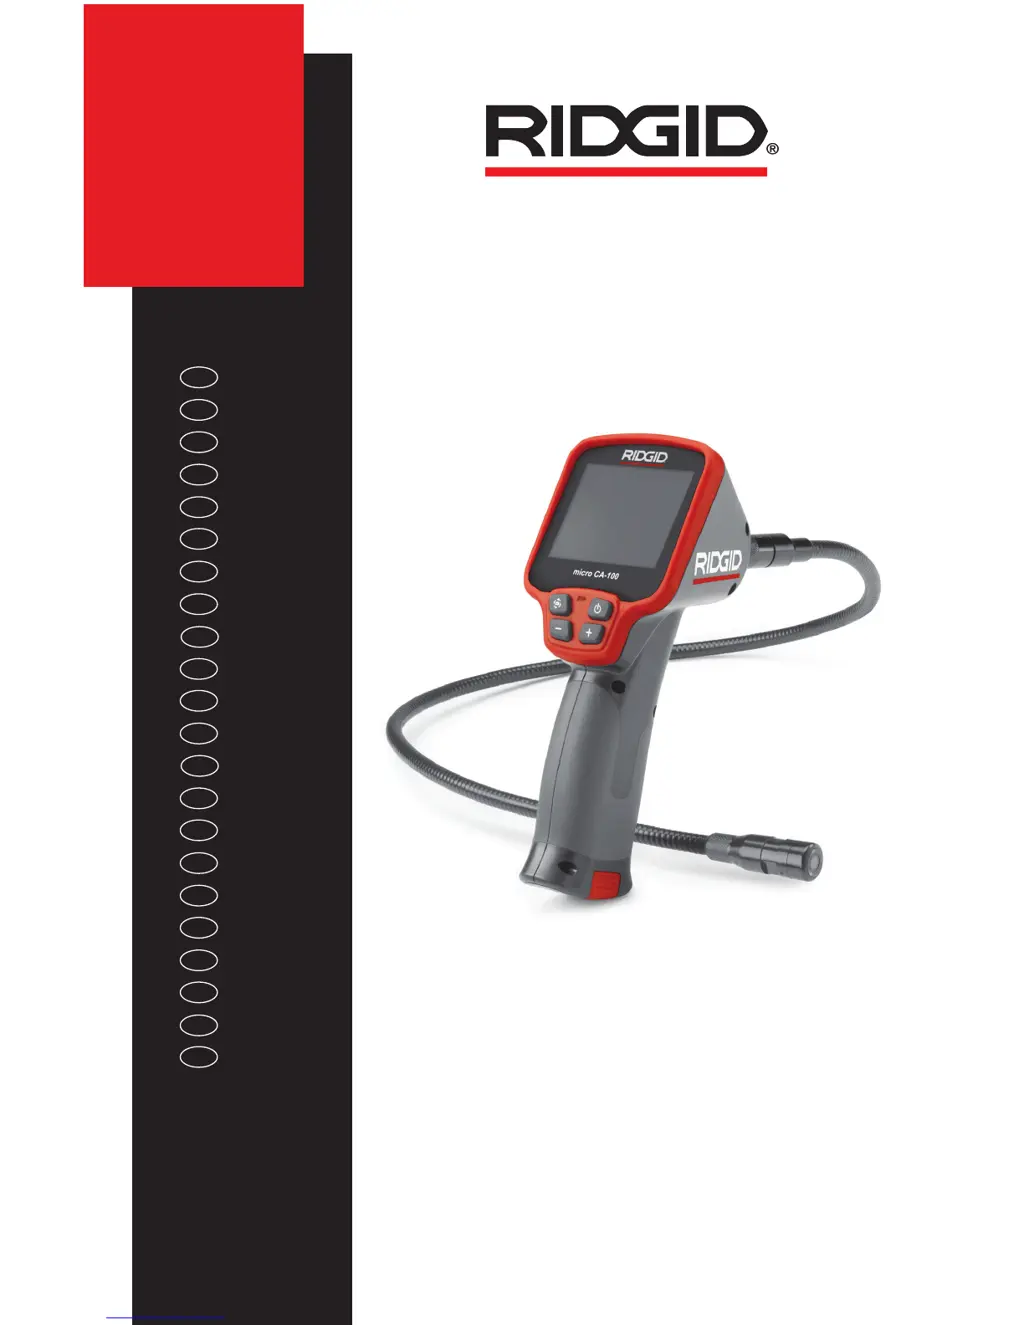
What to do if my RIDGID micro CA-100 Analytical Instruments display turns on but shows no image?
- DDerrick CrosbyJul 27, 2025
If the display turns on but doesn't show an image, the LEDs on the imager head are dim, the display switches between black and white, or the color display turns off quickly, there could be several reasons. First, check and re-attach all cable connections, cleaning them if necessary. Second, the batteries might be low or dead, so replace them. If these steps don't work, the imager might be broken and needs replacement. Finally, try resetting the unit.