EasyManua.ls Logo

RIDGID TP1300 - User Manual

RIDGID TP1300
36 pages
Print Icon
To Next Page IconTo Next Page
Loading...
23(5$725·60$18$/
WARNING: To reduce the risk of
injury, the user must read and
understand the operator’s manual
before using this product.
SAVE THIS MANUAL FOR
FUTURE REFERENCE
µ7+,&.1(66
3/$1(5
Part No. SP6452 Printed in Taiwan
73

Table of Contents

Other manuals for RIDGID TP1300

Questions and Answers

  • B
    burgesschristopherSep 8, 2025
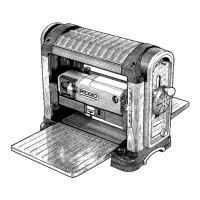
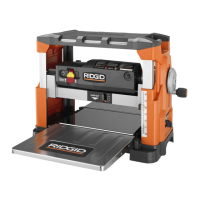
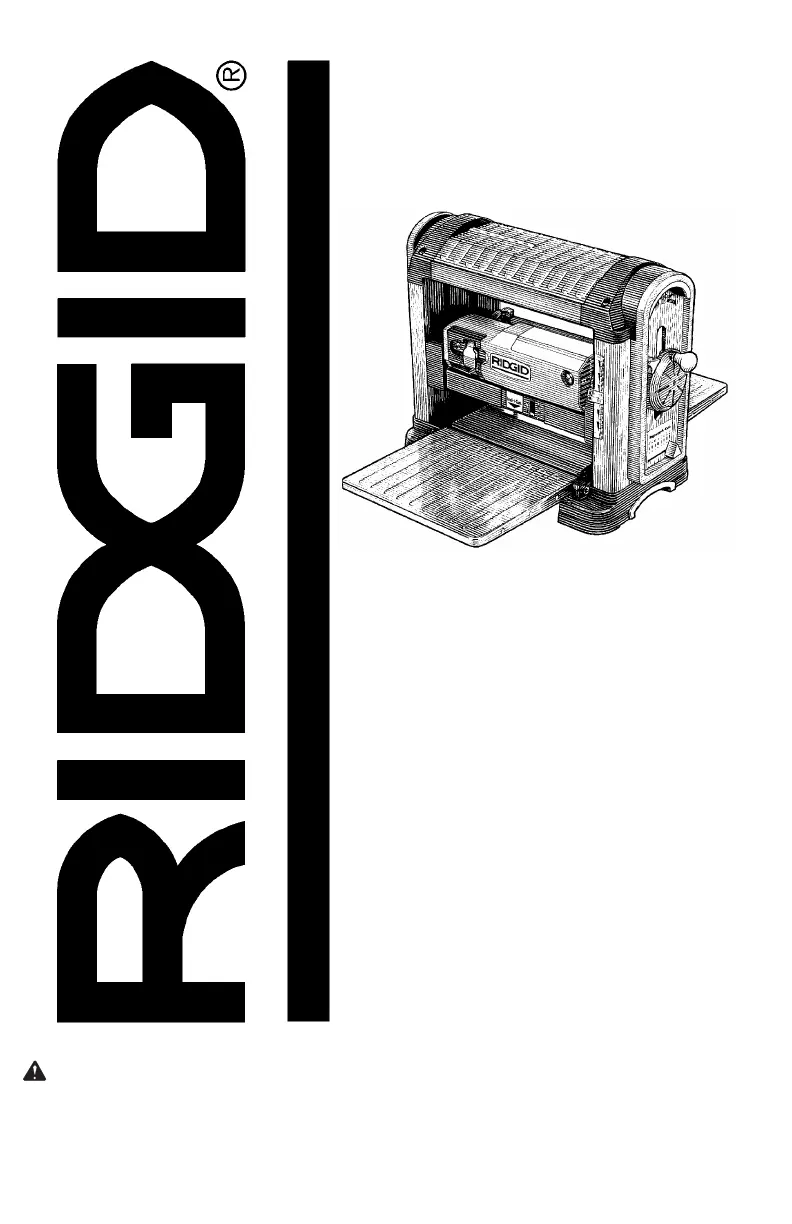
    Why does my RIDGID TP1300 Planer leave a rough raised grain?
    • A
      anthony25Sep 8, 2025
      If your RIDGID Planer leaves a rough raised grain, this may be due to dull knives, too heavy a cut, or high moisture content in the wood. Replace dull knives, review the 'Depth of Cut', and dry the wood.
  • M
    Martha HammondSep 12, 2025
    How to avoid fuzzy grain when using RIDGID Planer?
    • R
      Randy ClarkSep 12, 2025
      To avoid fuzzy grain when using the RIDGID Planer, ensure the wood does not have a high moisture content by drying it.
  • S
    Stacey NewtonSep 13, 2025
    Why is the dust chute blocked on my RIDGID Planer?
    • L
      Lisa WalkerSep 13, 2025
      A blocked dust chute on your RIDGID Planer may be due to: * A buildup of resin under the dust chute. Clean the dust chute and exhaust area. * Large debris. Clear the debris.
  • Y
    yramirezSep 15, 2025
    Why is the chain jumping on my RIDGID TP1300?
    • D
      Danielle SloanSep 15, 2025
      The chain might be jumping on your RIDGID Planer because the sprockets or the chain are worn. Replace the sprockets or the chain.
  • C
    cboyleSep 16, 2025
    What to do if RIDGID TP1300 Planer has uneven depth cut side to side?
    • S
      Sabrina RiceSep 17, 2025
      If your RIDGID Planer has an uneven depth cut from side to side, check that the end of knife is fully seated in the cutter head, as the blade projection may not be uniform.

Summary

Safety Instructions

When Installing Or Moving The Thickness Planer

Guidelines for safely moving and installing the planer.

Before Leaving The Thickness Planer

Steps to safely shut down and secure the planer.

To Reduce The Risk Of Injury From Jams, Slips Or Thrown Pieces

Precautions against common operational hazards like jams and thrown pieces.

Motor Specifications and Electrical Requirements

Motor Safety Protection

Measures to protect the motor from damage and ensure safe operation.

Thermal Overload Protector

Explanation of the automatic shutdown feature for overheating.

Unpacking and Checking Contents

Assembling Legset

Instructions for assembling the planer's leg stand structure.

Assembling Upper and Lower Legs

Steps to connect upper and lower leg components.

Assembling Upper Stiffeners

Steps for attaching the upper stiffeners to the leg structure.

Unpacking

Steps and safety precautions for removing the planer from packaging.

Assembling Lower Stiffeners

How to attach lower stiffeners to the assembled legs.

List of Loose Parts

Inventory of parts included in the package.

Mounting The Thickness Planer

Mounting on Legset

How to secure the planer to its supplied leg stand.

Mounting Thickness Planer on Supplied Legset

Specific steps to mount the planer onto its own legset.

Alignment and Adjustments

Getting to Know Your Thickness Planer

Basic Thickness Planer Operations

Before Using The Thickness Planer

Crucial steps before operating the planer for the first time.

Before Each Use

Daily inspection and safety checks before operation.

Take Precautions Against Kickback

Strategies to prevent kickback incidents.

Plan Ahead To Protect Your Eyes, Hands, Face and Ears

Advice on personal protective equipment and awareness.

Dress For Safety

Guidance on appropriate attire and PPE for safe operation.

Feeding the Work

Proper techniques for feeding workpieces through the planer.

Inspect Your Workpiece

How to check materials before planing to avoid hazards.

Whenever Thickness Planer Is Running

Safety precautions to observe while the planer is in operation.

Maintenance

Replacing Knives

Detailed instructions for replacing or turning the planer knives.

Troubleshooting

RIDGID TP1300 Specifications

General IconGeneral
Motor Power15 Amp
Maximum Cutting Width13 inches
Feed Rate26 feet per minute
Number of Knives2
Weight92 lbs
Maximum Planing Thickness6 inches
Minimum Planing Thickness1/8 inch
Number of Blades2
Maximum Cutting Depth1/8 inch
Dust Port Size4 inches

Related product manuals