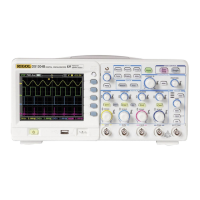
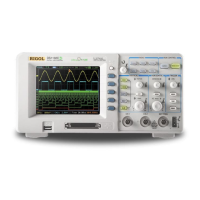
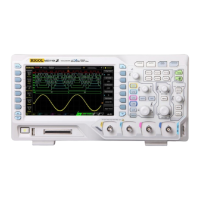
Chapter 1 Disassemble and Assemble RIGOL
MSO1000Z/DS1000Z Service Guide 1-3
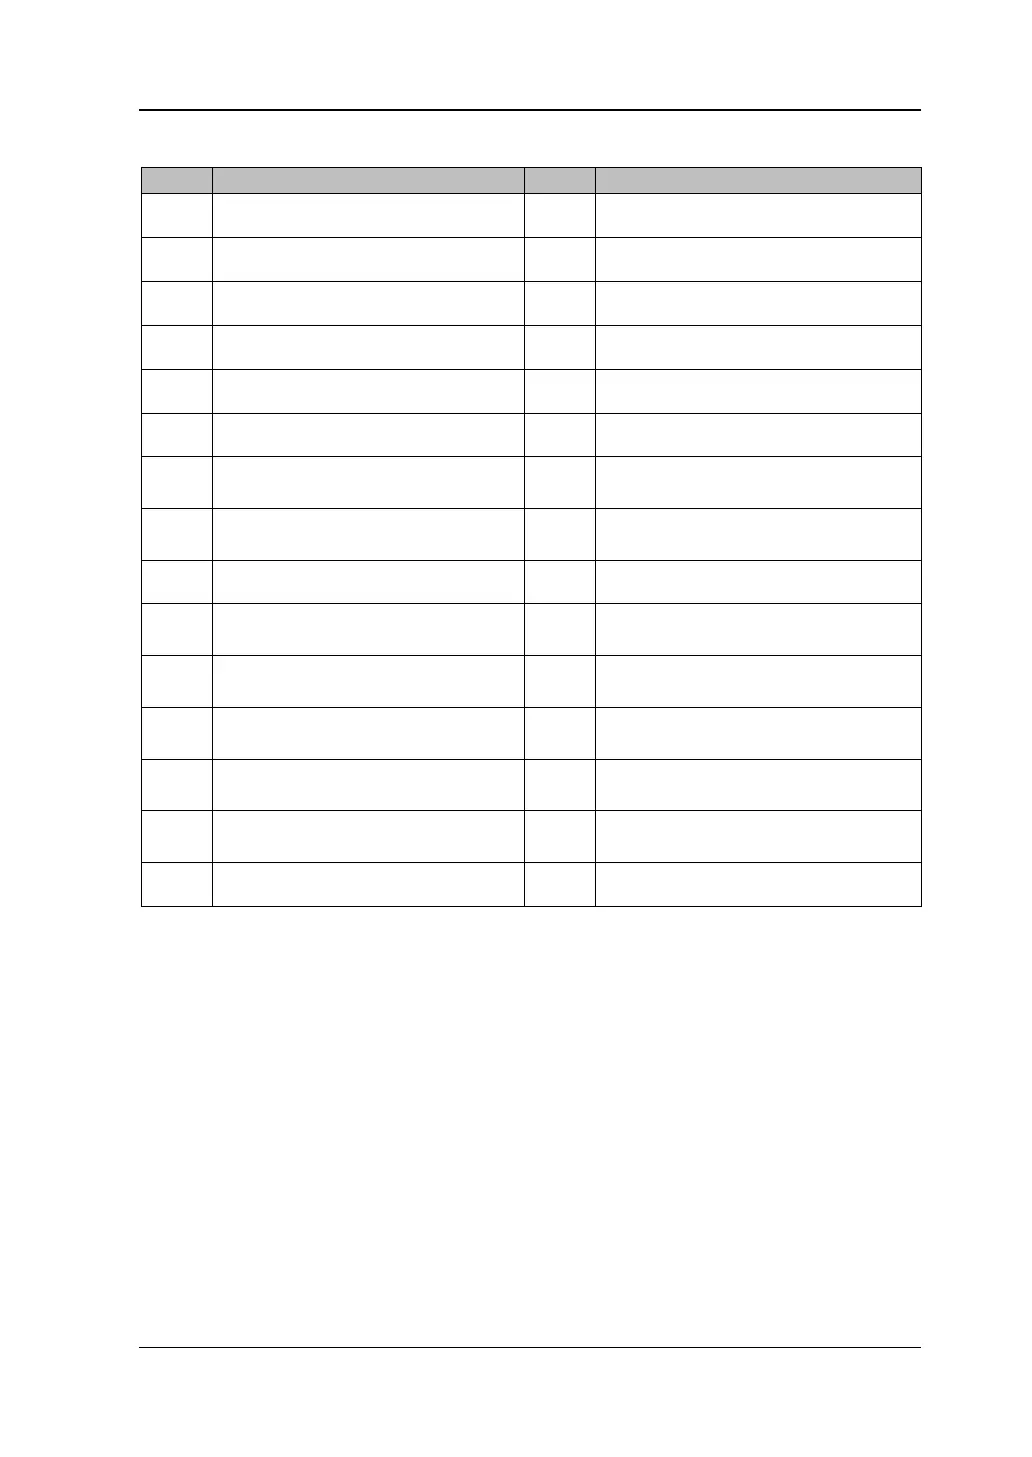
Table 1-1 Part Explanation of MSO1000Z/DS1000Z Exploded View
○
1
Front Panel
○
16
Power Shield
○
2
Large Knob
○
17
Power Supply Board
○
3
Small Knob
○
18
Rear Foot
○
4
LCD
○
19
Rear Cover
○
5
Main Key PCB Board
○
20
Handle
○
6
Main Rubber Key
○
21
Handle Rotating Shaft
○
7
LCD Frame
○
22
Torx Countersunk Head Self
Tapping Screw PTF5*10
○
8
Torx Countersunk Head Screw
#FM4#-40*5/16
○
23
Power Socket
○
9
BNC Nut
○
24
Fan
○
10
Front Supporting Foot
○
25
Torx Pan Head Screw Assembly
M3*6
○
11
Front Metal Plate
○
26
Torx Pan Head Self Tapping
Screw M3*8
○
12
BNC Washer
○
27
PCB Board of the Keys at the Left
Side of the Screen
○
13
Torx Countersunk Head Screw
M3*6
○
28
Rubber Keys at the Left of the
Screen
○
14
Signal Source Output PCB
Board
○
29
Power Key
○
15
Main Board -- --
The recommended disassemble procedures are as follows:
To Disassemble the Rear Cover To Disassemble the Rear Metal Cover To
Disassemble the Knobs To Disassemble the Front Panel To Disassemble the
Keyboards, LCD and Digital Channel Input Port To Disassemble the Main Board
 Loading...