EasyManua.ls Logo

ring 5UM5E5 User Manual

ring 5UM5E5
9 pages
To Next Page IconTo Next Page
Page #1 background imageLoading...
Page #1 background image
Video Doorbell
User Manual
For additional help, visit:
ring.com/help
Or give us a call:
US 1 800 656 1918
Canada 1 855 300 7289
AU 1 300 205 983
NZ +64 9 887 9871
Worldwide +1 310 929 7085
To review your warranty coverage, please visit
www.ring.com/warranty
Ring and all related logos are trademarks of
For a list of all our customer support
numbers, visit: ring.com/callus
6ACS9202M.02G-CS-9202_WT1_US/ANZ_Manual V2.0
6ACS9202M.02G
R1 加料号
四色转专色
R2 客更新文件
R3 客更新文件
OFFSET
CYAN MAGENTA YELLOW BLACK PANTONE
7689 C
PANTONE
Cool Gray 11 C
DIE LINE
NO PRINT
4 COLOR
PROCESS
6 = CMYK + 2 Spots
6ACS9202M.02G-CS-9202_WT1_US,ANZ_Manual V2.0_R3
00.00 in x 00.00 in
135.0 mm
97.0 mm 97.0 mm
Question and Answer IconNeed help?

Do you have a question about the ring 5UM5E5 and is the answer not in the manual?

ring 5UM5E5 Specifications

General IconGeneral
Brandring
Model5UM5E5
CategoryAccessories
LanguageEnglish

Summary

Download the Ring App

Charge Your Video Doorbell

Charging Instructions

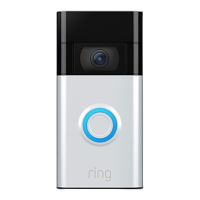
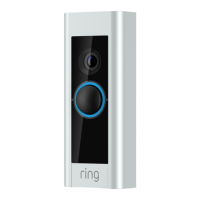
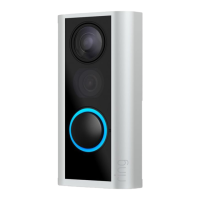
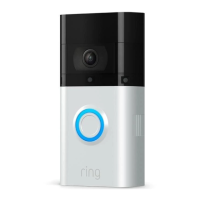
Plug the device into a USB power source using the included cable until the light ring is fully lit.

Set Up Your Video Doorbell

Initial Setup Steps

In the Ring app, select 'Set Up a Device', then 'Doorbells', and follow the on-screen instructions.

Test Your Video Doorbell

Prepare Your WiFi Password

Select an Install Location

Optimal Placement and Angling

Install four feet above the ground for optimal performance. Consider a Wedge Kit for better views with existing wiring.

Remove Existing Doorbell

Safety and Removal Procedure

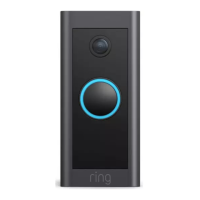
Shut off power at the breaker. Remove the existing doorbell button and disconnect wires.

Prepare Mounting Location

Marking and Anchoring

Use the bracket as a template to mark screw holes. Install anchors for stucco, brick, or concrete surfaces.

Mount the Bracket

Install Mounting Bracket (Continued)

Connect Doorbell Wires

Wire Connection and Compatibility

Connect wires to rear screws; polarity doesn't matter. Ensure 8-24VAC system compatibility; avoid DC transformers.
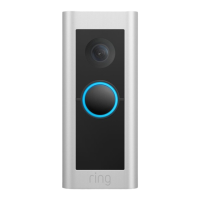
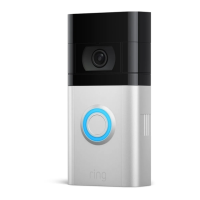
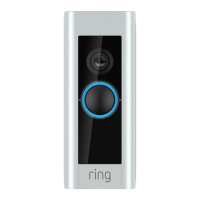
Attach Video Doorbell

Finalize Installation

Battery Safety Guidelines

Electrical Wiring and Device Compatibility

Theft Protection

Related product manuals