Place the indoor assembly.
Next, carefully slide the indoor assembly
onto the tube until it’s flush with your
door, making sure the outdoor assembly
isn’t pushed out the other side.
Pull out the connector cable.
Once again, you may have to hold the
outdoor assembly in place to keep it from
falling out while placing the indoor assembly.
Join the indoor and outdoor assemblies.
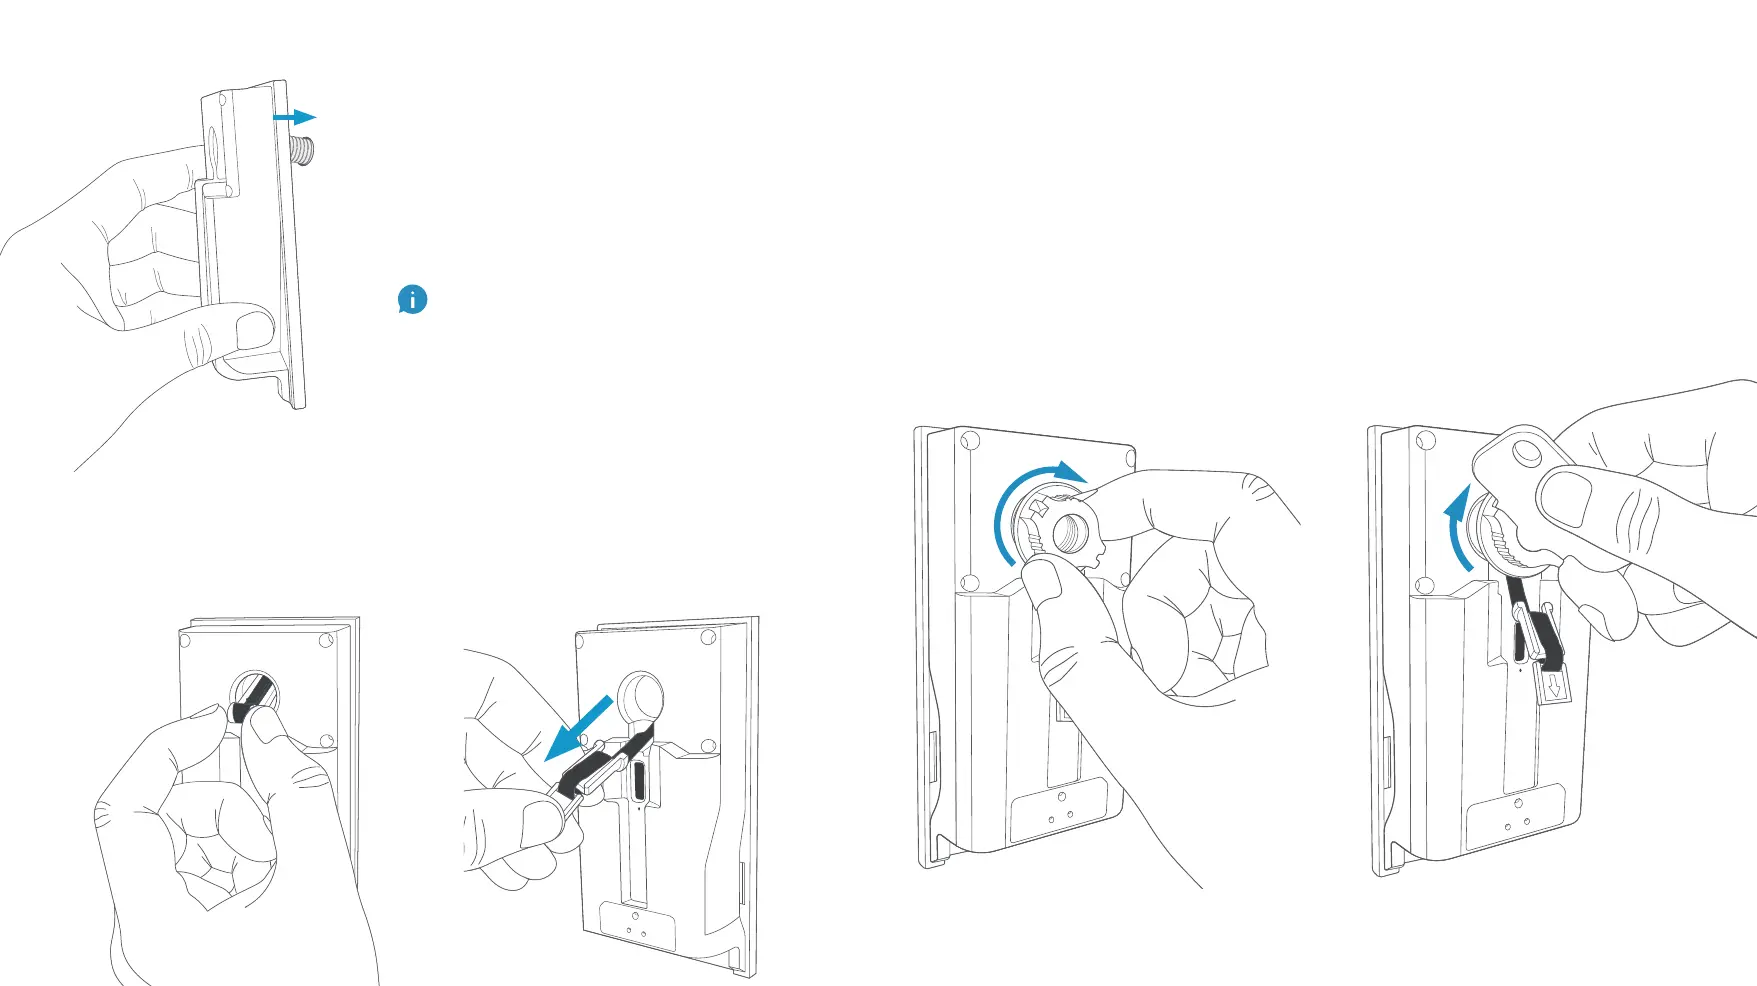
While holding the cable out of the way, place the tightening nut from
the Door View Kit tray onto the tube (DO NOT attempt to thread the
cable through the nut).
Using either your fingers or the Door View Key, twist clockwise and
tighten firmly to make sure your Door View Cam doesn’t rotate freely.
Once secure, check the outdoor assembly. It may shift slightly while
tightening, so make sure it’s level.
Grasp either side of the exposed gray connector, and delicately draw it
out of the tube until there’s no more slack left.
We tucked it into the tube for safe travels,
but now it’s time to take it out.
OR
1312

 Loading...