Do you have a question about the ring Floodlight Cam Plus and is the answer not in the manual?
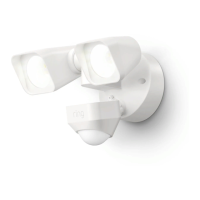
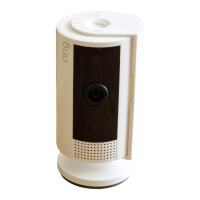
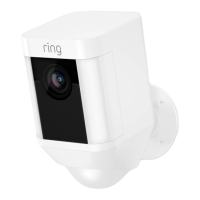
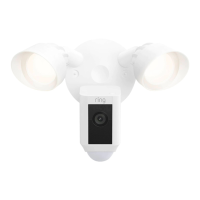
Details about the Floodlight Cam Wired Plus.
Access the complete manual and support online.
Critical warnings for electrical shock risks during installation.
Safety advice to prevent fire hazards during installation.
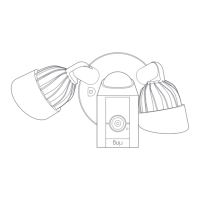
Scan the QR code with your mobile device.
Turn off power to the existing light fixture.
Choose between wall mount or eave mount.
Disconnect and remove the previous light fixture.
Drill holes and prepare the mounting surface.
Connect the fixture's wiring according to the mounting type.
Securely attach the fixture to the prepared mount.
Ensure cable insulation plate is correctly positioned.
Connect camera wires to the terminal block.
Tighten the pressing plate over the cable insulation.
Hang the camera using the strap and buckle.
Connect each camera wire to the terminal block.
Route wires and tighten hex cap nuts.
Restore power at the consumer unit after installation.
Find contact numbers and website for assistance.
| Camera Resolution | 1080p HD |
|---|---|
| Field of View Vertical | 80° |
| Motion Detection | Advanced motion detection with customizable motion zones |
| Floodlight Brightness | 2000 lumens |
| Power Source | Hardwired |
| Audio | Two-way talk with noise cancellation |
| Night Vision | Color night vision |
| Floodlight Color Temperature | 3000K |
| Compatibility | Works with Alexa |
| Field of View | 140° |
| Connectivity | 2.4 GHz Wi-Fi 802.11 b/g/n |
| Operating Conditions | -5°F to 120°F (-20°C to 50°C) |
| Weather Resistance | Weather-resistant |
| Storage | Cloud storage with Ring Protect Plan |
| Siren | 110 dB built-in siren |